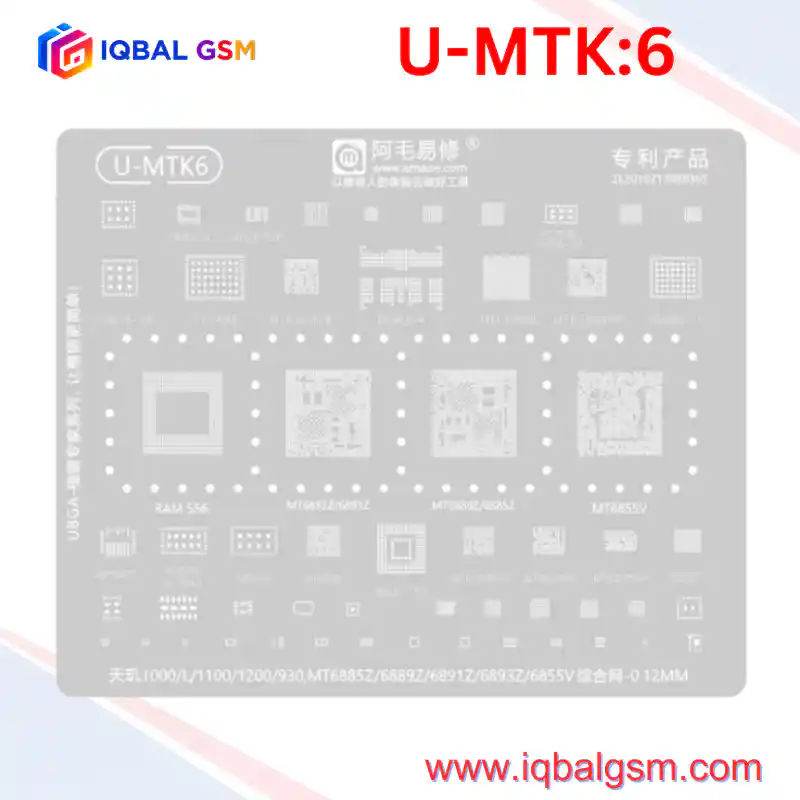

U-MTK 7
As low as
Rs 700.00
Worldwide shipping · Cash on Delivery
Product Details
================================================================================
1. 4nm/5nm HARDWARE ARCHITECTURE & SILICON TOPOLOGY (DIMENSITY 8100 / 9000)
================================================================================
The AMAOE U-MTK7 stencil covers MediaTek's breakthrough generation where Dimensity processors
surpassed equivalent Qualcomm silicon in power efficiency while integrating complex PoP RAM
interposers and multi-phase power delivery:
A. APPLICATION PROCESSORS & PACKAGE-ON-PACKAGE (PoP) MEMORY:
- Dimensity 8100 / 8200 (MT6895Z / MT6896Z):
* Process & Die: TSMC 5nm (N5) and 4nm (N4) FinFET nodes.
* Core Architecture: 4x Cortex-A78 up to 3.1 GHz + 4x Cortex-A55 @ 2.0 GHz with Mali-G610 MC6.
* Thermal cycling stress: While more thermally efficient than Snapdragon 888/8 Gen 1, high-wattage
charging (67W-120W) combined with gaming creates thermal expansion stress between the silicon die
and the PCB. Ball micro-cracks occur across the central VPROC buck inductor feedback loops and
ground balls. Typical symptom: Freezing on Redmi / Realme / Poco logo or constant reboot loops.
- Dimensity 9000 / 9000+ (MT6983Z):
* The first TSMC 4nm flagship mobile processor with ultra-high dynamic current transients
supplying the 3.2 GHz Cortex-X2 core and 10-core Mali-G710 GPU.
- Helio G90T / G95 (MT6785V):
* 12nm high-current gaming platform (e.g., Redmi Note 8 Pro). Notorious for thermal throttle
cracking under the CPU core supply inductors.
B. POWER TREE TOPOLOGY (MT6359VKP + MT6375P + MT6360P + SC8551A):
- Primary System PMIC (MT6359VKP):
* Controls main power-on sequencing, 1.8V digital I/O (VIO18), 32.768 kHz RTC clock, baseband LDOs,
and releases system reset (RESETB) to the CPU.
* Diagnostic Note: If the phone draws a steady 35 mA - 55 mA upon pressing the power button and
freezes, MT6359VKP has booted but is missing its 26 MHz master clock or has a fractured RESETB line.
- Slave PMIC (MT6375P):
* Synchronous multi-phase step-down regulator providing clean, high-amperage dynamic power to the
Cortex-A78 / Cortex-X2 clusters.
- Sub-PMIC & Charger (MT6360P):
* Manages USB Type-C CC/PD detection, 3A switched charging, and ±5V display bias. Shorted MT6360P
chips pull the primary battery rail (VBAT/VSYS) down to ground.
- Fast Charge Pump (Southchip SC8551A):
* Single-cell 8A direct charge pump delivering up to 65W-80W. An internal short on SC8551A prevents
the phone from charging and creates localized overheating near the battery connector.
C. CONNECTIVITY & MEMORY (MT6637XP, RAM 496, BGA254):
- MT6637XP: Advanced Wi-Fi 6E / Bluetooth 5.3 combo chip. Requires coplanar solder joints to prevent
weak 6 GHz Wi-Fi reception or Bluetooth audio stutter.
- RAM 496: Dedicated PoP memory ring mating 8GB, 12GB, or 16GB LPDDR5 SDRAM atop MT6895Z/MT6983Z.
================================================================================
2. SOLDER ALLOY SELECTION & TEMPERATURE HIERARCHY
================================================================================
Because Dimensity 8100/9000 chipsets utilize stacked Package-on-Package (PoP) memory alongside
0.12 mm stencil apertures, adhering to the dual-temperature alloy strategy is mandatory:
- Bottom Tier (Dimensity SoC base, BGA254, BGA153, MT6359VKP, MT6895Z to PCB):
* Primary Solder Paste: Sn63/Pb37 Eutectic Alloy (Melting Point: 183°C).
* Mesh Particle Size: Type 4 (20 - 38 microns) or Type 5 (15 - 25 microns) ultra-fine powder.
- Upper Tier (RAM 496 onto Dimensity SoC Interposer):
* MANDATORY Low-Temperature Solder: Sn42/Bi58 Alloy (Melting Point: 138°C) or Sn62/Pb36/Ag2 (179°C).
* Critical Rule: The upper RAM reflow temperature (235°C - 245°C air) must not reach the 183°C
melting point of the lower SoC balls, preventing bridging and inter-ball collapse under CPU weight.
- Fast-Charging & Sub-PMIC ICs (SC8551A, MT6360P, MT6375P):
* Use Sn63/Pb37 (183°C) to withstand 65W/80W fast-charging currents without joint creep.
================================================================================
3. TIER-4 PoP SEPARATION & REBALLING WORKFLOW
================================================================================
STEP 1: PRE-HEATING & PoP RAM SEPARATION
1. Secure the board in a dedicated high-mass CNC logic board fixture. Mask surrounding plastic FPC
connectors, SIM trays, and cameras with dual-layer aluminum heat-deflector tape.
2. Bottom Pre-Heat: Set bottom preheater to 150°C - 160°C across the board underside.
3. Apply tacky flux around the perimeter of the RAM 496 memory chip.
4. Hot Air Wand: Set to 355°C - 365°C with an 8 mm circular nozzle (airflow 45%).
5. Heat the RAM in continuous rectangular motions from 1.5 cm distance for 30-35 seconds.
6. Insert an ultra-thin 0.06 mm curved separation blade into the corner epoxy seam between the RAM
and SoC. Lift the RAM vertically off the SoC interposer ring without applying downward pressure.
7. Reheat the lower Dimensity SoC (MT6895Z/MT6983Z) to 365°C and lift straight off the motherboard.
STEP 2: PAD RESURFACING & EPOXY REMOVAL
1. Lower hot air to 250°C. Apply moderate RMA flux and gently remove softened black underfill glue
from the PCB pads and IC package margins using a non-scratch copper scraper blade.
2. Tin the footprint pads with 183°C leaded solder using a 330°C micro-soldering iron (C210-K knife tip).
3. Lay high-purity copper desoldering wick across the pads and glide the flat iron face across the
wick without applying downward pressure.
4. Level the IC base pads until smooth and planar. Clean with 99.9% IPA until mirror-clean.
STEP 3: REBALLING WITH THE AMAOE U-MTK7 STENCIL
1. Seat the cleaned IC into a magnetic reballing fixture.
2. Overlay the corresponding aperture on the U-MTK7 stencil:
- For Dimensity 8100/8200, align with MT6895Z / MT6896Z.
- For Dimensity 9000, align with MT6983Z.
- For Helio G90T, align with MT6785V.
- For RAM, align with aperture "RAM 496".
- For power ICs, align with MT6359VKP, MT6375P, MT6360P, or SC8551A.
3. Verify that the circular anti-bulging expansion holes surround the chip perimeter to prevent
stencil warping under heat.
4. Spread Sn63/Pb37 paste into the apertures at a 45° angle with a flexible steel spatula. Wipe the
surface 100% clean of excess solder beads.
5. Hold the stencil down firmly at the margins with bent-tip titanium tweezers.
6. Direct hot air at 310°C - 325°C (airflow 25% - 30%) 3 cm above the stencil, moving inward.
Observe the paste coalesce into uniform spherical balls.
7. Allow 8-10 seconds to cool and solidify before lifting the stencil vertically.
8. Apply a drop of liquid flux and pass hot air for 3 seconds at 300°C for final spherical centering.
STEP 4: TWO-STAGE INSTALLATION
1. Stage 1 (Dimensity SoC to Motherboard):
- Apply a micro-thin film of tacky flux across the PCB pads (shiny, not flooded).
- Align the SoC to the silkscreen corner brackets (Pin 1 orientation matched).
- Reflow with hot air at 345°C - 355°C (bottom preheat at 150°C). When surface tension centers the
chip, verify with a gentle 0.1 mm tweezer nudge test.
2. Stage 2 (RAM 496 onto SoC Interposer):
- Cool the board completely to room temperature.
- Apply a micro-layer of low-viscosity flux across the upper SoC contact ring.
- Align the reballed RAM 496 (Pin 1 dot aligned to SoC Pin 1).
- Reflow at 240°C - 250°C (if using 138°C low-melt paste) or 310°C (if using 179°C paste) with low
airflow (25%). The lower 183°C SoC base solder joints remain completely solid and undisturbed.
================================================================================
4. ELECTRICAL DIAGNOSTICS & FAULT MATRIX
================================================================================
1. Diode-Mode Impedance Verification (Unpowered board, Red probe to GND, Black probe to test point):
- VPROC / VCORE Buck Coils (MT6359 / MT6375) : 0.010 V - 0.040 V (Normal low-impedance buck loop).
- VIO18 (1.8V System I/O Rail) : 0.380 V - 0.490 V (Short indicates PMIC/SoC bridge).
- VSYS / VBAT (Primary Battery Rail) : 0.420 V - 0.540 V (Short < 0.050 V indicates blown MT6360P/SC8551A).
- LPDDR5 VDD1 / VDD2 : 0.260 V - 0.390 V.
2. DC Power Supply Boot-Up Analysis (4.0V DC Input on VBAT):
- 0.000 A Standby: Normal prior to pressing Power button.
- 20 mA - 80 mA Leakage (Pre-Power): Blown high-side buck MOSFET inside MT6360P or shorted SC8551A.
- Press Power -> Fixed 30 mA - 55 mA: MT6359VKP has initiated, but 26 MHz master clock is missing,
or RESETB line is held low by the CPU.
- Press Power -> Cycles 80 mA -> 160 mA -> Drops to 0 mA: CPU has initialized; RAM 496 upper layer
is open, unseated, or UFS storage is unpowered. Re-seat or reball the RAM 496 package.
- Normal Boot Progression: Steps steadily from 100 mA -> 320 mA -> 780 mA -> 1.4 A+ into Android OS.