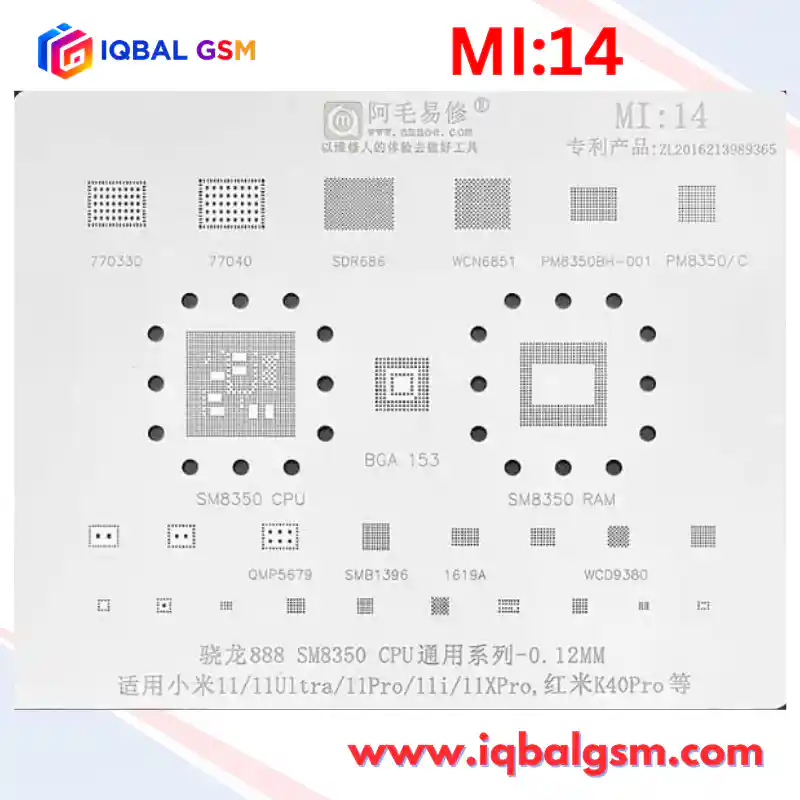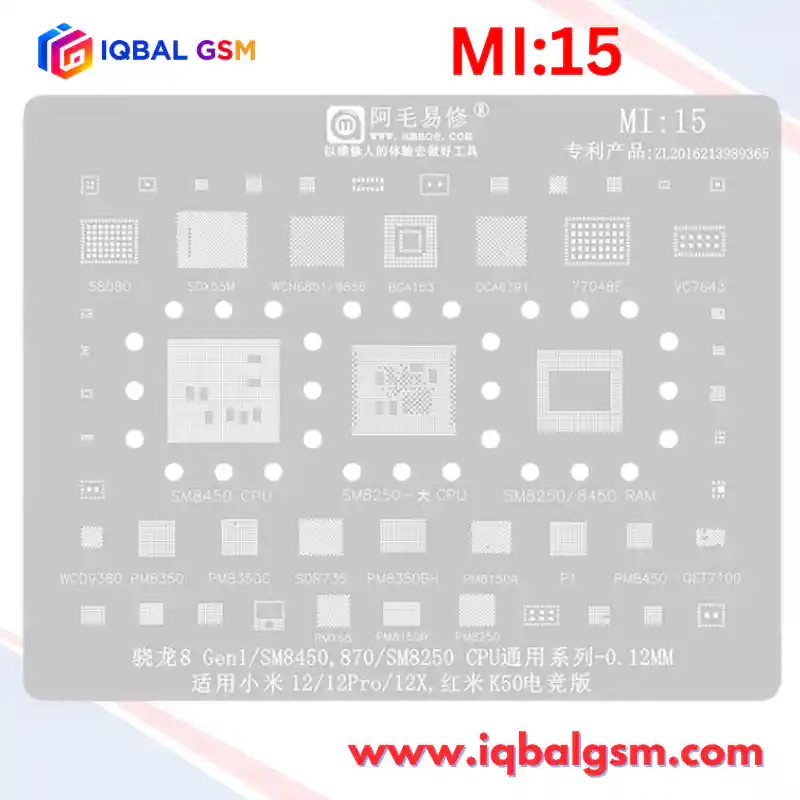

SM8450
As low as
Rs 700.00
Worldwide shipping · Cash on Delivery
Product Details
QUALCOMM SNAPDRAGON 8 GEN 1 / SM8450 HARDWARE ARCHITECTURE & POWER TOPOLOGY
1. POWER TREE ARCHITECTURE: MULTI-PMIC SPMI ARBITRATION & DYNAMIC VID RAILS
- The Snapdragon 8 Gen 1 platform requires an advanced multi-PMIC power distribution network consisting of PM8450 (Master PMIC), PM8350 (Core PMIC), PM8350C (GPU/Secondary Buck PMIC), and PM8010 (Camera/Sensor PMIC):
* Master PMIC (PM8450):
Directly supplied by the main system bus VPH_PWR (3.6V - 4.2V). Generates Always-On standby rails: VDD_AO_1P8 (1.80V) and VDD_AO_0P8 (0.80V). Houses the 38.400 MHz Master Crystal Oscillator buffer (CXO), 32.768 kHz RTC clock, Power-On State Machine, VDD_MEM (1.10V / 1.05V LPDDR5 rail), VDD_IO (1.80V), and UFS 3.1 storage power (VCC 2.95V, VCCQ 1.20V).
* Secondary Core PMICs (PM8350 / PM8350C):
Integrated multi-phase synchronous buck converters capable of delivering up to 35A transient current for CPU and GPU core rails:
- VDD_APC0: Powers the single ARM Cortex-X2 Prime core and three Cortex-A710 performance cores with dynamic VID scaling (0.60V - 1.15V).
- VDD_APC1: Powers the four ARM Cortex-A510 efficiency cores (0.55V - 1.05V).
- VDD_GFX: Powers the Adreno 730 GPU engine (0.55V - 1.10V).
- SPMI v2.0 Control Bus Topology:
* The SM8450 AP coordinates all voltage transitions and power modes via the Qualcomm System Power Management Interface (SPMI_CLK and SPMI_DATA) operating at 19.2 MHz. A damaged trace, solder bridging, or cracked BGA ball on the SPMI lines causes an immediate hardware shutdown or permanent boot freeze.
2. SYSTEM BOOT SEQUENCE & TIMING BENCHMARK
- Stage 1: Main System Bus (VPH_PWR)
* Connection of battery or fast charger generates VPH_PWR (3.8V - 4.2V), feeding input capacitors of PM8450, PM8350, PM8350C, and RF power amplifiers.
- Stage 2: Standby Domain & Oscillator Initialization
* PM8450 activates Always-On standby LDOs (1.8V VREG_L6A, 0.8V VREG_L5A).
* The power key line (PWR_KEY_N) is biased to 1.8V. The 32.768 kHz RTC clock stabilizes.
- Stage 3: Hardware Power-On Trigger
* PWR_KEY_N is pulled low (<0.4V) for >120ms.
* PM8450 activates the 38.4 MHz Master Crystal Oscillator (CXO) and asserts CXO_EN.
- Stage 4: Staged Multi-Buck Step-Up
* PM8450 and PM8350 initialize synchronous buck lines in precise timing sequence:
Buck 1 (VDD_DIG_0P85): AP baseband digital core rail.
Buck 2 (VDD_MEM_1P10): LPDDR5 RAM supply.
Buck 3 & Buck 4 (VDD_APC0 / VDD_APC1): CPU Kryo cluster dynamic VID rails.
Buck 5 (VDD_IO_1P8): Peripheral bus and memory controller IO.
- Stage 5: Peripheral LDO Stabilization & Reset Release
* UFS 3.1 power rails stabilize (VCC 2.95V, VCCQ 1.20V).
* PM8450 asserts RESET_N (1.8V) high to release the SM8450 CPU from hardware reset.
* SM8450 executes Primary Bootloader (PBL) from internal ROM.
* Within 500ms, the AP pulls PS_HOLD (1.8V) high back to PM8450.
* CRITICAL: If PS_HOLD fails to latch high within 500ms (notorious on Xiaomi 12 Pro and iQOO 9 series due to thermal stress ball fractures), the PMIC cuts all buck rails and initiates a bootloop or immediate shutoff.
STEP-BY-STEP HOT AIR REWORK & REBALLING METHODOLOGY
1. UNDERFILL REMOVAL & POP DELAMINATION PREVENTION
- Extreme Thermal Density Warning:
* The Snapdragon 8 Gen 1 is manufactured on a 4nm node and dissipates up to 11W - 13W peak power during sustained gaming. This severe localized heating causes thermal fatigue, solder voiding, and micro-cracks under the Cortex-X2 prime core and Adreno 730 GPU BGA balls.
- High-Hardness Underfill Cleaning:
* Flagship SM8450 boards use dense black epoxy underfill with embedded silica ceramic micro-beads.
* Clamp motherboard into a multi-axis CNC repair fixture. Set hot air station to 230°C - 240°C with 35% airflow.
* Use a precision curved dental scraping probe (0.1mm edge) to soften and slice away perimeter underfill around the SM8450 package and adjacent 01005 decoupling capacitors. Do NOT lever against the motherboard substrate to prevent gouging top-layer ground copper.
- PoP Separation (Two-Step Rework):
* Step A (RAM Removal): Apply Kapton tape and 0.1mm copper foil to protect nearby UFS and PMIC chips. Apply hot air at 335°C - 345°C (Quick 861DW benchmark, 40% airflow). Heat uniformly in circles for 25 seconds. Slide an ultra-thin 0.05mm separating knife between the upper LPDDR5 RAM and lower CPU die. Gently lift the RAM once molten solder tension is reached.
* Step B (CPU Removal): Clean the top surface of the CPU with a 2.0mm desoldering braid at 320°C. Apply RMA-218 flux around the CPU perimeter. Heat at 345°C - 355°C (45% - 50% airflow) for 30 seconds. Gently test the corner with tweezers; lift the CPU vertically at a 90° angle once all lower solder balls melt completely.
- Motherboard Pad Planarization:
* Add fresh leaded flux and use a 2.5mm copper desoldering wick under a soldering iron chisel tip (T12-D24 / C210-020) set to 330°C.
* Sweep smoothly across the pad array until all residual lead-free solder is removed and pads are perfectly planar. Wipe clean with pure anhydrous isopropyl alcohol (IPA). Inspect under stereo microscope for pad oxidation or torn solder mask webbing.
2. PRECISION REBALLING WITH AMAOE SM8450 STENCIL
- Dual-Temperature Alloy Strategy (CRITICAL):
* Lower Layer (CPU to Motherboard): Use Medium-Temperature Leaded Solder Paste: Sn63/Pb37 (Melting Point: 183°C).
* Upper Layer (CPU Upper Surface to LPDDR5 RAM): Use Low-to-Medium Temperature Solder Paste: Sn63/Pb37 (183°C) or specialized 158°C Bi-Ag alloy.
* Rationale: When soldering the assembled CPU back to the motherboard, the lower balls must melt and seat properly without causing the upper RAM layer to overheat, bubble, or bridge internal solder balls.
- Stencil Registration & Paste Packing:
* Seat the cleaned SM8450 CPU into the dedicated lower-layer aperture of the AMAOE SM8450 stencil plate.
* Check pad registration under 10x-20x magnification to ensure perfect alignment across all 1500+ micro-apertures.
* Squeeze Sn63/Pb37 paste onto lint-free paper and press firmly with a spatula to absorb excess flux solvent until it achieves a matte, putty-like consistency.
* Scrape paste firmly into the apertures with a stainless steel squeegee at a 45° angle. Scrape surface clean in a single diagonal stroke.
- Thermal Forming of Solder Spheres:
* Air Station Parameters: Temperature: 285°C - 300°C | Airflow: 25% - 30% (Low airflow prevents ball popping).
* Direct nozzle 3cm - 4cm above the plate. Warm the surrounding steel plate first to relieve thermal stress, then sweep smoothly across the aperture grid.
* Watch the paste melt into gleaming spherical balls. Allow 10 seconds to cool, then release the chip from the stencil underside.
- Secondary Ball Finishing:
* Apply a micro-droplet of liquid flux over the reballed spheres.
* Reflow with hot air at 280°C for 3 seconds to perfect sphericity and eliminate micro-burrs.
- Reballing LPDDR5 RAM:
* Repeat identical procedure using the dedicated SM8450 RAM aperture on the AMAOE plate.
3. MOTHERBOARD SOLDERING & ALIGNMENT
- Dispense a micro-thin, uniform sheen of high-tack flux across the motherboard BGA pad array.
- Align the Pin 1 orientation index (laser dot on CPU corner) with the silkscreen bracket on the PCB.
- Soldering Parameters:
* Temperature: 330°C - 340°C | Airflow: 40% - 45%.
* Heat in smooth, wide circular loops around the chip boundary, gradually closing inward.
* Once the solder reflows, the chip will sink slightly and self-center. Give one corner a microscopic tap with fine tweezers (<0.2mm displacement); the IC will immediately bounce back into center position due to liquid solder surface tension.
- Solder Upper LPDDR5 RAM:
* Allow CPU to cool for 2 minutes. Apply a micro-thin layer of flux to the top of the CPU die.
* Align reballed LPDDR5 RAM. Reflow at 320°C - 330°C with 35% airflow until RAM self-aligns.
COLD DIODE-MODE & DC BENCH SUPPLY DIAGNOSTIC MATRIX
1. BENCH DC POWER SUPPLY CURRENT SIGNATURES (4.0V VPH_PWR / VBAT HOOKUP)
- Fault Profile 1: Direct Dead Short (0.000A -> Instant Over-Current Trip @ 2.0A - 5.0A)
* Defect: Primary VPH_PWR bus dead short to ground.
* Root Cause: High-side MOSFET breakdown inside Master PM8450 or PM8350, or shorted 22uF/10V ceramic decoupling capacitor on VPH_PWR near the main inductors.
* Action: Inject 1.2V / 3A on VPH_PWR with a thermal camera. If PM8450 or PM8350 glows instantly at 0V, replace the affected PMIC.
- Fault Profile 2: Total Zero Current Draw on Power Key Press (0.000A Static)
* Defect: Standby power domain non-functional or PWR_KEY_N circuit open.
* Root Cause: Broken trace on PWR_KEY_N line (missing 1.8V pull-up); dead 32.768 kHz RTC crystal; missing VDD_AO standby rail; cracked solder ball under PM8450 VPH_PWR input balls.
- Fault Profile 3: Micro-Current Freeze (0.030A - 0.060A Constant Draw)
* Defect: Master PM8450 initiates boot, but 38.4 MHz Master Clock or core logic fails.
* Root Cause: Defective 38.4 MHz CXO crystal or missing CXO_EN signal; short circuit on VDD_DIG digital baseband core buck (0.85V rail); open circuit on SPMI bus (SPMI_CLK / SPMI_DATA).
- Fault Profile 4: Qualcomm Emergency Download (EDL / 9008) Freeze (0.080A - 0.130A Fixed Current)
* Defect: Application Processor boots internal BootROM (PBL), but RAM initialization or UFS handshake fails completely.
* Classic Real-World Cause: Solder ball fracture or cold joint under SM8450 CPU or LPDDR5 RAM (notorious on Xiaomi 12 Pro, iQOO 9 Pro, and realme GT2 Pro).
* Diagnostic Verification: Connect phone to PC via USB. If Device Manager enumerates "Qualcomm HS-USB QDLoader 9008" without test point shorting, the SM8450 CPU silicon is powered, but cannot access RAM or UFS flash storage. Reballing CPU and RAM is mandatory.
- Fault Profile 5: Medium Current Bootloop (Hunts 0.120A -> 0.350A -> Drops to 0.000A -> Repeats)
* Defect: Missing PS_HOLD handshake from the SM8450 processor.
* Root Cause: PM8450 generates all buck rails and asserts RESET_N, but processor crashes during bootloader execution due to corrupted UFS storage, broken UFS clock line (UFS_CLK), or cold solder joints on memory power rails.
2. COLD DIODE-MODE IMPEDANCE BENCHMARKS (RED PROBE TO GROUND, BLACK PROBE TO TARGET PIN/TEST POINT)
- Baseline Diode Readings for SM8450 / PM8450 / PM8350 Power Nodes:
* VPH_PWR Main Rail : 0.380V - 0.460V (If <0.100V: Primary system short)
* VDD_APC0 CPU Core Buck (Inductor): 0.045V - 0.090V (Low diode reading is normal for Cortex-X2 prime core)
* VDD_APC1 CPU Core Buck (Inductor): 0.050V - 0.100V (If 0.000V: CPU silicon die shorted)
* VDD_GFX GPU Core Buck (Inductor) : 0.050V - 0.100V (If 0.000V: Adreno 730 core shorted)
* VDD_MEM LPDDR5 Rail (Inductor) : 0.240V - 0.310V (If <0.090V: RAM die compromised)
* VDD_IO System 1.8V Rail (Inductor): 0.340V - 0.420V (If <0.180V: Peripheral bus shorted)
* VDD_DIG Baseband Core Buck : 0.200V - 0.270V (If <0.065V: Digital baseband core leak)
* UFS VCC Storage Rail (2.95V) : 0.450V - 0.530V (If OL: Broken trace from PM8450 LDO)
* UFS VCCQ Storage Rail (1.20V) : 0.270V - 0.340V (If <0.090V: UFS storage controller shorted)
* SPMI_CLK / SPMI_DATA Bus Lines : 0.400V - 0.470V (If OL: Solder fracture under PM8450/CPU; if 0.000V: Bus shorted)
* PWR_KEY_N Power Key Line : 0.580V - 0.680V (If OL: Trace disconnect to PM8450)
* PS_HOLD Line : 0.410V - 0.490V (If 0.000V: CPU PS_HOLD pin shorted; if OL: Broken ball)