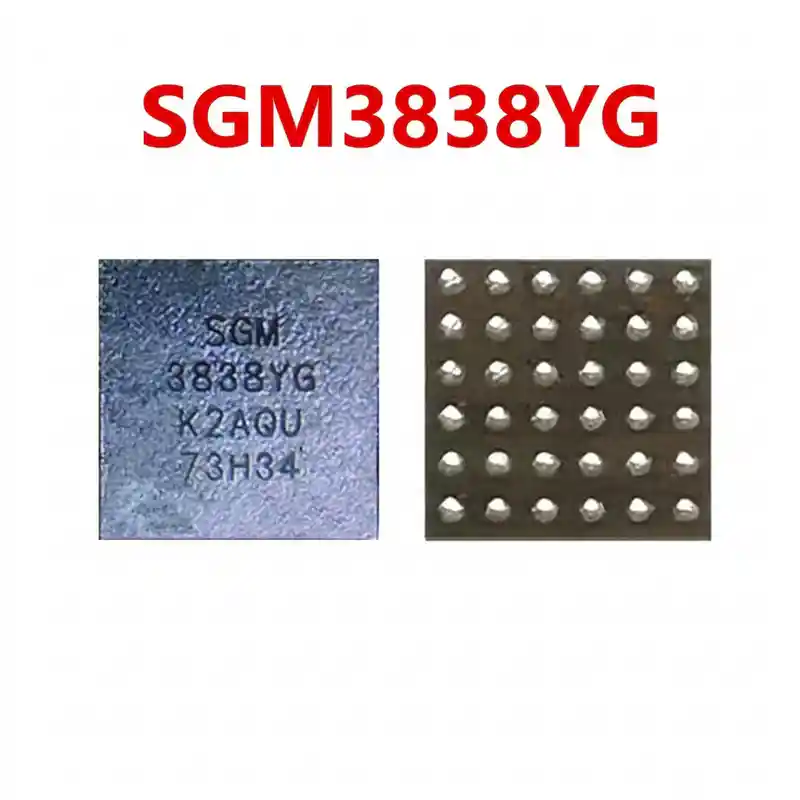
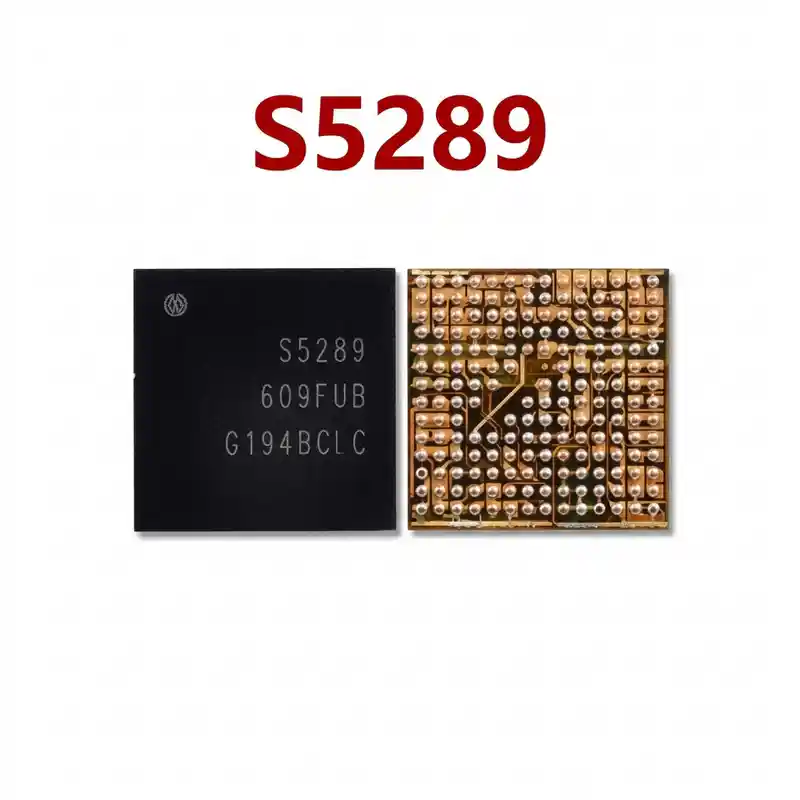
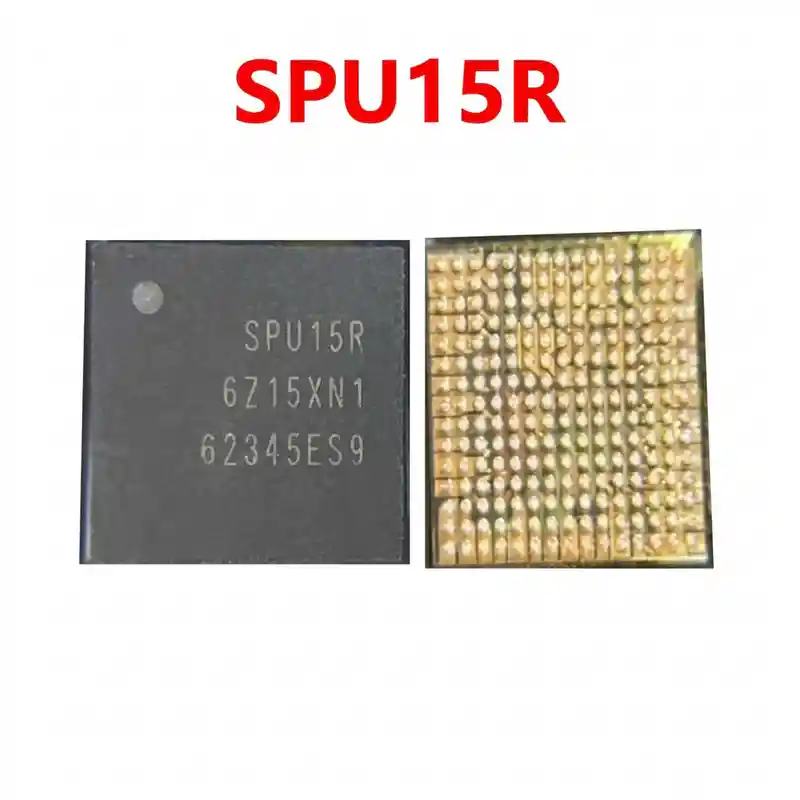
SPU15 IC
As low as
Rs 0.00
Worldwide shipping · Cash on Delivery
Product Details
================================================================================
SAMSUNG SPU15 POWER MANAGEMENT IC HARDWARE & REPAIR GUIDE
================================================================================
--------------------------------------------------------------------------------
SECTION 1: FUNCTIONAL ARCHITECTURE & CIRCUIT ROLE
--------------------------------------------------------------------------------
- Architecture: Multi-Channel Integrated Power Management IC combining high-frequency
synchronous multi-phase Step-Down (Buck) converters and multiple low-noise LDOs.
- Operating Electrical Parameters:
* Input Supply Voltage (VBAT / VDD_SYS): 3.2V to 4.5V DC supplied from battery /
charging circuit.
* Regulated Output Rails:
- Multi-Phase Core Buck Converters: 0.60V to 1.15V DC (Dynamically adjusted
via DVFS for CPU Big/LITTLE cores, Mali/Tensor GPU, and AI engines).
- Memory Power Rails: 0.60V (VDDQ), 1.10V (VDD2) for LPDDR5/4X RAM.
- Storage Rails: 1.2V and 1.8V/2.5V for UFS high-speed flash memory.
- Low-Dropout (LDO) Regulators: 1.8V, 2.8V, 3.0V, 3.3V supplying analog
peripherals, touch, sensors, and clock generators.
- Power Sequencing & System Supervison:
* Manages the strict multi-stage power-up sequence required by Exynos and Google
Tensor processors. If any single buck rail fails or suffers timing delay, the
PMIC asserts a hardware reset (RESET_N) and halts system boot.
- Telemetry & Digital Control:
* High-speed System Power Management Interface (SPMI) / I2C serial bus connected
to the Application Processor for real-time telemetry, voltage stepping, and
fault register reporting.
- Comprehensive Hardware Protections:
* Over-Current Protection (OCP), Over-Voltage Protection (OVP), Under-Voltage
Lockout (UVLO), Short-Circuit Protection (SCP) on all buck phases, and Thermal
Shutdown (TSHUT) at 140°C die temperature.
--------------------------------------------------------------------------------
SECTION 2: BOARD-LEVEL FAULT SYMPTOMS
--------------------------------------------------------------------------------
1. Completely Dead Board (0.00A or Weak Pulse on Power Button):
- Connecting the board to a DC power supply and pressing the power button yields
0.00A current draw, or a microscopic jump to 0.02A - 0.04A that immediately drops
back to 0.00A upon key release. Indicates that the primary 1.8V Always-On (S2)
rail or base power-on sequencer inside SPU15 has failed.
2. Hanging on Startup / Stagnant Current (0.12A - 0.25A Freeze):
- Current jumps to around 150mA - 220mA on the DC power supply and remains
completely flat without booting. Caused by a missing CPU core or RAM buck
voltage, leaving the processor unable to execute the bootloader code.
3. Direct VBAT / VDD_SYS Short to Ground:
- Connecting the DC power supply instantly trips to the maximum set current
(2A - 5A at 4.0V) before pressing the power button. An internal high-side buck
MOSFET breakdown inside SPU15 shorts the main system power rail to ground.
4. Spontaneous Reboots Under Heavy Load (Gaming, Camera, 5G Data):
- Phone boots up and operates in light tasks, but restarts or powers off the
instant a heavy application (camera, 3D gaming, high-speed 5G download) is
launched due to a degraded buck regulator phase or cracked inductor joint.
5. Overheating Near PMIC Shield Can in Standby:
- The device consumes excessive standby battery (discharges 30-40% overnight)
with noticeable heat near the SPU15 shield due to internal substrate leakage.
--------------------------------------------------------------------------------
SECTION 3: STEP-BY-STEP MULTIMETER TESTING & DIAGNOSTICS
--------------------------------------------------------------------------------
[A] Cold Testing (Diode Mode Readings - Red Probe on GND, Black Probe on Pin):
- VBAT / VDD_SYS Input Filtering Capacitors:
* Normal Diode Value: 0.340V - 0.440V (340mV - 440mV).
* If < 0.030V: Direct system short to ground.
- CPU Core & GPU Buck Inductors (Large molded SMD power inductors around SPU15):
* Low resistance is normal for CPU cores: 0.030V - 0.120V (30mV - 120mV) due to
high processor gate capacitance and low silicon impedance.
* If 0.000V with audible continuous continuity beep: Dead short on CPU core rail.
- Memory & System Buck Inductors:
* 1.1V / 1.2V Inductors: 0.260V - 0.360V.
* 1.8V Always-On Inductor: 0.380V - 0.480V.
- I/O & Analog LDO Output Capacitors:
* Normal Diode Value: 0.450V - 0.600V.
- SPMI / I2C Serial Lines:
* Normal Diode Value: 0.420V - 0.520V (must match within ±10mV).
[B] Hot Testing (Live Measurements with DC Power Supply at 4.0V):
- Standby Check:
* Before pressing the power button, verify 1.8V Always-On rail on its designated
filter capacitor. If 1.8V is absent, SPU15 is dead or held in hardware lockout.
- Power-On Trigger Check:
* Press and hold the power button; probe the surrounding buck coils simultaneously:
- CPU Core Coils: Must measure 0.70V - 0.95V DC.
- RAM Coils: Must measure 1.10V DC steady.
- UFS Storage Coils: Must measure 1.20V DC and 1.80V DC.
- If all primary buck voltages pulse once for a fraction of a second and immediately
shut down, SPU15 detects an over-current fault or missing feedback signal.
[C] Rosin Smoke / Thermal Imaging Short Isolation:
- In cases of direct VBAT / VDD_SYS shorts, remove the PMIC shield frame.
- Coat SPU15 and its surrounding buck inductors and capacitors with white rosin smoke.
- Inject 3.8V DC (current limited to 2.0A) onto the shorted rail.
- If rosin melts instantly over the SPU15 silicon die rather than surrounding ceramic
capacitors, internal silicon failure is confirmed and the chip must be replaced.
--------------------------------------------------------------------------------
SECTION 4: SOLDERING, REBALLING & REWORK SPECIFICATIONS
--------------------------------------------------------------------------------
- Component Sensitivity & Package Type:
* SPU15 is a high-density, fine-pitch BGA chip (0.40mm ball pitch). The package
is extremely heat-sensitive and susceptible to micro-warping and internal ball
bridging if overheated.
- Surrounding Component Shielding:
* Located immediately adjacent to the Application Processor (Exynos 1380 / 1330
or Tensor G2/G3) and UFS storage. Always shield neighboring processors and
plastic FPC connectors with multiple layers of high-grade Kapton thermal tape
and thick copper heat sink plates.
- Desoldering Guidelines:
* Bottom Preheating: Recommended 150°C - 160°C bottom preheat for multilayer 5G
motherboards.
* Hot Air Station Temperature: 340°C - 350°C.
* Airflow Rate: 35% - 40% with a 6mm straight nozzle.
* Apply a small droplet of premium low-residue tacky flux (Amtech NC-559-V2).
* Direct heat in smooth, circular paths around the chip edges for 20 - 25 seconds.
* As soon as all solder balls reach complete liquidus, lift the IC vertically
using precision curved tweezers. Never pull horizontally to avoid tearing
microscopic motherboard PCB pads.
- PCB Pad Cleanup & Planarization:
* Add a bead of leaded Sn63/Pb37 solder wire to the PCB footprint using a mini-chisel
soldering iron tip (320°C) to blend with high-temp lead-free factory solder.
* Use premium narrow copper desoldering wick to gently sweep across the footprint
until all pads are completely flat and mirror-smooth.
* Clean thoroughly with 99.9% Isopropyl Alcohol (IPA) and inspect under microscope
for missing or bridged pads.
- Reballing Procedure:
* Stencil: Dedicated SPU15 / Samsung Exynos 5G PMIC 0.40mm pitch BGA stencil.
* Solder Paste: Sn63/Pb37 (183°C melting point, Type 4 or Type 5 ultra-fine paste).
* Squeegee dried solder paste uniformly into the stencil apertures.
* Reflow using hot air at 280°C - 290°C with low airflow (20%) to form perfectly
identical, bright spherical solder balls.
- Installation:
* Apply an ultra-thin film of tacky flux over the motherboard pads.
* Carefully align the Pin 1 corner index dot with the white silkscreen alignment
mark on the board.
* Reflow with hot air at 335°C - 340°C, 35% airflow.
* Surface tension will pull the chip into exact alignment. Give an ultra-gentle
micro-touch with tweezers to verify molten ball elasticity.
* Allow the board to cool naturally to ambient room temperature before connecting
to a DC bench power supply.
================================================================================
You may also like