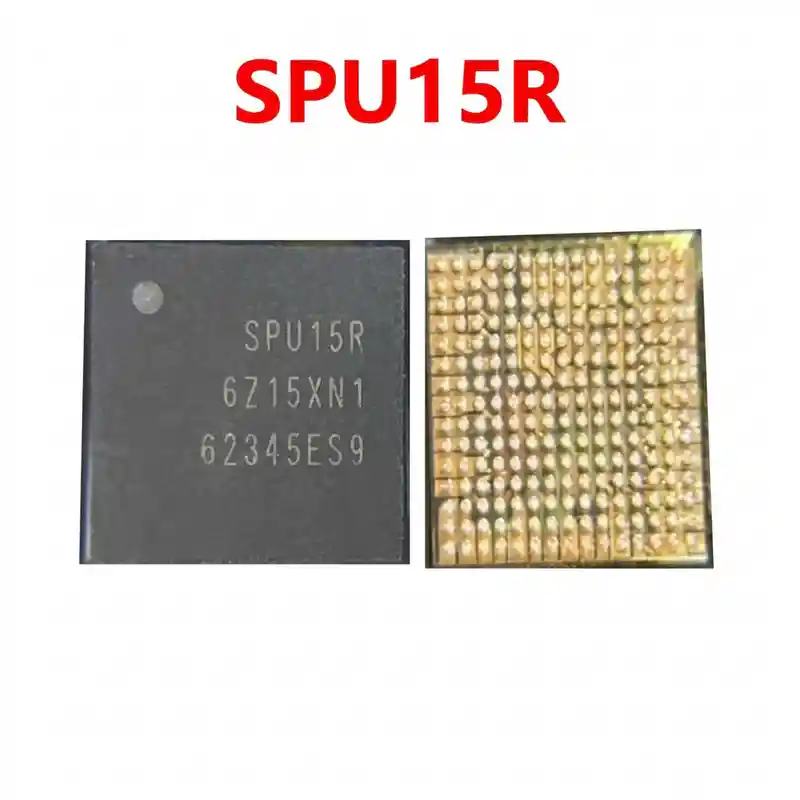
SPU13P IC
As low as
Rs 1250.00
Worldwide shipping · Cash on Delivery
Product Details
====================================================================================================
SAMSUNG SPU13P SUB-PMIC REWORK & DIAGNOSTIC HARDWARE GUIDE
====================================================================================================
1. FUNCTIONAL ARCHITECTURE & CIRCUIT ROLE:
----------------------------------------------------------------------------------------------------
- Synchronous Buck Switching Regulation:
* Operates directly from the main system voltage rail (VBAT / VPH_PWR ~3.8V to 4.2V) to generate
intermediate high-current, low-voltage power supplies (0.85V to 1.35V) for the 5G modem sub-blocks
and secondary core logic.
- Low-Dropout Linear Regulators (LDOs):
* Provides ultra-low-noise 1.2V, 1.8V, and 2.8V power lines specifically for MIPI camera sensors,
AMOLED display bias controllers, touch digitizers, and memory interface buses.
- Dynamic Power State & Sleep Coordination:
* Receives control commands from the primary PMIC and Exynos SoC via high-speed bidirectional I2C/SPMI bus
to activate high-performance power rails during 5G data transmission or 120Hz display modes, and power
down during low-power deep sleep.
2. BOARD-LEVEL FAULT SYMPTOMS:
----------------------------------------------------------------------------------------------------
- Completely Dead Phone (Zero Power / 0.000A):
* Motherboard fails to turn on; connecting to a DC bench power supply produces 0.000A or a small
unresponsive current pulse upon pressing the power button.
- Low Boot Current Freeze (Stuck at 0.03A to 0.08A):
* When attempting to boot, current draw freezes between 30mA and 80mA and fails to proceed to high-amperage
CPU boot execution due to a missing auxiliary buck or modem rail from SPU13P.
- Random Restarts Under Heavy Load:
* The phone reboots unexpectedly during video recording, 5G web surfing, or 3D gaming due to voltage drop
or degraded internal switching FETs inside SPU13P.
- Boot Loop / Stuck on Samsung Galaxy Logo:
* Phone displays the boot logo and restarts repeatedly because secondary peripheral voltages fail
to stabilize before kernel handover.
- Short-Circuit to Ground on Primary Power Line (Dead Short):
* Internal high-side power MOSFET breakdown inside SPU13P shorts VBAT / VPH_PWR directly to ground (0.000V),
tripping the bench power supply immediately before the power button is even pressed.
- Abnormal Battery Drain & Standby Heating:
* Internal current leakage causes SPU13P to stay warm in standby, draining 150mA–300mA continuously and
discharging the battery within 4 to 6 hours.
3. STEP-BY-STEP MULTIMETER TESTING & DIAGNOSTICS:
----------------------------------------------------------------------------------------------------
A. Cold Testing (Diode Mode Check - Battery & Charger Disconnected):
1. Set digital multimeter to Diode Mode. Place RED probe on PCB ground (metal shield frame) and probe
surrounding inductors and filter capacitors with the BLACK probe:
- Main Input Line (VBAT / VPH_PWR Filter Capacitors): Normal reading is ~380mV to 520mV (0.000V indicates
a primary short).
- Sub-PMIC Buck Coils Surrounding SPU13P: Normal readings typically range from ~280mV to 420mV.
- Peripheral LDO Output Filter Capacitors: Normal readings range from ~450mV to 680mV.
- I2C Communication Lines: Normal reading is ~480mV to 650mV on both clock and data lines.
2. Short-Circuit Verification:
- If any buck coil or power rail shows 0.000V with a continuous multimeter tone, apply rosin smoke
over SPU13P and inject 1.2V DC (limited to 1.5A) into the shorted rail to verify if SPU13P melts the rosin.
B. Hot Testing (Power Key & Boot Trigger Test):
1. Connect motherboard to a DC bench power supply set to 4.0V:
- Check input capacitor to SPU13P: Must show full battery line voltage (3.8V to 4.2V DC).
- Trigger the power button: Measure voltage across the buck inductors surrounding SPU13P; they must
rise to stable output voltages (~0.85V to 1.35V DC) during the boot attempt. If input voltage is present
and the enable signal arrives, but all output coils remain at 0V, SPU13P is defective.
4. SOLDERING, REBALLING & REWORK SPECIFICATIONS:
----------------------------------------------------------------------------------------------------
- Fine-Pitch BGA Package:
* SPU13P is situated under the main motherboard shielding in close proximity to the Exynos processor and
UFS flash storage. Careful thermal shielding is essential to protect neighbouring chips.
- Desoldering Procedure:
* Protect the processor and flash memory with dual-layer Kapton tape and thick aluminum heat-reflective tape.
* Apply a small amount of non-corrosive RMA tacky flux around the perimeter of SPU13P.
* Hot air rework parameters: Temperature 330°C – 340°C, Airflow 25%–30%.
* Apply gentle, uniform circular heat for 15–20 seconds. Once the solder balls liquefy, lift the chip
straight up using precision micro-tweezers.
- Motherboard Pad Cleanup:
* Apply leaded solder paste (Sn63/Pb37, 183°C) to dilute high-temperature factory lead-free solder on the pads.
* Level and clean the micro-pads flat using fine copper desoldering braid and a soldering iron at 280°C.
* Clean thoroughly with 99% pure Isopropyl Alcohol (IPA); inspect under a microscope to confirm no bridged
or lifted copper pads.
- Reballing Procedure:
* Use a dedicated Samsung Galaxy A53 / SPU13P BGA stencil (0.12mm thickness).
* Spread 183°C fine-grain leaded solder paste evenly into all apertures.
* Reflow with hot air at 275°C with low airflow (15%) until bright, uniform spherical balls form.
- Installation & Final Reflow:
* Spread a microscopic layer of tacky flux over the motherboard pad footprint.
* Align the Pin 1 corner index dot precisely with the motherboard silkscreen orientation mark.
* Reflow at 305°C – 315°C with 25% airflow. The chip will automatically settle into alignment via solder
surface tension.
* Allow the motherboard to cool down naturally for 3 to 5 minutes before connecting the battery and testing bootup.
====================================================================================================
You may also like