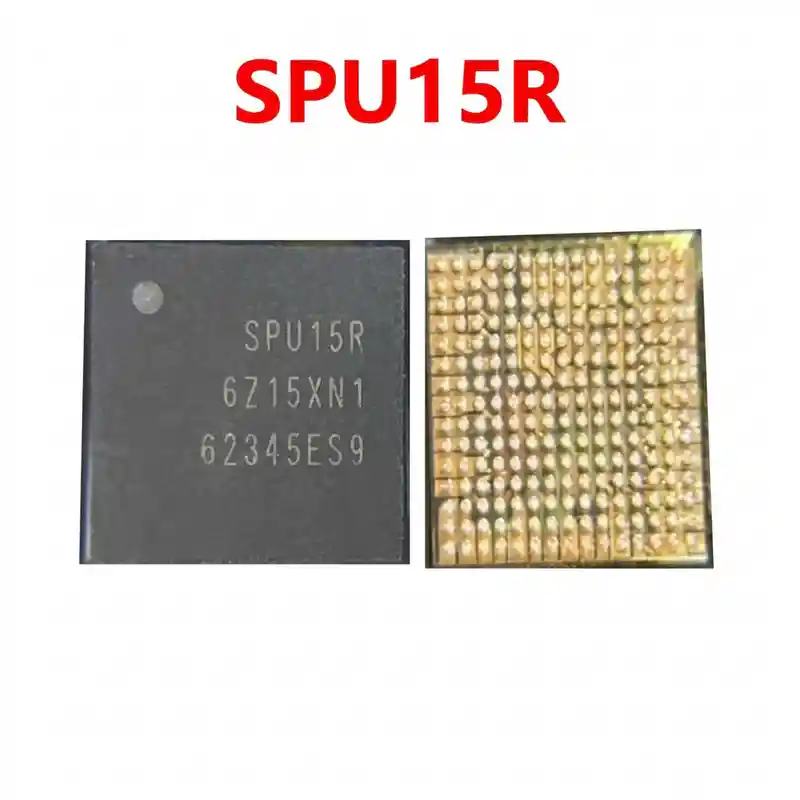
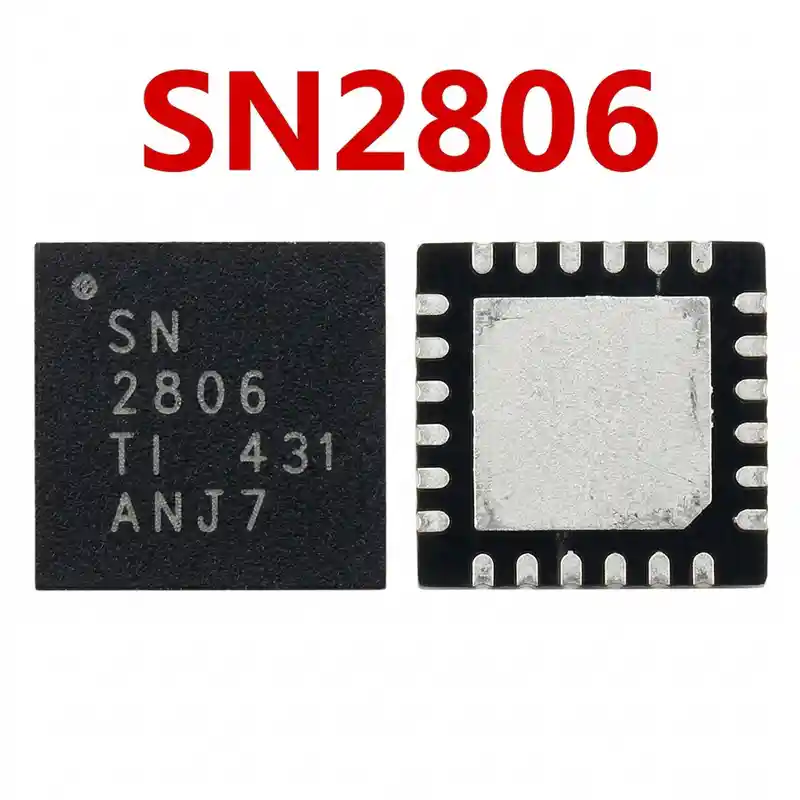
SMB1396 IC
As low as
Rs 250.00
Worldwide shipping · Cash on Delivery
Product Details
====================================================================================================
QUALCOMM SMB1396 CHARGE PUMP & FAST CHARGING IC REPAIR GUIDE
====================================================================================================
1. FUNCTIONAL ARCHITECTURE & POWER PATH:
----------------------------------------------------------------------------------------------------
- 2:1 Divide-by-Two Switched-Capacitor Architecture:
* In standard fast charging (PD PPS / QC4+ / QC5), the adapter outputs ~10V to 11V.
* The SMB1396 halves this voltage to ~5V while doubling the current going directly into the battery rail (VBAT).
* This bypasses the traditional inductive buck converter losses, maintaining high conversion efficiency
(>97%) and preventing the motherboard from overheating.
- Dual-Input Wireless Charging Integration:
* Accepts high-voltage rectified DC input from the wireless charging receiver coil (up to 30W–50W),
converting it directly to battery charging levels.
- System Interface:
* Communicates with the main application processor (CPU) and Primary PMIC via high-speed I2C / SPMI bus.
2. BOARD-LEVEL FAULT SYMPTOMS (CHARGING & POWER FAILURES):
----------------------------------------------------------------------------------------------------
- No Fast / Turbo / HyperCharge (Stuck at Slow 5V Charging):
* When plugged into an original 33W/67W/120W fast charger, the phone only charges at basic 5V (0.4A – 1.0A),
or displays "Slow Charging" and fails to negotiate Quick Charge protocols.
- Wireless Charging Completely Non-Functional:
* Phone does not recognize wireless charging pads, or immediately throws a wireless charging error.
- Fake Charging (Charging Animation Shows, But Percentage Does Not Rise):
* The lightning bolt icon appears, but the battery level either stays frozen or drains while plugged in.
- Motherboard Short Circuit & Dead Phone (VBUS / VBAT Short):
* An internal silicon breakdown inside SMB1396 shorts the input rail or battery output to ground,
causing a full primary rail short (0.000V in diode mode). The phone will not power on and draws
immediate high current on a DC power supply.
- Instant Reboot or Shutdown on Charger Insertion:
* Inserting the charging cable causes the phone to immediately crash, restart into Fastboot, or turn off.
3. MULTIMETER DIAGNOSTICS & TESTING PROCEDURE:
----------------------------------------------------------------------------------------------------
A. Cold Testing (Diode Mode - Battery & Charger Disconnected):
1. Connect RED probe to motherboard GND (shielding can), probe with BLACK probe:
- Flying Capacitor Pins (CFLY lines): Measure the ceramic capacitors surrounding SMB1396.
Normal reading is ~400mV to 550mV on both sides. A reading of 0.000V indicates an internal FET short.
- VBUS / Charger Input Rail: Normal diode reading is ~450mV to 650mV.
- VBAT / Battery Output Pins: Normal diode reading is ~350mV to 480mV.
- I2C Communication Lines (SDA / SCL): Normal reading is ~450mV to 580mV.
2. Short Circuit Isolation:
- If adjacent high-capacitance MLCC capacitors read 0.000V with a continuous beep, spray freeze spray
or use a thermal camera while injecting 1.8V–3.8V into the shorted rail. If SMB1396 glows hot,
remove it to eliminate the board short.
B. Hot Testing (USB-C Power Meter & Operating Voltage):
1. Plug into an original fast charger via a USB power tester (Power-Z or similar):
- In normal standby / slow mode, input voltage is 5.0V.
- When Turbo / Fast Charge triggers, input voltage should negotiate up to **9V – 11V**.
- Output voltage at the battery side must match battery voltage (3.8V – 4.35V) with charging current > 3.0A.
- If 9V–11V arrives at the input capacitors of SMB1396, but zero current enters the battery through
the charge pump and the chip stays cold, the IC has failed to enable and must be replaced.
4. MICRO-SOLDERING, REBALLING & REWORK SPECIFICATIONS:
----------------------------------------------------------------------------------------------------
- Stencil Selection:
* Use a dedicated Qualcomm SMB1396 / SMB series BGA stencil or AMAOE Xiaomi/Qualcomm universal stencil.
- Chip Removal:
* Protect nearby underfilled CPU / UFS memory chips with heat-resistant copper tape or thermal shields.
* Apply high-quality no-clean flux (e.g., Kingbo / Amtech NC-559).
* Hot air rework parameters: Temperature 330°C – 340°C, Airflow 20% – 25%.
* Heat evenly in small circles for 10 to 15 seconds; gently lift straight up once solder balls melt.
- Pad Preparation & Cleaning:
* Apply leaded Sn63/Pb37 solder wire and use a micro-chisel soldering tip at 280°C to refresh PCB pads.
* Clean completely flat using fine copper desoldering wick and flux. Wipe clean with 99% pure IPA.
- Chip Reballing:
* Clamp the IC in the stencil, apply medium-temp 183°C solder paste smoothly across all apertures.
* Reflow with hot air at 280°C – 300°C (low airflow 15%) until shiny, perfectly uniform balls form.
- Chip Installation:
* Apply a very light, transparent layer of tacky flux over the PCB pads.
* Align the Pin 1 orientation dot on SMB1396 strictly with the motherboard silkscreen corner marker.
* Solder with hot air at 320°C – 330°C with 15%–20% airflow until the IC naturally settles and self-aligns.
* Allow 2 minutes of cooling before reconnecting the battery and verifying Fast/Turbo charging function.
====================================================================================================
You may also like