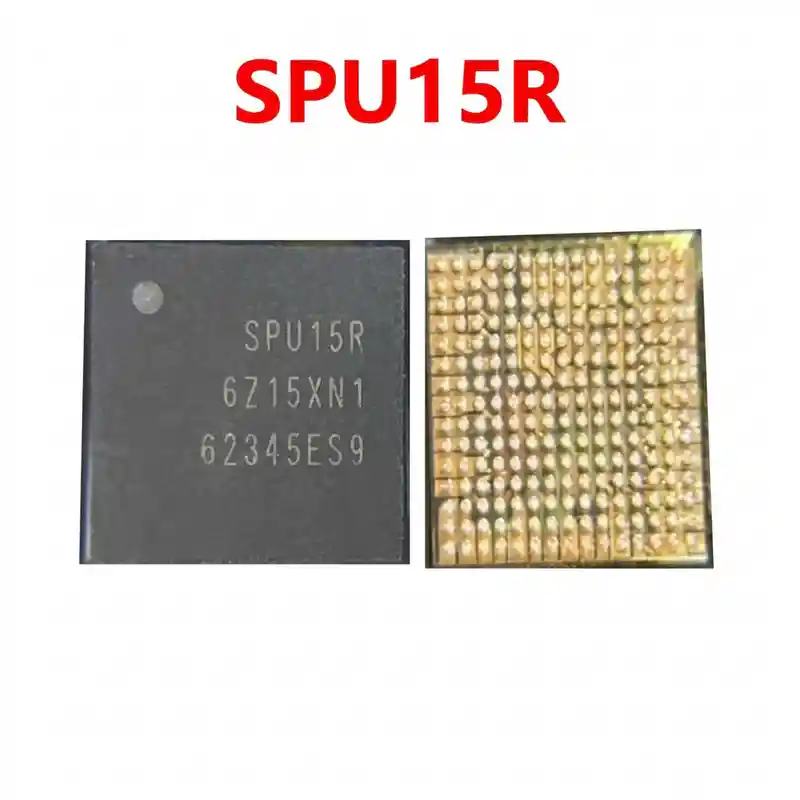
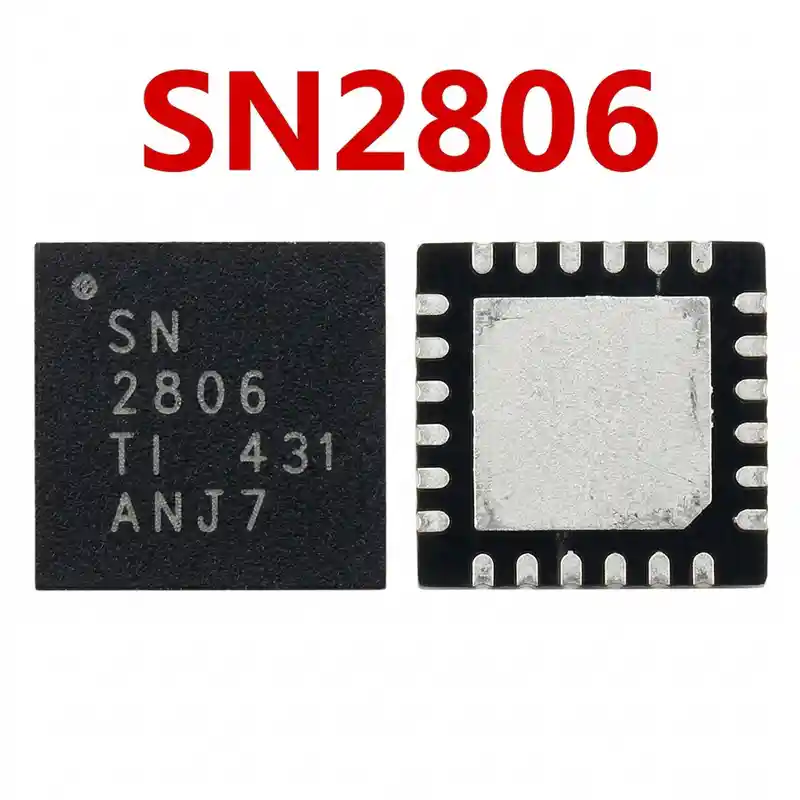
SMB1351 IC
As low as
Rs 300.00
Worldwide shipping · Cash on Delivery
Product Details
====================================================================================================
QUALCOMM SMB1351 CHARGING & POWER PATH IC HARDWARE DIAGNOSTIC GUIDE
====================================================================================================
1. FUNCTIONAL ARCHITECTURE & POWER PATH OPERATION:
----------------------------------------------------------------------------------------------------
- Switch-Mode Buck Topology:
* Operates with an external high-current power inductor (LX Switching Coil, typically 1.0uH–2.2uH)
to step down 5V/9V/12V VBUS charger voltage to ~3.7V–4.35V battery voltage.
* Internal Dynamic Power Path Management (DPPM) allows the device to boot instantly even with a totally
drained or disconnected battery by supplying power directly to the VPH_PWR rail.
- Control Interfaces:
* Communicates with the main Qualcomm CPU / PMIC via I2C / SPMI bus.
* Handles USB D+/D- lines for Fast Charger detection (QC 2.0 / QC 3.0 HVDCP handshake).
2. BOARD-LEVEL FAULT SYMPTOMS:
----------------------------------------------------------------------------------------------------
- Completely Dead Phone (No Power, 0.00A on DC Supply):
* When SMB1351 suffers internal MOSFET silicon breakdown, the VPH_PWR line shorts to ground (0.000V in
diode mode), completely disabling the main PMIC and CPU from receiving power.
- No Charging (0.00A Current Draw on USB Tester):
* 5.0V is reaching the board from the Type-C port, but zero current is drawn; the phone does not detect
charger insertion.
- Fake Charging (Charging Logo Shown but Battery Percentage Drains):
* The screen shows the charging bolt symbol, but the switching coil circuit fails to deliver current,
causing battery discharge under operating load.
- Severe Overheating Upon Charger Connection:
* Internal short on the input switching FET causes the chip to heat up rapidly (over 70°C–90°C), often
tripping the charger's short-circuit protection.
3. MULTIMETER DIAGNOSTICS & TESTING PROCEDURE:
----------------------------------------------------------------------------------------------------
A. Cold Testing (Diode Mode - Battery & Charger Disconnected):
1. Place RED probe on motherboard Ground (shield can), test with BLACK probe:
- VBUS Input Test Point / Filter Caps: Normal value is ~500mV to 650mV. (0.000V = input short).
- Switching Buck Coil (VPH_PWR / VSYS): Normal value is ~350mV to 450mV. (0.000V = VPH short).
- Battery Connector Positive (VBAT): Normal value is ~400mV to 550mV.
- USB Data Lines (D+ / D-): Normal value is ~550mV to 750mV (must be closely balanced).
B. Hot Testing (5V Charger Connected without Battery):
1. Connect a 5V USB charger to the charging port:
- Verify 5.0V DC on the VBUS input capacitor.
- Measure voltage across the large SMB1351 Switching Coil: Must measure steady +3.7V to +4.2V DC.
2. Diagnostic Rule:
- If 5V is entering the chip, but the switching coil measures 0V and shows no short to ground,
the SMB1351 is defective (internal boot circuit dead) and must be replaced.
4. MICRO-SOLDERING, REBALLING & REPLACEMENT PROCEDURE:
----------------------------------------------------------------------------------------------------
- Stencil Selection:
* Use a dedicated Qualcomm SMB / Universal BGA stencil (0.35mm / 0.4mm pitch, AMAOE QLM series).
- Chip Removal:
* Surround sensitive adjacent chips (CPU/EMMC) with thermal shielding tape.
* Apply medium-viscosity tacky flux (NC-559).
* Hot air rework parameters: Temperature 340°C – 350°C, Airflow 25% – 30%.
* Heat evenly for 18 to 22 seconds until the solder balls liquefy; lift carefully with micro-tweezers.
- PCB Pad Cleanup:
* Wick the motherboard pads flat using leaded solder (Sn63/Pb37) and fine desoldering braid at 280°C.
* Clean thoroughly with 99% pure Isopropyl Alcohol (IPA); verify with microscope that no pads are bridged or torn.
- Reballing New / Used Chip:
* Secure the chip under the stencil; apply 183°C solder paste into all 49 holes.
* Heat gently with hot air at 290°C – 300°C (low airflow 15%) until uniform, shiny solder balls form.
- Installation:
* Apply a minimal, translucent film of flux on the PCB footprint.
* Position the chip, aligning the Pin 1 orientation marker (dot) precisely with the board guide.
* Reflow at 320°C – 330°C with 20% airflow. Watch the chip gently float and self-center onto the pads.
* Allow the board to cool naturally for 3 minutes before testing boot and charging on the USB ammeter.
====================================================================================================
You may also like