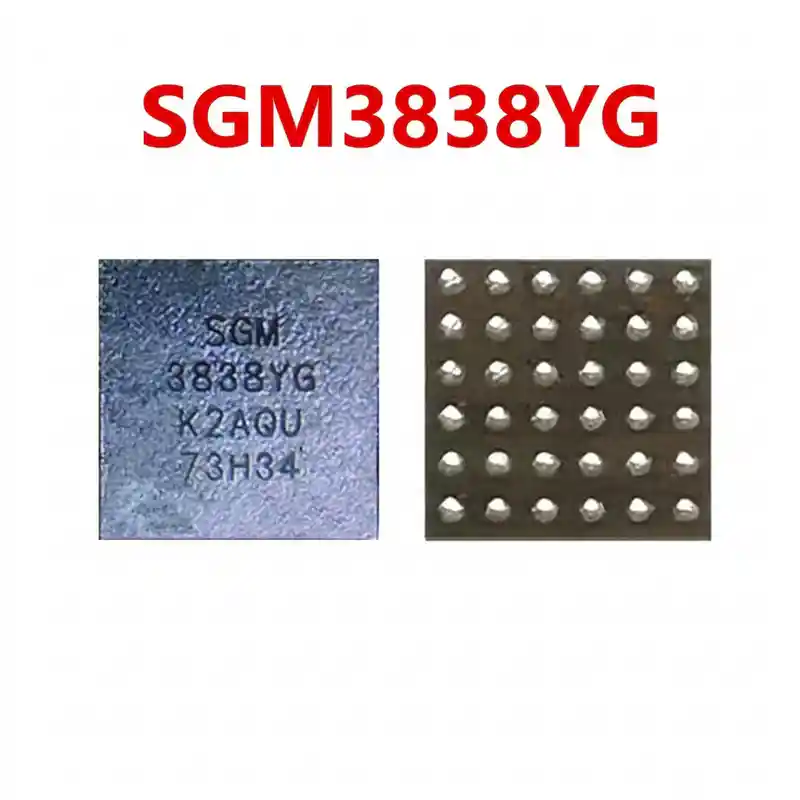
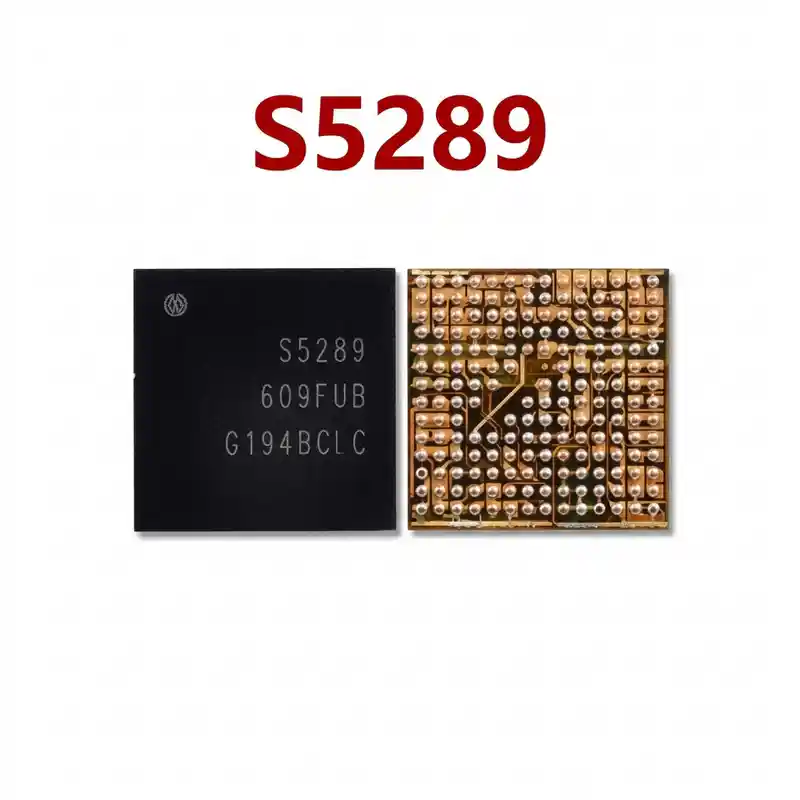
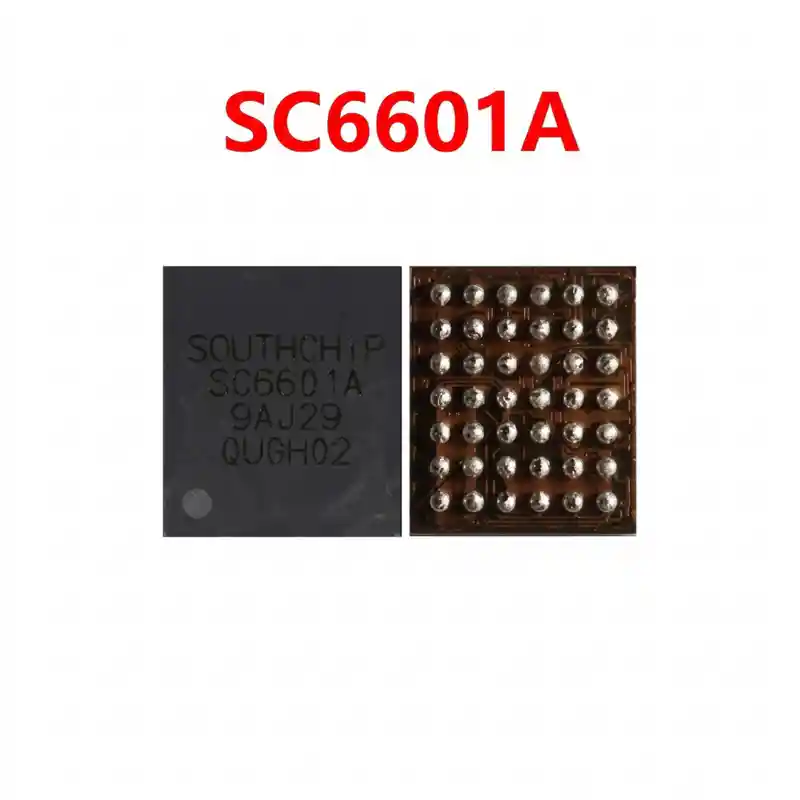
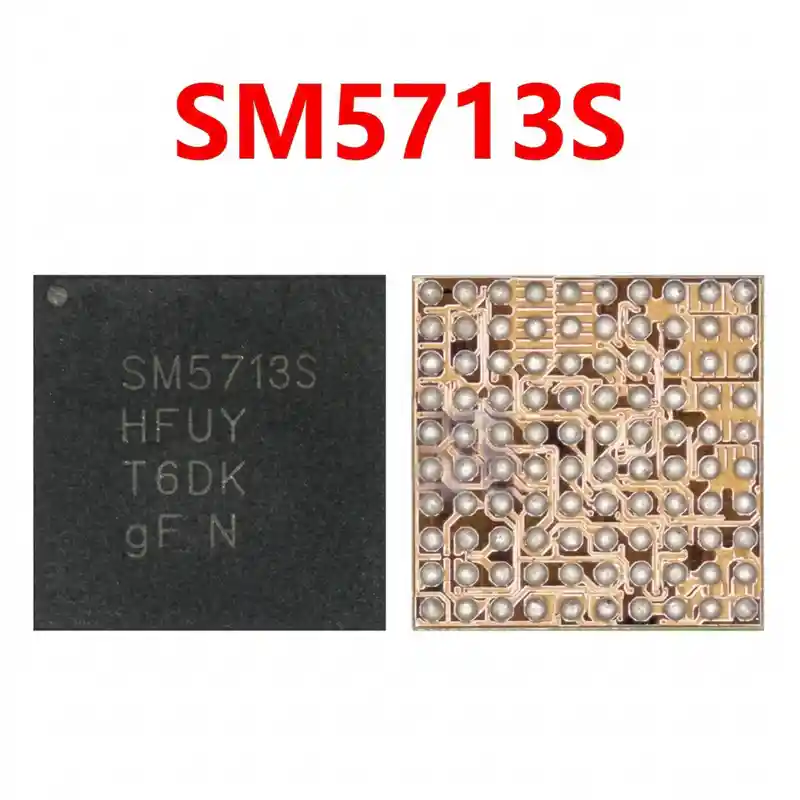
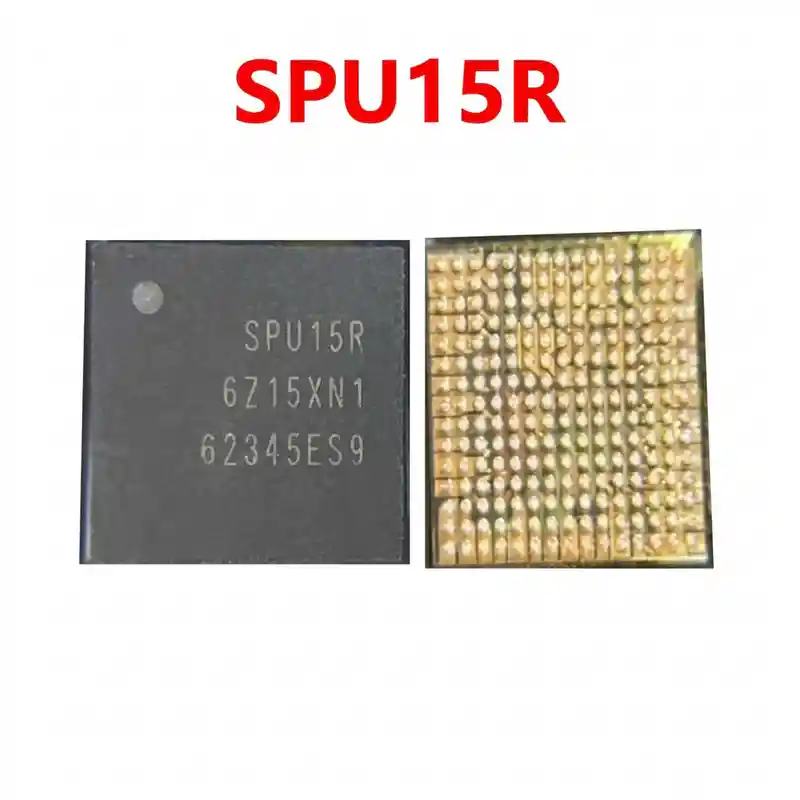
SKY82896 IC
As low as
Rs 300.00
Worldwide shipping · Cash on Delivery
Product Details
====================================================================================================
SKYWORKS SKY82896 3-CHANNEL BOOST LED DRIVER HARDWARE DIAGNOSTIC GUIDE
====================================================================================================
1. FUNCTIONAL ARCHITECTURE & CIRCUIT DOMAIN:
----------------------------------------------------------------------------------------------------
- Boost Converter & Current Sinks:
* Uses an external boost coil (4.7uH to 10uH), high-voltage Schottky diode, and 35V ceramic filter capacitor.
* Inputs: Battery Voltage (VBAT, 3.8V DC), Enable/PWM line, I2C digital serial bus (SDA and SCL).
* Outputs: Boosted Anode Rail (up to +30V DC) and three precision matched cathode sinks (ISNK1, ISNK2, ISNK3).
* Built-in Over-Voltage Protection (OVP at 30V) prevents board damage if an LED string is disconnected.
2. BOARD-LEVEL FAULT SYMPTOMS (HARDWARE DEFECTS):
----------------------------------------------------------------------------------------------------
- Complete Backlight Failure (Dark Screen with Working Graphics):
* The Note 4 boots up, vibrates, and incoming calls work. Under direct flashlight, icons and graphics
are visible on the screen, but the display backlight remains 100% dark.
- Uneven Lighting or Partial Screen Darkness:
* Since the SKY82896 controls three separate current channels, if one channel fails, one portion
or side of the screen appears noticeably dim or shadowy.
- Screen Flickering at Low Brightness:
* Degraded current-sink transistors inside the chip cause rapid flickering when the brightness slider
is set to lower percentages.
- Primary Battery Line Short Circuit:
* Internal switching FET silicon breakdown causes a direct short on the VBAT line, tripping the DC power supply.
- Camera Flash Failure / Flash LED Stays Weak or Dead:
* When flash lighting is driven through this IC, camera capture results in no flash or flash timeout errors.
3. MULTIMETER DIAGNOSTICS & TESTING PROCEDURE:
----------------------------------------------------------------------------------------------------
A. Cold Testing (Diode Mode - Battery & Display Disconnected):
1. Place RED probe on motherboard Ground (metal shield frame), probe with BLACK probe:
- Boost Anode Output Capacitor: Normal diode reading is ~450mV to 650mV. (0.000V = shorted cap/diode).
- Three Cathode Channel Lines (ISNK1, 2, 3): Normal diode reading is ~550mV to 700mV (all 3 must be closely balanced).
- I2C Bus Lines (SCL / SDA): Normal reading is ~450mV to 550mV.
- Boost Inductor Input (VBAT): Normal reading is ~350mV to 450mV.
2. Short Circuit Isolation:
- If the output filter capacitor reads 0.000V with a continuous beep, remove the diode/capacitor
to confirm if the short is cleared or if SKY82896 is shorted.
B. Hot Testing (Operating Voltage Checks with Phone Powered ON):
1. Turn on the device and measure DC voltage across the output boost capacitor:
- While screen is on: Must measure a steady **+18.0V up to +28.0V DC**.
- If voltage remains at battery level (3.8V) without boosting, verify 1.8V on the I2C lines and check
boost inductor continuity. If inputs are good, the SKY82896 driver IC is blown.
4. MICRO-SOLDERING, REBALLING & REWORK SPECIFICATIONS:
----------------------------------------------------------------------------------------------------
- Package Architecture:
* 16-Bump WLCSP (4x4 layout, 1.6mm x 1.6mm). Extremely compact bare-silicon package.
- Desoldering (Removal):
* Apply a small drop of premium RMA / NC-559 tacky flux around the chip.
* Hot air rework parameters: Temperature 330°C – 340°C, Airflow 20% – 25%.
* Heat evenly for 10 to 12 seconds maximum. Lift the chip straight up with ultra-fine tweezers.
- Motherboard Pad Cleaning:
* Soften the remaining solder using Sn63/Pb37 leaded solder at 280°C.
* Clean pads completely flat using fine copper desoldering wick and flux. Clean with 99% pure IPA.
- Chip Reballing:
* Use a universal 0.4mm pitch WLCSP stencil.
* Apply 183°C medium-temperature solder paste uniformly.
* Heat with hot air at 290°C – 300°C with low airflow (15%) until bright, uniform micro solder balls form.
- Installation:
* Apply a minimal, translucent film of flux across the PCB pads.
* Align the Pin 1 orientation corner dot of the SKY82896 accurately with the motherboard silkscreen guide.
* Solder with hot air at 310°C – 320°C with 15%–20% airflow until the chip pulls into place via surface tension.
* Allow 2 to 3 minutes of passive cooling before connecting the display and testing backlight illumination.
====================================================================================================
You may also like