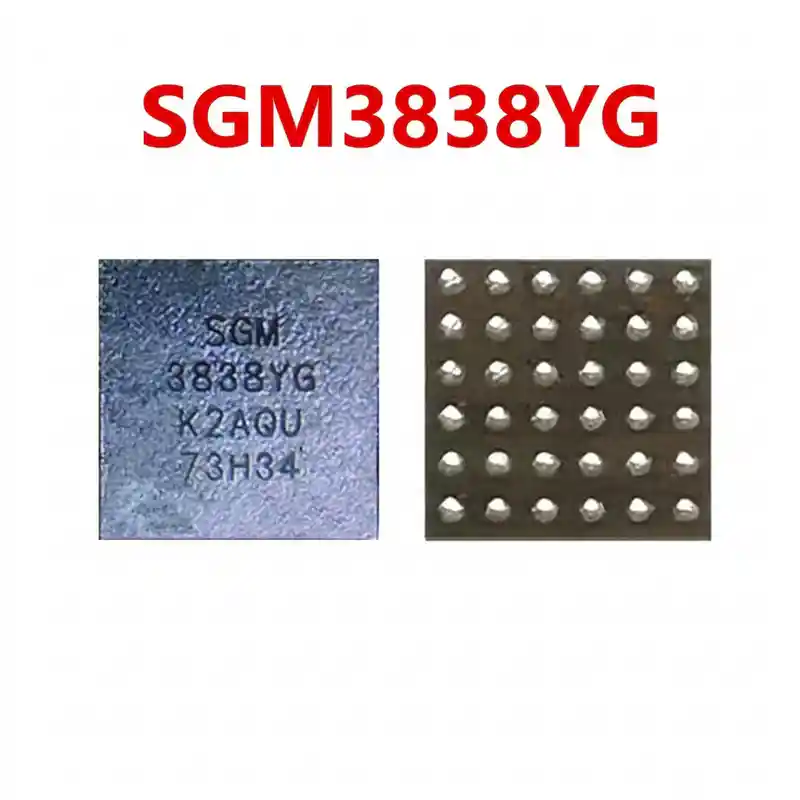
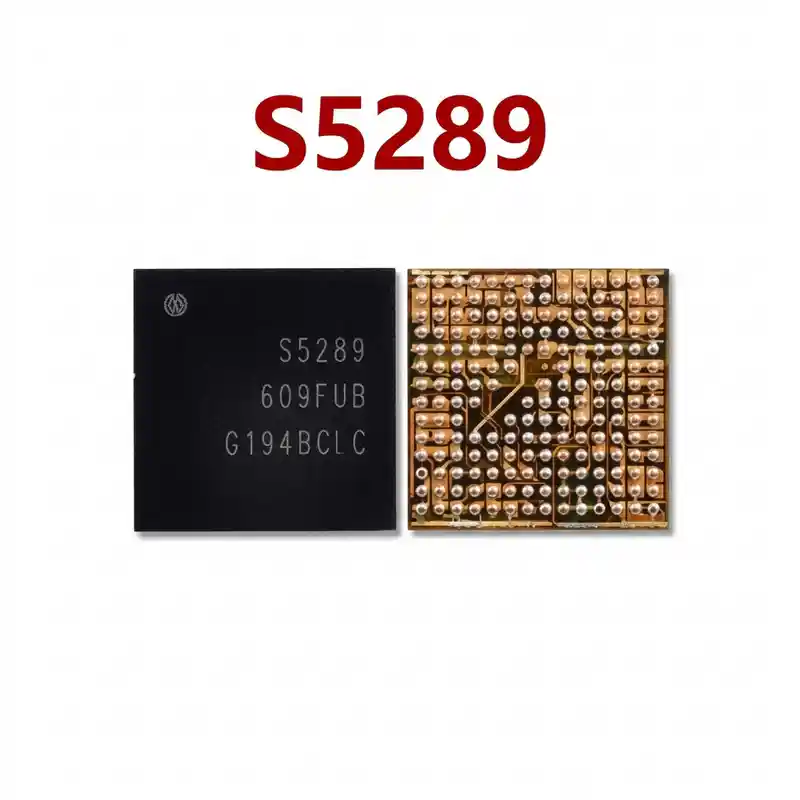
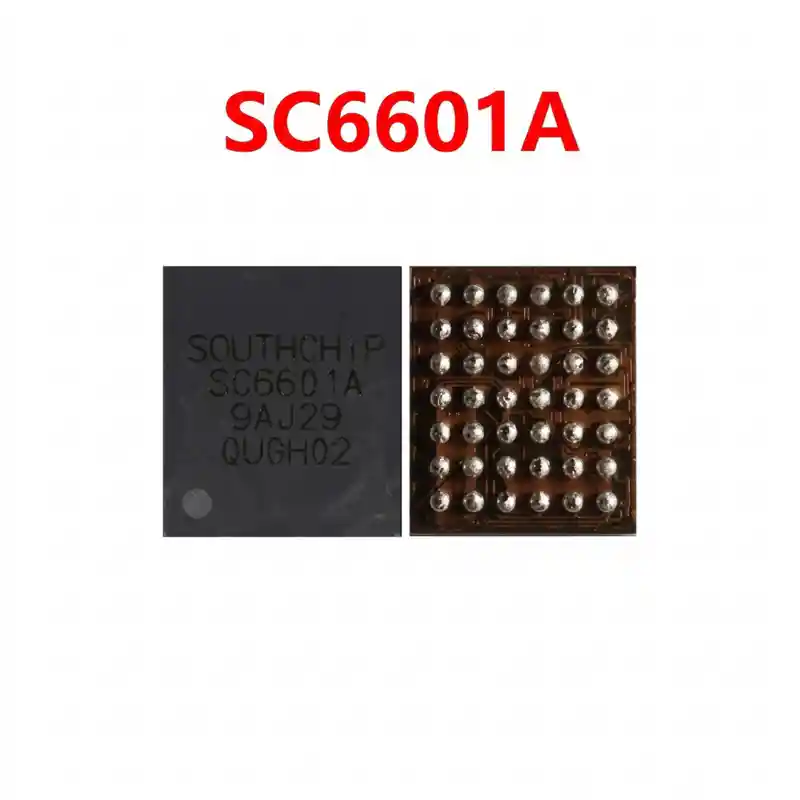
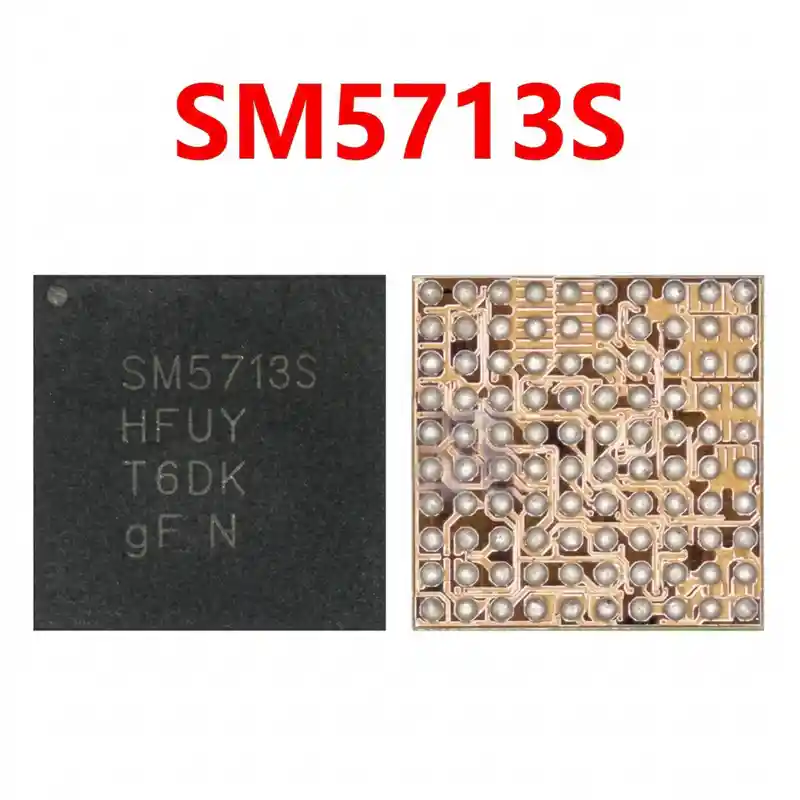
SIA8101 IC
As low as
Rs 280.00
Worldwide shipping · Cash on Delivery
Product Details
====================================================================================================
SILICON INTEGRATED SIA8101 SMART AUDIO AMPLIFIER IC REWORK GUIDE
====================================================================================================
1. FUNCTIONAL ARCHITECTURE & CIRCUIT ROLE:
----------------------------------------------------------------------------------------------------
- High-Efficiency Smart Class-D Topology:
* Converts incoming digital audio (I2S / TDM data streams) directly into high-power analogue drive
signals for the bottom loudspeaker.
* Incorporates an internal inductive/capacitive boost DC-DC converter that steps up battery voltage
(VBAT ~3.8V) up to ~7.0V–8.5V, enabling high-volume output without audio clipping or sound distortion.
- Real-Time Hardware Speaker Protection:
* Features adaptive voice-coil temperature tracking, diaphragm excursion limiting algorithms, and battery
brownout prevention to safeguard the speaker from burning out during prolonged high-volume playback.
- Control & Diagnostic Bus:
* Controlled via standard I2C digital interface lines (SDA / SCL) for volume control, audio DSP mode
selection, fault flag reporting, and short-circuit protection status.
2. BOARD-LEVEL FAULT SYMPTOMS:
----------------------------------------------------------------------------------------------------
- No Loudspeaker / No Ringtone / No Media Audio:
* Ear-receiver and Bluetooth audio function normally during calls, but bottom loudspeaker produces
zero sound (no ringtone, no music, no hands-free audio).
- Distorted, Static, or Crackling Audio:
* Audio output suffers from severe buzzing, crackling, or robotic distortion due to a failing internal
boost converter or corrupted DAC stage.
- Extremely Weak / Faint Volume:
* Audio is audible only when placing the bottom speaker directly against the ear (internal boost
converter has failed, operating on raw battery voltage without amplification).
- System Freeze on Audio Playback:
* Opening YouTube, playing voice notes on WhatsApp, or receiving an incoming call causes the entire phone
to freeze or reboot (caused by a collapsed I2C audio communication bus).
- VBAT / System Line Short-Circuit:
* Internal boost MOSFET breakdown shorts the main battery/system line directly to ground, causing the phone
to be completely dead or triggering DC bench supply over-current protection.
- Severe IC Overheating:
* SIA8101 gets scalding hot within seconds of triggering any sound or notification.
3. STEP-BY-STEP MULTIMETER TESTING & DIAGNOSTICS:
----------------------------------------------------------------------------------------------------
A. Cold Testing (Diode Mode Check - Battery Disconnected):
1. Place multimeter in Diode Mode. Connect RED probe to PCB ground (shielding frame) and probe with BLACK probe:
- VBAT / VDD Input Line: Normal reading is ~380mV to 520mV (0.000V = dead short on main power rail).
- Boost Inductor / Capacitor Node: Normal reading is ~400mV to 580mV.
- Speaker Output Positive & Negative (SPK_OUT_P / SPK_OUT_N): Both lines must read balanced
(~450mV to 650mV). Any line reading 0.000V or infinite (OL) indicates a blown output stage or open trace.
- I2C Control Lines (SDA / SCL): Normal reading is ~480mV to 650mV with matching balanced values.
2. Short-Circuit Verification:
- If surrounding filter capacitors measure 0.000V, apply rosin flux and inject 3.8V DC (limited to 1.5A).
If SIA8101 melts the rosin immediately, remove the chip from the PCB.
B. Hot Testing (Phone Powered On & Media Playing):
1. Play a continuous audio ringtone from settings:
- Check input capacitor: Must measure steady 3.8V–4.2V DC (VBAT).
- Check boost capacitor: Voltage should dynamically boost from 4.0V up to ~6.5V–8.0V DC. If voltage
remains stuck at battery voltage during playback, the internal booster is dead.
- Probe speaker spring contacts: AC audio waveform (0.5V to 2.5V AC) should fluctuate with sound rhythm.
4. SOLDERING, REBALLING & REWORK SPECIFICATIONS:
----------------------------------------------------------------------------------------------------
- Micro WLCSP Silicon Package:
* SIA8101 is an ultra-miniature wafer-level BGA chip with bare silicon glass on top. Mechanical pressure
from tweezers or uneven localized thermal shock can crack the silicon die.
- IC Desoldering Procedure:
* Shield surrounding plastic FPC sockets and microphones with Kapton tape or metal shielding.
* Apply a small dab of non-corrosive RMA tacky flux around the chip.
* Hot air rework parameters: Temperature 330°C – 340°C, Airflow 25%–30%.
* Apply heat in gentle circular motions for 15–18 seconds. Once solder balls liquefy, lift straight
upward using fine precision tweezers.
- PCB Pad Cleanup:
* Apply leaded solder paste (Sn63/Pb37, 183°C) to dilute high-temperature factory alloy.
* Wick the pads flat using fine copper desoldering braid and a micro-tip soldering iron at 280°C.
* Clean thoroughly with 99% pure Isopropyl Alcohol (IPA); confirm under a microscope that no solder mask
is scraped between adjacent micro-pads.
- Reballing Procedure:
* Secure the replacement IC in a dedicated SIA8101 / universal audio BGA stencil (0.12mm thickness).
* Scrape 183°C fine-grain leaded solder paste evenly into all stencil apertures.
* Reflow using hot air set to 280°C with low airflow (15%) until bright, uniform solder spheres form.
- Placement & Final Reflow:
* Apply a microscopic film of tacky flux on the PCB footprint.
* Align the Pin 1 orientation index dot with the board silkscreen marking.
* Reflow at 305°C – 315°C with 25% airflow. The chip will automatically pull into center alignment via
solder surface tension.
* Let the board cool naturally for 3 to 5 minutes before assembling speaker housing and testing audio output.
====================================================================================================
You may also like