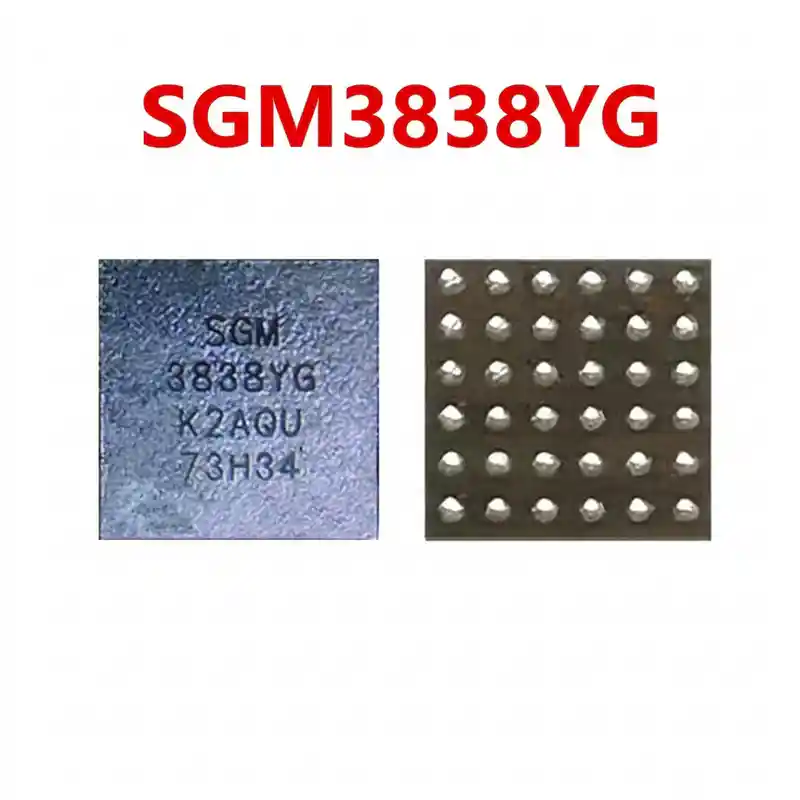
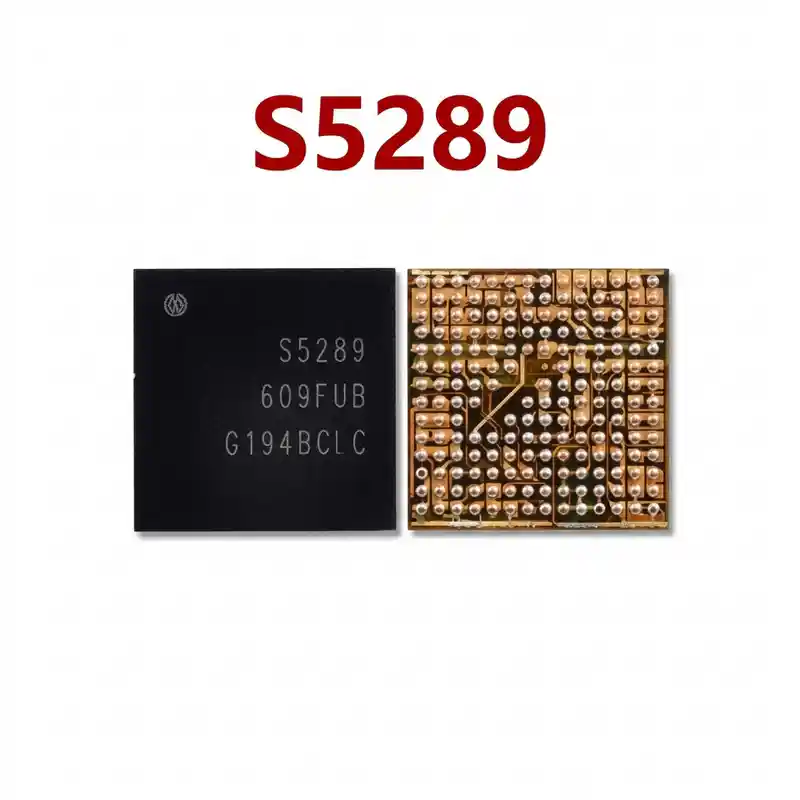
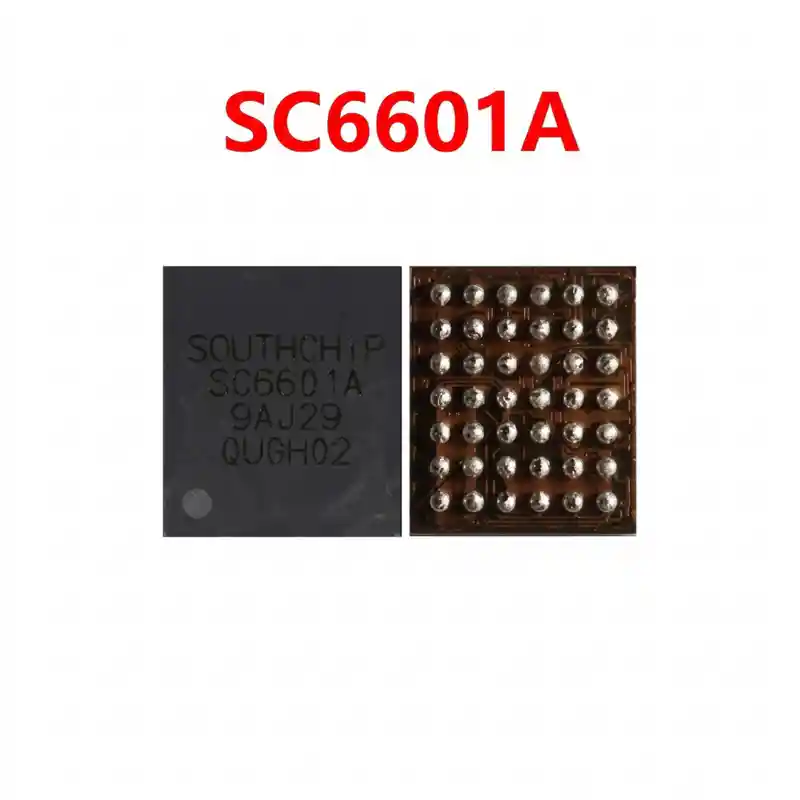
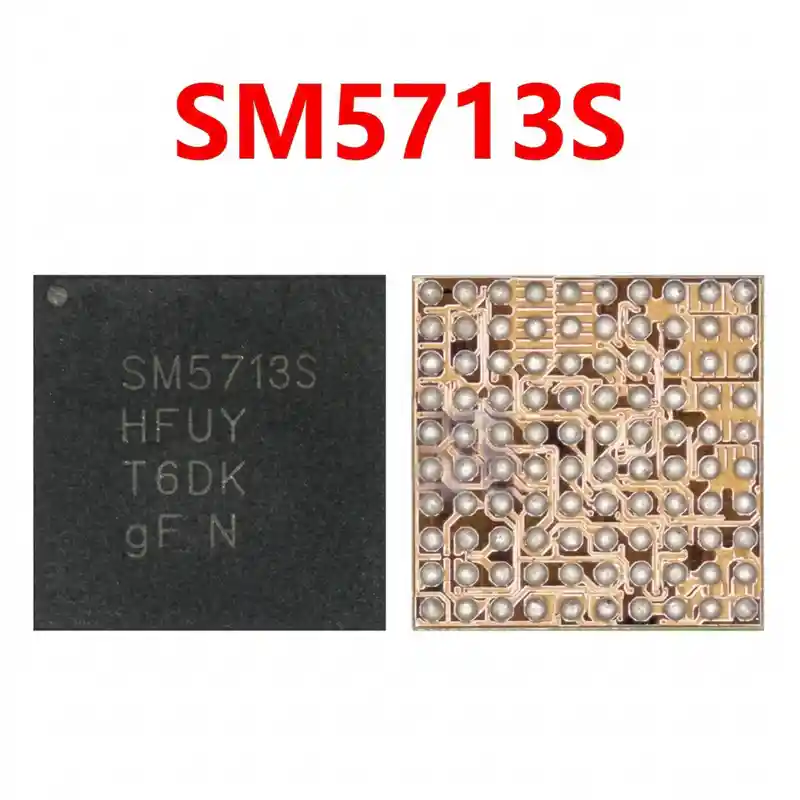
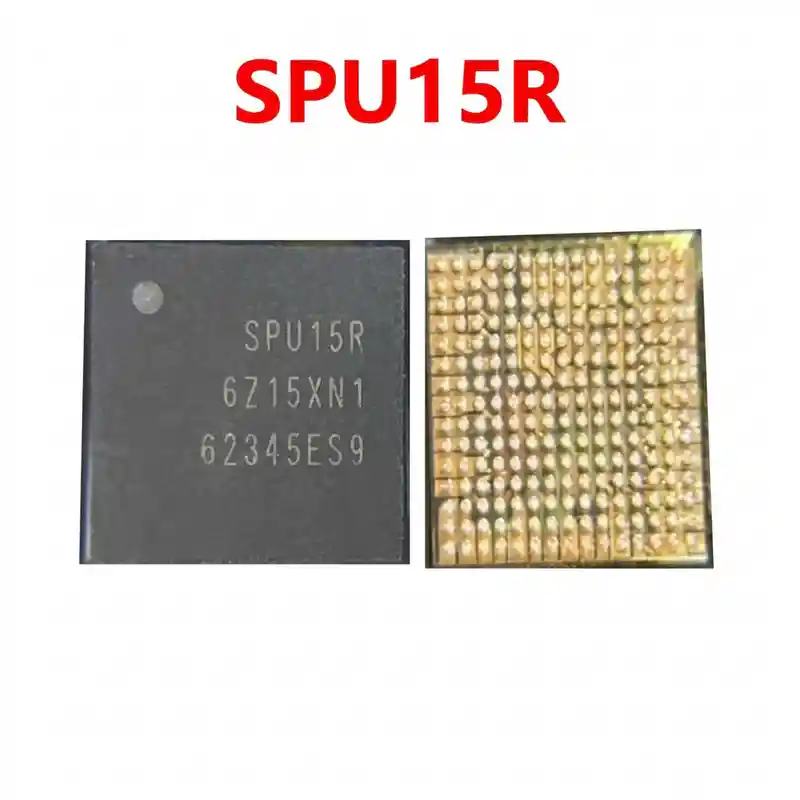
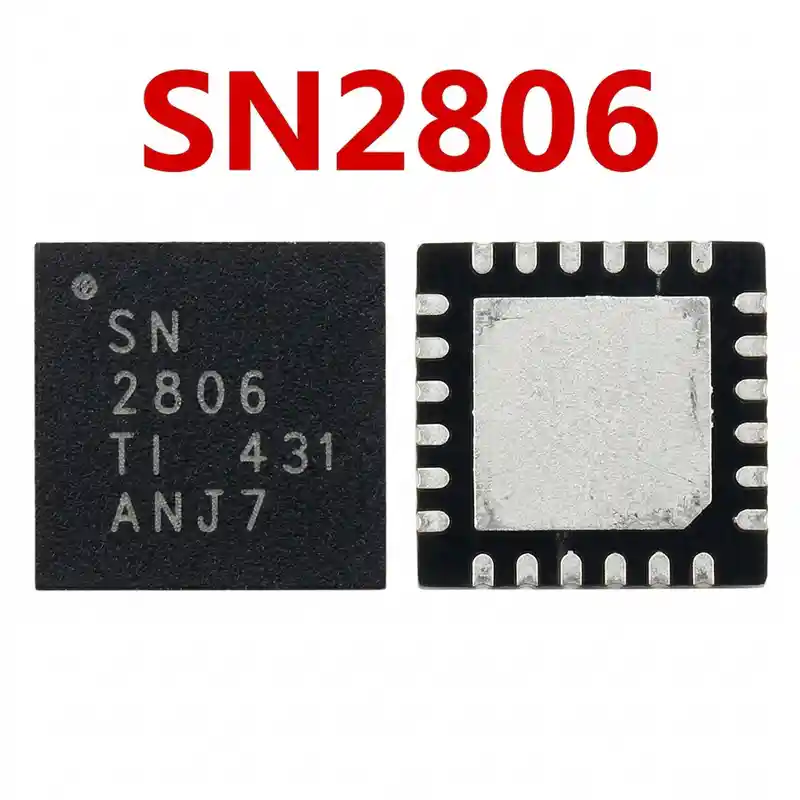
SC8551 IC
As low as
Rs 300.00
Worldwide shipping · Cash on Delivery
Product Details
================================================================================
SOUTHCHIP SC8551 / SC8551A HARDWARE & CHIP-LEVEL REPAIR GUIDE
================================================================================
--------------------------------------------------------------------------------
SECTION 1: FUNCTIONAL ARCHITECTURE & CIRCUIT ROLE
--------------------------------------------------------------------------------
- Architecture: 2:1 Switched-Capacitor High-Voltage Charge Pump Direct Charger.
- Operational Limits:
* Input Operating Voltage (VBUS): 3.3V to 11.0V DC (supports up to 20V surge).
* Output Voltage (VOUT / VBAT): 3.0V to 5.0V DC to single-cell Li-ion/poly pack.
* Maximum Charging Current: 8.0A continuous direct charging capability.
* Peak Efficiency: 97.0% @ 8A output (practically zero thermal throttling).
- Flying Capacitors (CFLY):
* Works in combination with external multi-layer ceramic flying capacitors (CFLY)
that alternate charge and discharge cycles at 50% duty cycle.
- Monitoring & Telemetry:
* Integrated 7-channel 12-bit ADC monitoring VAC, VBUS, IBUS, VOUT, VBAT,
IBAT, and Die Temperature (TDIE).
- Bus Interface:
* Fast-mode I2C serial communication bus (SDA, SCL, INT_N) connected to the
host Application Processor / Charging Subsystem MCU.
- Safety Protections (10-Way System Protection):
* VAC / VBUS / VDROP Over-Voltage Protection (OVP).
* Input & Output Over-Current Protection (IBUS_OCP, IBAT_OCP).
* Reverse current block, CFLY open/short detection, and Thermal Shutdown (TSHUT).
--------------------------------------------------------------------------------
SECTION 2: BOARD-LEVEL FAULT SYMPTOMS
--------------------------------------------------------------------------------
1. Fast Charging Drops to Slow Charging (Only 5V 1A / 5V 0.5A):
- Phone charges normally on a slow 5V charger via the primary buck charger
(e.g., BQ25970 or PMIC), but when connected to a 33W/67W proprietary fast
charger, the turbo/flash charging animation fails to appear and current
remains throttled.
2. Complete Phone Dead / VBUS Short to Ground:
- Internal high-side MOSFET breakdown inside the SC8551 shorts the high-voltage
VBUS rail or PMID line directly to GND. The USB tester cuts off immediately
due to short-circuit protection (0V / high current trip).
3. Charging Restart Loop / Connect-Disconnect Blinking:
- When plugged in, the device repeatedly detects charger, negotiates fast
charging, pulls high current for 1 second, resets, and reconnects in an
infinite loop (usually caused by cracked CFLY solder joints or failed ADC
telemetry inside SC8551).
4. Phone Heats Severely Near the SIM Tray / Camera Area:
- Excessive temperature rise around the SC8551 during charging caused by
leaky internal charge-pump driver stages.
5. Battery Percentage Drops While Charging:
- Reverse leakage current draining the battery pack back into the charge pump
circuitry when the charger is disconnected.
--------------------------------------------------------------------------------
SECTION 3: STEP-BY-STEP MULTIMETER TESTING & DIAGNOSTICS
--------------------------------------------------------------------------------
[A] Cold Testing (Diode Mode Readings - Red Probe on GND, Black Probe on Pin):
- VBUS Input Filter Capacitors (near SC8551):
* Normal Diode Value: 0.450V - 0.580V (450mV - 580mV).
* If 0.000V - 0.025V: VBUS is dead shorted.
- VOUT / VBAT Output Rail:
* Normal Diode Value: 0.380V - 0.480V.
- Flying Capacitor Terminals (CFLY1 / CFLY2 external capacitors):
* Measure across both pads of each CFLY capacitor. Neither side should read
0.000V to ground. Typical diode reading to ground: 0.400V - 0.550V.
- I2C Communication Lines (SDA / SCL pull-up resistors):
* Normal Diode Value: 0.420V - 0.520V on both SDA and SCL (must be balanced).
[B] Hot Testing (Live Measurements with Fast Charger Connected):
- Connect an original 33W/67W fast charger with a Type-C power meter:
* Test Input: VBUS at input capacitor must jump from 5V to 9V/10V/11V after
handshake.
* Test Output: VOUT at output capacitors must measure 3.8V - 4.4V (identical
to live battery terminal voltage).
* Test Voltage Ratio: Verify that VBUS is exactly 2x of VOUT (e.g., VBUS = 8.4V,
VOUT = 4.2V). If VBUS stays at 5V, the AP failed to switch SC8551 into
charge pump mode.
[C] Rosin / Thermal Camera Fault Isolation:
- If VBUS or VBAT is shorted to GND, apply rosin smoke across SC8551 and CFLY caps.
- Inject 4.0V (current limited to 2.0A) onto the shorted line.
- If SC8551 melts the rosin instantly, desolder the IC and re-check the pads.
--------------------------------------------------------------------------------
SECTION 4: SOLDERING, REBALLING & REWORK SPECIFICATIONS
--------------------------------------------------------------------------------
- Component Fragility & Layout Awareness:
* SC8551 is a compact WLCSP-56 wafer die with 0.40mm ball spacing. It is often
situated close to the CPU, primary PMIC, or RF shield wall.
* Always shield surrounding components with thermal Kapton tape and aluminium
foil to prevent desoldering adjacent filter capacitors.
- Desoldering Procedure:
* Hot Air Gun Temperature: 340°C - 350°C.
* Airflow Rate: 35% - 45% (use a 5mm - 6mm nozzle).
* Apply high-grade tacky flux (Amtech NC-559 or Kingbo) around the chip borders.
* Circle the heat evenly over the chip for 15 to 20 seconds. Lift gently with
curved ultra-fine tweezers once all 56 solder balls liquify. Never pry with
force to avoid lifting microscopic motherboard pads.
- PCB Pad Preparation:
* Add a small bead of 63/37 leaded solder to lower the melting point of factory
lead-free solder residue.
* Use a bevel / knife tip (320°C) with copper desoldering braid to level all
56 pads perfectly flat.
* Clean thoroughly with 99.9% Isopropyl Alcohol (IPA) and inspect under microscope
for pad oxidation or bridged ground planes.
- Reballing Specifications:
* Stencil: Dedicated Southchip SC8551 / SC8541 / WLCSP-56 stencil (0.40mm pitch).
* Solder Paste: Sn63/Pb37 (183°C melting point, Type 4 or Type 5 fine powder).
* Spread dried solder paste evenly into the apertures. Reflow stencil using
hot air at 280°C - 290°C with low airflow (20% - 25%) to form uniform balls.
- Installation:
* Align Pin 1 index dot with the board silkscreen orientation mark.
* Apply a paper-thin layer of tacky flux.
* Heat at 340°C with 35% airflow until the chip snaps into place by surface
tension. Give a microscopic nudge with tweezers to verify self-alignment.
* Allow natural cooling before connecting the battery and testing charging current.
================================================================================
You may also like