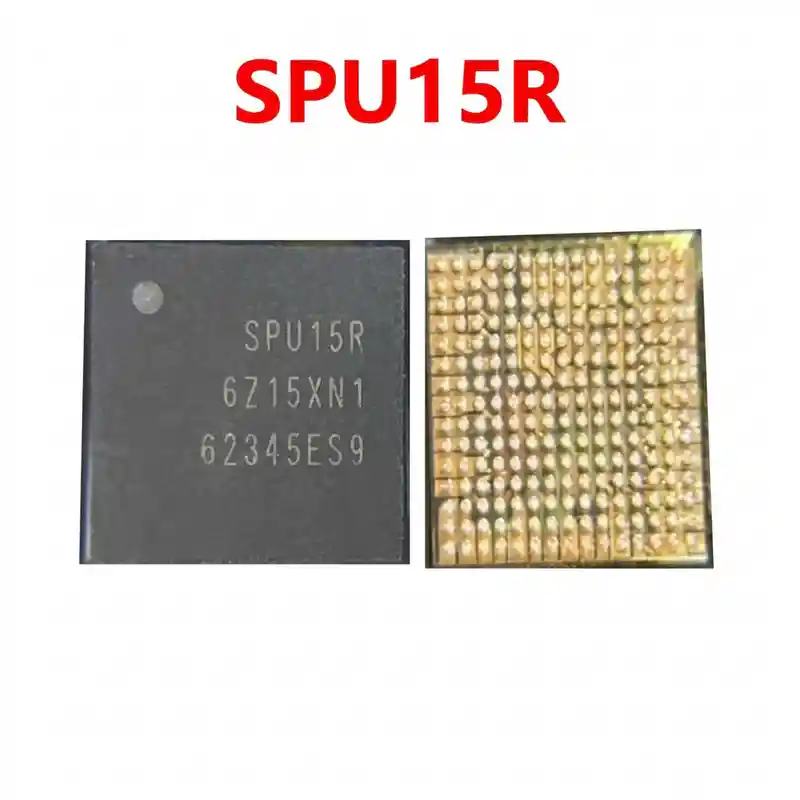
S537 IC
As low as
Rs 300.00
Worldwide shipping · Cash on Delivery
Product Details
====================================================================================================
SAMSUNG S537 (1203-009224) POWER SUPERVISOR IC REWORK & DIAGNOSTIC GUIDE
====================================================================================================
1. FUNCTIONAL ARCHITECTURE & CIRCUIT ROLE:
----------------------------------------------------------------------------------------------------
- Power Distribution & Supervision:
* Responsible for monitoring and distributing secondary power rails between the Main PMIC and
the Application Processor (CPU) on Samsung Galaxy motherboards.
* Regulates secondary LDO lines, switching nodes, and provides over-current/under-voltage protection.
- Power Sequencing & Reset Logic:
* Manages the strict power-up sequence required to boot the Exynos/Qualcomm processor, including
the generation and verification of the hardware "Power-Good" (PG) signal.
* If this supervisory signal is absent or interrupted, the processor will abort the boot sequence.
- Auxiliary Peripheral Power Management:
* Controls and stabilizes dedicated power supplies for camera sensors, display interface modules,
and biometric fingerprint sensors.
2. BOARD-LEVEL FAULT SYMPTOMS:
----------------------------------------------------------------------------------------------------
- Completely Dead Phone:
* Connecting to a DC bench power supply and pressing the power key causes a low current draw stuck
between 0.03A and 0.08A (stuck low boot current), or the current immediately drops back to 0.000A
upon releasing the power button.
- Auto-Restart / Boot Loop:
* Phone displays the initial Samsung logo and immediately reboots in an endless loop due to an unstable
secondary power rail or missing Power-Good confirmation to the CPU.
- Secondary Rail Short-Circuit:
* The main battery rail (VBAT / VPH_PWR) is not shorted, but capacitors surrounding the S537 show
0.000V (continuous beep) in diode mode to ground, triggering shutdown protection in the Main PMIC.
- Black Screen / No Display Output:
* Device vibrates and connects to a PC via USB, but the screen remains completely black due to missing
display auxiliary enable voltages generated by the S537.
- Thermal Runaway / Immediate Overheating:
* The S537 chip gets scalding hot immediately upon pressing the power button or connecting the charger.
3. STEP-BY-STEP MULTIMETER TESTING & DIAGNOSTICS:
----------------------------------------------------------------------------------------------------
A. Cold Testing (Diode Mode Check - Battery & Charger Disconnected):
1. Set the digital multimeter to Diode Mode. Place the RED probe on PCB ground (metal shield frame)
and use the BLACK probe to probe both terminals of all SMD capacitors surrounding the S537:
- Main Input Line Capacitors: Normal reading is ~350mV to 550mV (0.000V indicates an internal short).
- Secondary Output / LDO Filter Capacitors: Normal reading is ~400mV to 650mV.
- If any capacitor directly adjacent to the S537 reads 0.000V on both ends, an internal rail
has shorted to ground.
2. Rosin / Thermal Camera Verification:
- If a secondary line reads shorted, apply rosin smoke or view under a thermal camera. Inject 1.8V
or 3.0V DC (limited to 1.5A) onto the shorted line. If the S537 melts the rosin first, the IC is defective.
B. Hot Testing (Battery & DC Power Supply Connected):
1. Press and hold the power button while probing the capacitors and test points around the S537:
- Input Pin/Capacitor: Must measure steady primary system voltage (3.7V to 4.2V DC).
- Secondary Output Rails: Must output stable regulated voltages (typically 1.2V, 1.8V, and 2.8V DC).
- If the main input voltage is present but none of the regulated secondary voltages appear during
the boot trigger, the S537 supervisor chip is damaged and must be replaced.
4. SOLDERING, REBALLING & REWORK SPECIFICATIONS:
----------------------------------------------------------------------------------------------------
- Chip Characteristics:
* Fine-pitch micro-BGA semiconductor requiring controlled temperature profiles to prevent substrate
warping or thermal damage to adjacent memory (UFS/eMMC) and CPU chips.
- IC Desoldering Procedure:
* Shield adjacent plastic FPC connectors and sensitive ICs using high-temperature Kapton or aluminum foil tape.
* Apply a small amount of high-grade RMA/No-Clean tacky flux around the S537 perimeter.
* Set the hot air rework station to 330°C – 345°C with 30% airflow using an appropriately sized circular nozzle.
* Move the nozzle in steady circular motions over the IC for 15 to 20 seconds. Once the solder balls fully
liquefy, gently lift the chip straight up using precision micro-tweezers without scraping PCB traces.
- PCB Pad Preparation:
* Apply leaded solder paste (Sn63/Pb37, 183°C melting point) to the motherboard pads to dilute the high-melt
factory alloy.
* Clean and level all micro-pads using fine copper desoldering wick and a micro-soldering iron set to 280°C – 290°C.
* Thoroughly clean the area with 99% pure Isopropyl Alcohol (IPA) and inspect under a microscope for
any lifted or bridged pads.
- Reballing Procedure:
* Secure the replacement S537 in a dedicated Samsung A50 / universal fine-pitch BGA stencil.
* Evenly scrape 183°C leaded solder paste into all stencil apertures.
* Heat with hot air set to 280°C with low airflow (15%–20%) until uniform, shiny solder spheres form across all pads.
- Installation & Final Reflow:
* Apply a very thin, uniform layer of tacky flux across the PCB footprint.
* Align the Pin 1 orientation index dot on the IC with the silkscreen corner marker on the motherboard.
* Reflow at 305°C – 315°C with 30% airflow. The chip will automatically pull into final alignment via the
surface tension of the molten solder.
* Allow the motherboard to cool naturally for 3 to 5 minutes before applying DC power and testing device boot currents.
====================================================================================================
You may also like