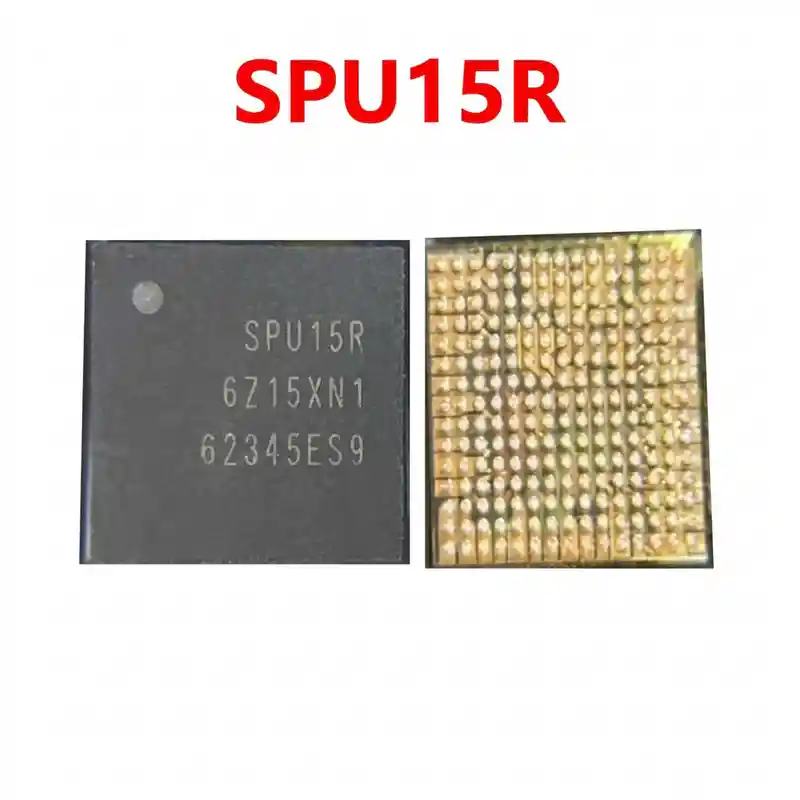
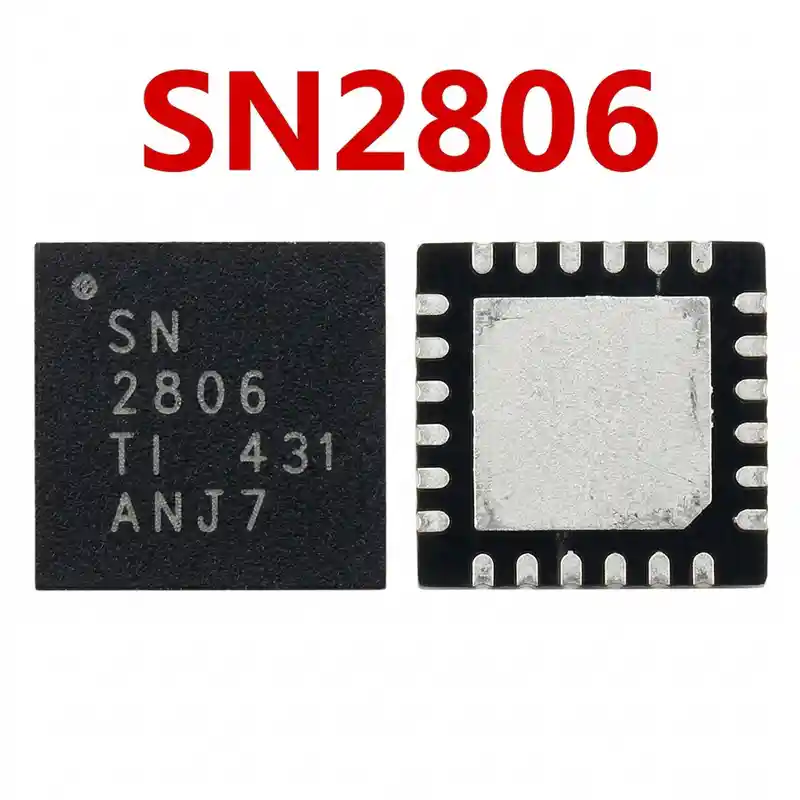
S527R IC
As low as
Rs 260.00
Worldwide shipping · Cash on Delivery
Product Details
====================================================================================================
SAMSUNG S527R / S527B POWER MANAGEMENT IC REWORK & DIAGNOSTIC GUIDE
====================================================================================================
1. FUNCTIONAL ARCHITECTURE & CIRCUIT ROLE:
----------------------------------------------------------------------------------------------------
- Multi-Rail Voltage Regulation:
* Generates essential low-noise power rails required during device initialization, stepping down
primary battery voltage (VBAT / VSYS ~3.8V–4.2V) into high-current CPU core voltages (0.75V–1.1V),
memory voltages (1.2V / 1.8V), and peripheral auxiliary lines (2.8V / 3.0V).
- Power Sequencing & Hardware Power-Good (PG):
* Governs the stepped power-on sequence required to safely boot the Exynos processor. If any regulated
rail drops or fails to stabilize within the microsecond timing window, the S527R withholds the
Power-Good signal and the phone aborts boot.
- Over-Current, Thermal & Under-Voltage Protection:
* Constantly samples internal die temperature and output current loads, immediately entering protective
latch-off if a motherboard short or thermal runaway is detected.
2. BOARD-LEVEL FAULT SYMPTOMS:
----------------------------------------------------------------------------------------------------
- Completely Dead Phone (Zero Boot Response):
* When connected to a DC power supply and the power button is pressed, the phone draws 0.000A or stays
frozen at a low current draw between 0.02A and 0.07A (stuck low boot current).
- Stuck on Logo / Endless Reboot Loop:
* The phone shows the "Samsung Galaxy" boot logo and reboots continuously due to a dropped secondary
voltage line or unstable Power-Good handshake with the CPU.
- Secondary Power Rail Short to Ground:
* The main battery connector shows normal diode drop, but capacitors surrounding S527R measure 0.000V
(continuous beep) in diode mode, triggering emergency shutdown in the primary power path.
- Rapid Battery Drain on Standby:
* Device powers on and works, but discharges battery rapidly and stays warm near the PMIC shielding
compartment even in sleep mode.
- Severe Thermal Overheating:
* S527R becomes scalding hot immediately upon connecting the battery or pressing the power button.
3. STEP-BY-STEP MULTIMETER TESTING & DIAGNOSTICS:
----------------------------------------------------------------------------------------------------
A. Cold Testing (Diode Mode Check - Battery & Charger Disconnected):
1. Set digital multimeter to Diode Mode. Place RED probe on motherboard ground (metal shielding frame)
and test capacitors surrounding S527R with BLACK probe:
- Main Input Line Capacitors (VSYS / VBAT): Normal reading is ~350mV to 520mV.
- Core Buck Output Inductors / Capacitors: Normal readings range from ~180mV to 350mV (low core
resistance is normal, but 0.000V indicates an internal short).
- Auxiliary LDO Filter Capacitors: Normal readings range from ~400mV to 650mV.
- If any capacitor directly adjacent to S527R reads 0.000V on both terminals, an internal rail
has shorted to ground.
2. Rosin / Thermal Camera Method:
- Apply a thin layer of rosin smoke over S527R. Connect a DC bench power supply set to 1.8V
(limited to 1.5A) to the shorted line. If S527R liquefies the rosin first, replace the chip.
B. Hot Testing (Connected to DC Bench Power Supply):
1. Press the power button to trigger startup and measure voltage test points around S527R:
- Confirm 3.8V to 4.2V primary input voltage reaches the input pins.
- Probe secondary output coils: Must measure steady regulated voltages (0.8V, 1.1V, 1.8V, and 2.8V DC).
- If input voltage is verified but none of the regulated secondary voltages appear upon power-on trigger,
S527R has failed.
4. SOLDERING, REBALLING & REWORK SPECIFICATIONS:
----------------------------------------------------------------------------------------------------
- Micro BGA Architecture:
* S527R is a fine-pitch micro-BGA semiconductor. Excessive localized heat or mechanical twisting can
damage the motherboard solder pads or warp the substrate.
- IC Desoldering Procedure:
* Protect adjacent plastic FPC sockets and memory chips using Kapton tape or metal heat shields.
* Apply a small amount of non-corrosive RMA tacky flux around the S527R perimeter.
* Hot air rework parameters: Temperature 330°C – 340°C, Airflow 25%–30%.
* Heat in even circular motions for 15–18 seconds. Once solder balls fully liquefy, lift the chip
straight upward with micro-tweezers without dragging across PCB pads.
- Motherboard Pad Preparation:
* Apply leaded solder paste (Sn63/Pb37, 183°C) to dilute high-temperature factory lead-free alloy.
* Clean and level the micro-pads using fine copper desoldering braid and a soldering iron at 280°C.
* Clean thoroughly with 99% pure Isopropyl Alcohol (IPA); verify under a microscope that no solder mask
is torn or bridged between pads.
- Reballing Procedure:
* Secure the replacement S527R into a dedicated Samsung A7 2018 / universal BGA stencil (0.12mm thickness).
* Smoothly pack 183°C fine-grain leaded solder paste into all stencil apertures.
* Heat with hot air set to 280°C with low airflow (15%) until bright, uniform solder spheres form.
- Placement & Final Reflow:
* Spread a microscopic film of tacky flux on the PCB footprint.
* Align the Pin 1 orientation index dot with the motherboard silkscreen corner marker.
* Reflow at 305°C – 315°C with 25% airflow. The chip will automatically pull into center alignment via
molten solder surface tension.
* Allow the motherboard to cool naturally for 3 to 5 minutes before connecting DC power and testing boot current.
====================================================================================================
You may also like