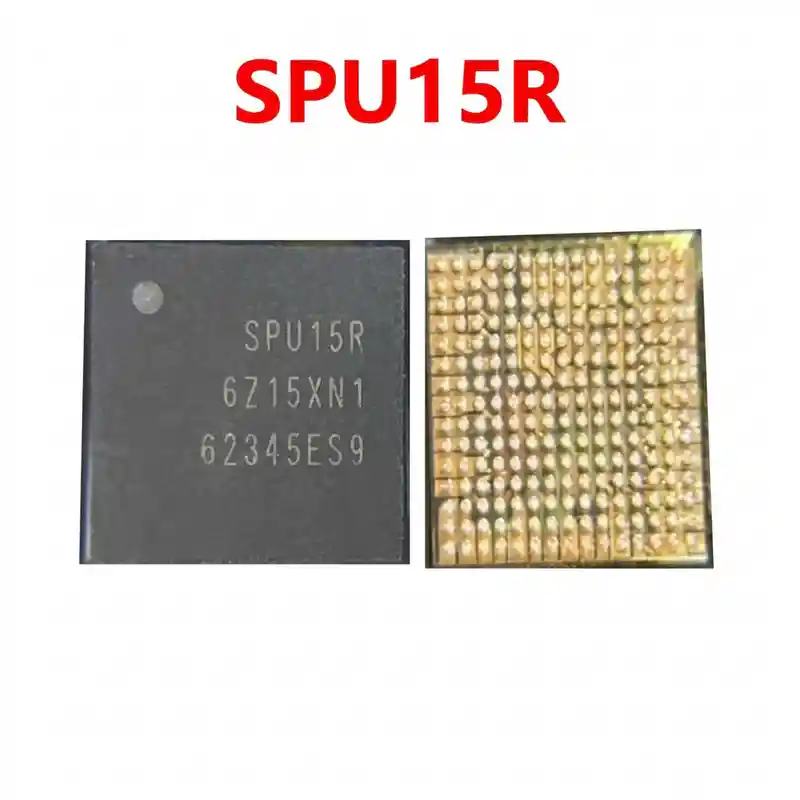
S2DOS03 IC
As low as
Rs 200.00
Worldwide shipping · Cash on Delivery
Product Details
====================================================================================================
SAMSUNG S2DOS03 SUPER AMOLED DISPLAY PMIC REWORK & DIAGNOSTIC GUIDE
====================================================================================================
1. FUNCTIONAL ARCHITECTURE & CIRCUIT ROLE:
----------------------------------------------------------------------------------------------------
- Super AMOLED Dedicated Power Rails Generation:
* Raw battery voltage (VBAT ~3.8V to 4.2V) enters S2DOS03, which uses internal switching converters and
charge pumps to synthesize three critical display rails:
1. ELVDD (+4.6V DC): Positive organic LED pixel power supply driving the OLED sub-pixel anodes.
2. ELVSS (-1.4V to -4.4V DC Inverting Rail): Negative cathode supply generated via an internal inverting
charge pump, crucial for black-level contrast and pixel shutoff.
3. AVDD (+7.0V to +7.6V DC High-Voltage Boost Rail): High-voltage analog bias for the source/gate drivers
inside the AMOLED panel.
4. VCI / VDD (+3.0V DC): Regulated logic power supply for the display interface circuitry.
- Dynamic Dimming & Brightness Control (SWIRE / PWM):
* Interfaces directly with the Exynos 8890 or Snapdragon 820 application processor to adjust ELVSS negative
rail amplitude dynamically, ensuring smooth panel brightness and battery power conservation.
- Fast Enable & Discharge Circuit:
* Features active discharge switches that immediately collapse ELVDD/ELVSS to ground when the screen is turned
off, preventing ghosting, screen retention, or residual glow.
2. BOARD-LEVEL FAULT SYMPTOMS:
----------------------------------------------------------------------------------------------------
- Completely Blank / Black Screen (Phone Turns On Normally):
* The phone boots up, vibrates, makes notification sounds, receives calls, and responds to touch (vibration
feedback), but the AMOLED display remains entirely dark/black (missing ELVDD or ELVSS rail).
- Green Screen / Screen Flickering / Horizontal Lines:
* The display flickers rapidly, displays a bright green tint, or flashes horizontal lines before cutting off
(caused by an unstable or collapsed ELVSS negative charge pump rail).
- Motherboard Dead / Tripping DC Bench Power Supply (Primary Short):
* Internal high-side boost MOSFET breakdown inside S2DOS03 shorts the battery line (VBAT / VDD_MAIN) directly
to ground (0.000V in diode mode), causing the bench supply to beep / trip instantly.
- Extreme Overheating Near Display FPC Connector:
* S2DOS03 gets scalding hot to the touch within 3 to 5 seconds of pressing the power button to wake up the screen.
- Screen Dead After Water Damage:
* Due to high boosting voltages (+7.6V and -4.4V), liquid penetration into the display power area rapidly
causes severe electrolytic corrosion on the filter capacitors and solder balls under S2DOS03.
3. STEP-BY-STEP MULTIMETER TESTING & DIAGNOSTICS:
----------------------------------------------------------------------------------------------------
A. Cold Testing (Diode Mode Check - Battery & Display Disconnected):
1. Set digital multimeter to Diode Mode. Place the RED probe on ground (metal shield frame) and probe surrounding
components with the BLACK probe:
- Main Input Line (VBAT Input Filter Capacitors): Normal reading is ~380mV to 480mV (0.000V indicates
a primary power short).
- ELVDD Output Filter Capacitor (+4.6V Line): Normal diode reading is ~400mV to 550mV.
- ELVSS Negative Rail Output Capacitor: Normal reading is ~500mV to 700mV (tested with red probe on ground).
- AVDD High-Voltage Boost Capacitor: Normal reading is ~450mV to 600mV.
- Display Enable / SWIRE Control Line: Normal reading is ~500mV to 650mV.
2. Short-Circuit Verification:
- If ELVDD or VBAT shows 0.000V with a continuous multimeter tone, apply rosin smoke across S2DOS03 and its
external boost coil/capacitors, then inject 3.8V DC (limited to 1.5A). If S2DOS03 melts the rosin instantly,
replace the chip.
B. Hot Testing (Operating Voltage Checks with Motherboard Powered On):
1. Connect motherboard to a DC bench power supply and initiate bootup:
- Measure with screen connected and active:
* ELVDD must produce a steady +4.6V DC.
* ELVSS must output a negative voltage between -1.4V and -4.4V DC.
* AVDD must measure steady +7.0V to +7.6V DC.
- If VBAT (3.8V) is entering S2DOS03 and the CPU sends the DISP_EN high signal (1.8V), but ELVDD/ELVSS
remain at 0V, S2DOS03 has suffered internal failure and must be replaced.
4. SOLDERING, REBALLING & REWORK SPECIFICATIONS:
----------------------------------------------------------------------------------------------------
- BGA Package Sensitivity & Location:
* S2DOS03 is a fine-pitch BGA chip located adjacent to the display FPC connector on the Samsung S7 / S7 Edge PCB.
- Desoldering & Thermal Protection:
* The plastic display FPC connector melts easily. Protect the connector and surrounding components with dual-layer
Kapton tape covered by thick aluminum heat-reflective tape.
* Apply a small amount of non-corrosive RMA / NC-559 tacky flux around the perimeter of S2DOS03.
* Hot air rework parameters: Temperature 325°C – 340°C, Airflow 25%–30%.
* Apply heat uniformly in circular motions for 18–20 seconds. Touch the corner gently with micro-tweezers;
as soon as it floats freely, lift it vertically.
- Motherboard Pad Cleaning:
* Apply 183°C leaded solder wire (Sn63/Pb37) to the motherboard pads using a soldering iron at 280°C.
* Level all pads completely flat using fine copper desoldering braid and flux.
* Clean thoroughly with 99% pure Isopropyl Alcohol (IPA); inspect under a microscope to confirm no bridged
or torn copper pads.
- Reballing Procedure:
* Use a dedicated Samsung S7 / S7 Edge S2DOS03 or universal 0.12mm BGA stencil.
* Spread 183°C fine-grain leaded solder paste evenly into the stencil apertures.
* Reflow using hot air at 280°C and low airflow (15%) until uniform, bright spherical solder balls form.
- Installation & Alignment:
* Apply an ultra-thin layer of tacky flux over the cleaned motherboard pad array.
* Align the Pin 1 orientation index dot on S2DOS03 precisely with the silkscreen corner indicator on the PCB.
* Reflow using hot air at 305°C – 315°C with 20% airflow. The chip will automatically settle into center
alignment via molten solder surface tension.
* Allow the motherboard to cool down naturally for 3 minutes before connecting the display to test image output.
====================================================================================================