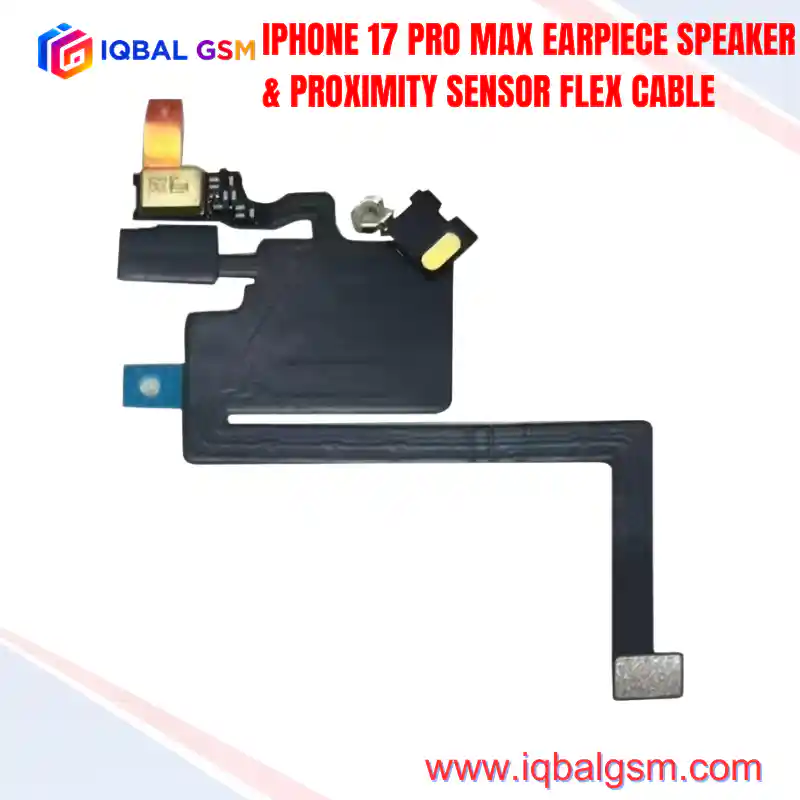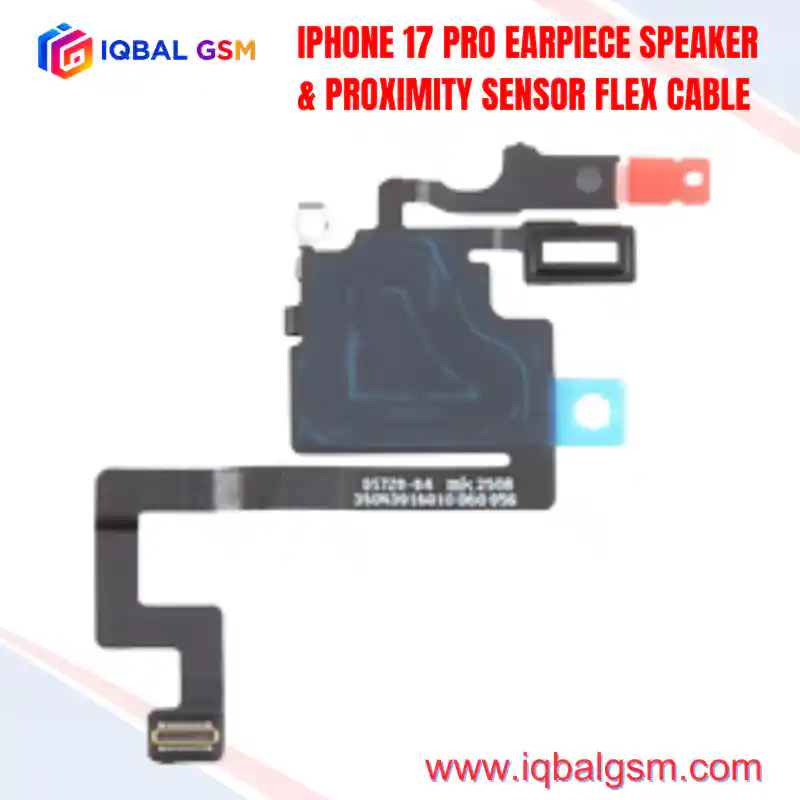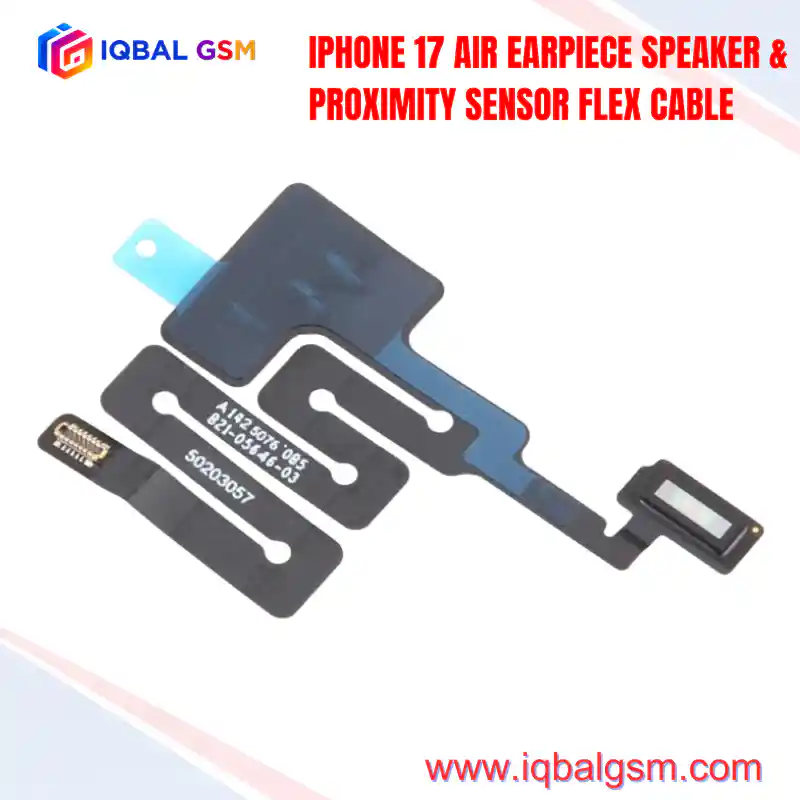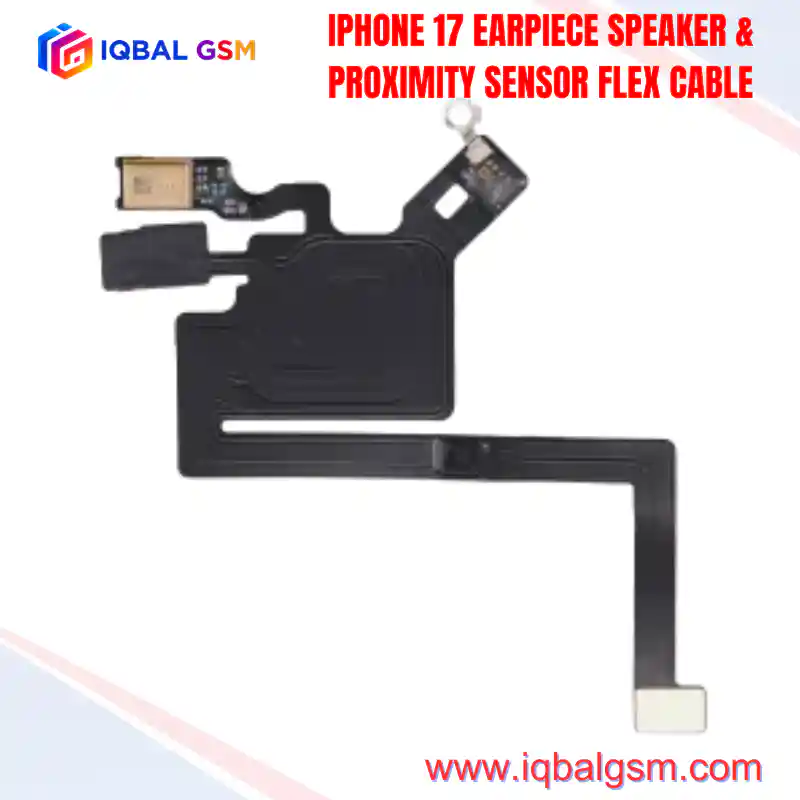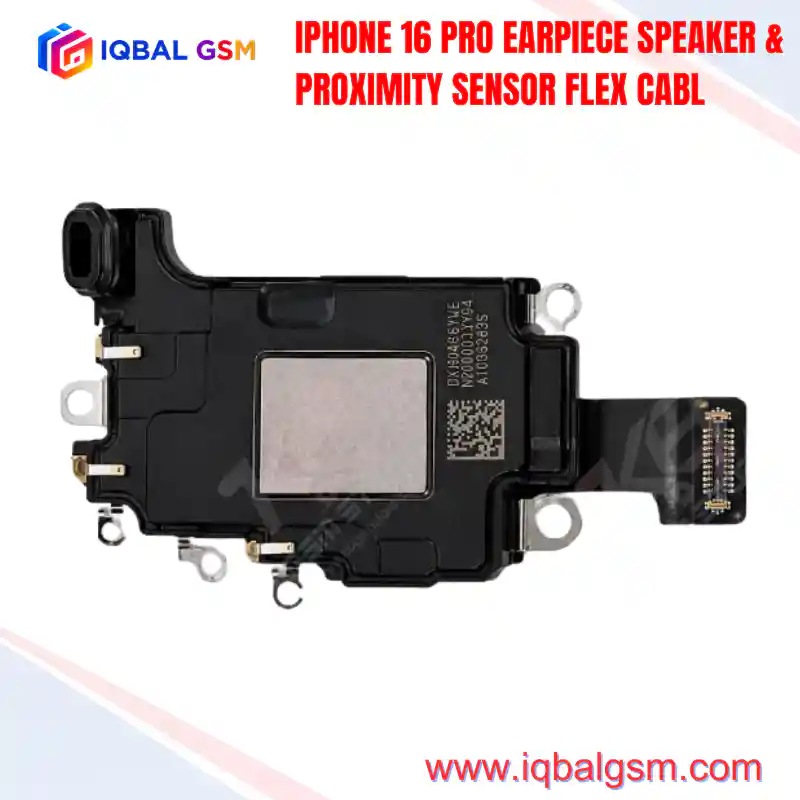

IPHONE 15 EARPIECE SPEAKER & PROXIMITY SENSOR FLEX CABLE
As low as
Rs 1000.00
Worldwide shipping · Cash on Delivery
Product Details
====================================================================================================
IPHONE 15 EARPIECE SPEAKER & PROXIMITY SENSOR FLEX CABLE TECHNICAL REPAIR MANUAL
====================================================================================================
1. ARCHITECTURAL OVERVIEW & DYNAMIC ISLAND REDESIGN
----------------------------------------------------------------------------------------------------
The iPhone 15 standardizes the Dynamic Island architecture across the non-Pro tier, replacing the
traditional display notch with a pill-shaped display aperture. Concurrently, the mechanical acoustic
layout transitions to a decoupled design:
* Acoustic Transducer Location: The earpiece speaker driver is integrated directly into the upper
perimeter of the aluminum enclosure chassis rather than screwed to the display panel.
* Flex Cable Mounting: The 15 FPC flex assembly mounts to a plastic bracket affixed to the rear of
the 6.1-inch Super Retina XDR OLED screen beneath the Dynamic Island cutout.
* Electrical Interface: Instead of wired driver leads, the flex features gold-plated beryllium-copper
leaf-spring pads that compress against mating contact prongs inside the chassis cavity when the
screen is sealed.
* Integrated Sensor Cluster: Carries the infrared proximity optical pair (VCSEL and receiver photodiode),
the multi-channel ambient light sensor (ALS) for True Tone and auto-brightness, and the secondary
directional microphone used for audio zoom, Siri, and phone call noise cancellation.
2. LOGIC BOARD POWER RAILS, SIGNALS & BUS TOPOLOGY
----------------------------------------------------------------------------------------------------
The iPhone 15 sensor flex interfaces with the A16 Bionic processor and primary PMIC across dedicated
power and differential communication lines:
* PP3V0_PROX_ALS: Main 3.0V supply rail powering the infrared optical emitter and ambient sensor.
* PP1V8_S2 / PP1V8_IO: 1.8V digital logic supply powering internal registers, control circuitry, and bus pull-ups.
* I2C_SDA / I2C_SCL (I2C Sensor Bus): 400 kHz bidirectional serial bus carrying ambient lux readings,
color temperature measurements, and proximity state transitions to the application processor.
* SPK_EAR_POS / SPK_EAR_NEG: Differential amplified speaker audio rail (8 Ohm nominal load) delivered
from the audio codec to the leaf-spring terminals.
* SECURITY PAIRING: The ALS package contains factory-fused EEPROM keys paired to the device's Secure
Enclave (SEP). An unprogrammed replacement flex disrupts this pairing, disabling True Tone and locking
auto-brightness to default values.
3. FAILURE MODES & SYSTEM-LEVEL SYMPTOMS
----------------------------------------------------------------------------------------------------
* 180-Second Watchdog Kernel Panic (PRST / I2C Sensor Failure):
Liquid exposure through the Dynamic Island acoustic mesh often causes dendritic corrosion between the
3.0V supply and the I2C clock/data lines. When the SoC watchdog fails to poll the thermal or ALS
registers, the kernel panics and reboots precisely every 180 seconds, logging `Thermal/Sensor Watchdog Timeout`.
* Missing True Tone Toggle & Static Display Brightness:
Installing an unprogrammed aftermarket flex strips the True Tone option from Settings -> Display &
Brightness, and the screen fails to adjust luminance automatically across changing ambient light levels.
* Proximity Malfunction During Calls:
The display fails to sleep when positioned against the face during active voice calls, or conversely,
remains completely blacked out until the side button is pressed. Often caused by silicone prism displacement
or aperture misalignment relative to the Dynamic Island sub-pixel matrix.
* Ear Speaker Low Volume / Distortion:
Accumulation of dust on the chassis acoustic mesh, or corrosion/bending of the flex spring contacts
resulting in high series resistance across the audio path.
4. STEP-BY-STEP REPAIR, SOLDERING & TRANSPLANT WORKFLOW
----------------------------------------------------------------------------------------------------
To restore complete native hardware functionality (True Tone, auto-brightness, and Face ID) without
system warning messages, technicians should perform an IC transplant or utilize a specialized programmer-
compatible receiver FPC (e.g., JCID / i2C / QianLi):
A. DISASSEMBLY & EXTRACTION:
1. Place the screen assembly face-down on a heating plate regulated at 70°C for 2 minutes to soften
the factory pressure-sensitive adhesive (PSA).
2. Apply a drop of 99.9% isopropyl alcohol around the plastic alignment bracket of the proximity assembly.
3. Carefully lift the flex assembly away from the display using curved anti-static tweezers.
CAUTION: Do not twist or lever against the ALS glass optical filter; mechanical stress will fracture
the underlying silicon die.
B. SENSOR CHIP MICRO-SOLDERING / REBALLING:
1. Mount the original flex onto an insulated micro-soldering platform under a stereo microscope.
2. Apply a minimal bead of high-grade tacky flux (Amtech NC-559-V2) around the sensor pins.
3. Adjust the hot air rework station to 280°C–300°C with 30% airflow using a fine 3.5mm nozzle.
4. Heat evenly around the perimeter until the solder liquefies; lift the chip vertically using vacuum
tweezers or micro-tweezers without scraping adjacent traces.
5. Wick remaining lead-free solder from the sensor pads using 0.6mm desoldering braid and low-melt solder.
6. Reball using a dedicated 0.12mm stencil and 183°C tin-bismuth/tin-lead solder paste.
7. Position and reflow the reballed IC onto the target replacement receiver flex cable.
C. PROGRAMMING & DATA BACKUP (FOR DEDICATED RECOVERY FPCS):
1. Dock the original damaged flex to a compatible programmer interface (JCID V1SE / V1S Pro or i2C 2CS).
2. Read and verify the stored ALS factory calibration data payload.
3. Connect the new tag-on receiver flex to the programming module.
4. Write the original data payload to the new flex and confirm verification checksum.
5. POST-ASSEMBLY DIAGNOSTICS & SYSTEM VALIDATION
----------------------------------------------------------------------------------------------------
* Spring Contact Alignment: Ensure leaf-spring prongs extend at least 0.4mm above the plastic bracket
to maintain adequate compression against the chassis ear speaker pads.
* True Tone & Auto-Brightness: Power on the device, check the Control Center brightness slider for the
True Tone toggle, and test lux tracking using a direct external light source.
* Optical Proximity Sweep: Initiate a voice call and verify the OLED screen blanks when covered within
20mm of the Dynamic Island cutout, and restores instantly upon uncovering.
* Kernel Stability Check: Verify uninterrupted device operation for greater than 15 minutes without
unexpected reboots or watchdog panic entries in iOS Analytics logs.
====================================================================================================
You may also like