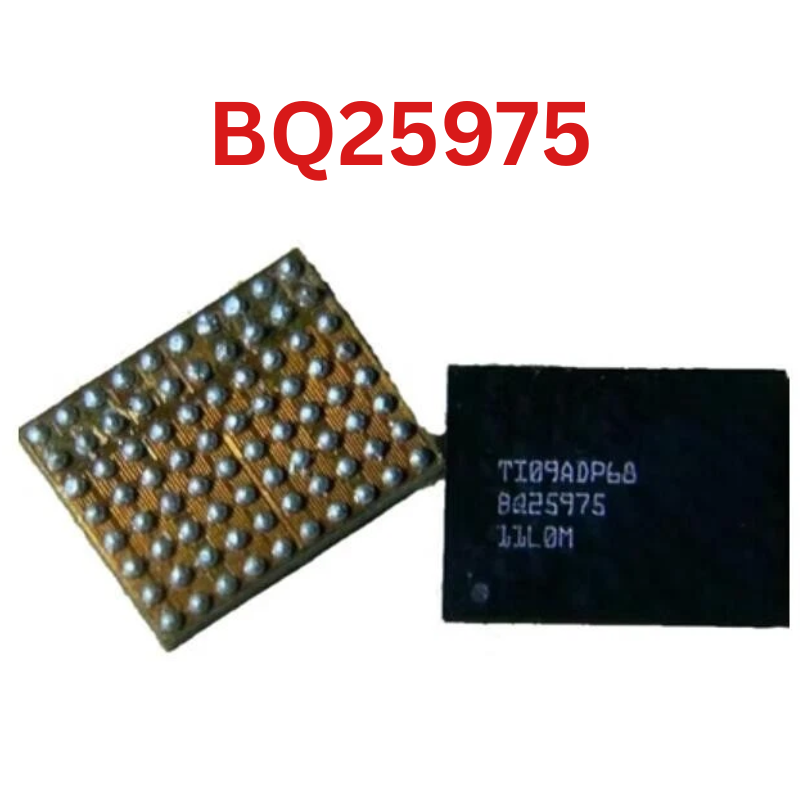
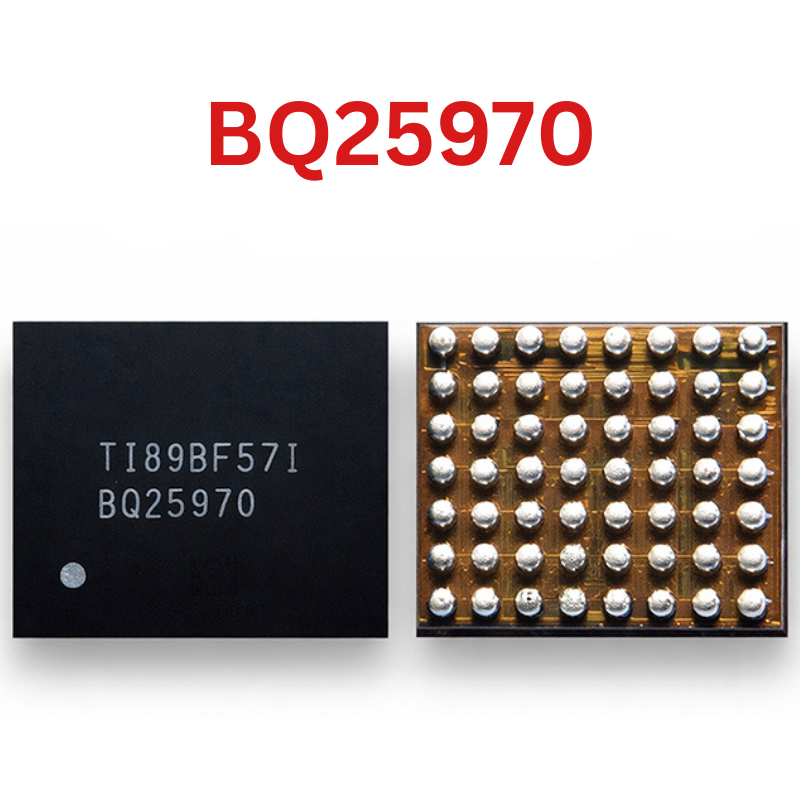
BCE BQB IC
As low as
Rs 0.00
Worldwide shipping · Cash on Delivery
Product Details
1. COMPONENT DECODING & HARDWARE ARCHITECTURE
In mobile device micro-soldering, miniature surface-mount components (WLCSP, DFN, and small-outline QFNs) lack surface area to carry complete commercial part numbers. Manufacturers employ condensed 2- to 4-character laser top-markings. Technicians sorting donor-board chips or replacement parts frequently label storage pouches with these silkscreen codes:
Option 1: Miniature Dual LDO Power Management IC (TC1302 Series - Marking "BCE" / "BQB")
- Architecture: Dual high-efficiency LDO regulator in a leadless DFN-8 package with separate enable (CE) controls.
- Output Voltages: Typically delivers low-noise analog voltages (e.g., 3.1V / 2.9V on BCE, 1.7V / 3.2V on BQB) for camera sensors, audio DACs, or touchscreen reference lines.
- Failure Modes: Output short to ground from cracked ceramic filter caps, thermal breakdown causing excessive battery drain, or zero output voltage leading to non-functional peripheral modules (cameras, proximity sensors).
Option 2: Logic Bus Transceiver / Level Translator in TI "BQB" Package (WQFN-16)
- Architecture: 16-terminal thin quad flat pack with bottom exposed thermal ground pad (EPAD), 0.5 mm lead pitch.
- Function: Bridges asynchronous data signals between 1.2V/1.8V AP logic levels and 3.3V/5V peripheral buses (e.g., SIM interface, camera control, I2C/SPI bus buffers).
- Failure Modes: Communication freezing, bus contention, or missing pull-up voltage resulting in device reboot loops or disabled sensor hardware.
Option 3: Discrete SOT-23 Switching Transistor (BCE Terminal Configuration)
- Function: NPN switching driver (KTC9013S or equivalent) where "BCE" denotes Base-Collector-Emitter arrangement.
- Circuit Location: Gating power to vibration motors, LED flash modules, or display backlight enables.
2. IN-CIRCUIT DIAGNOSTIC PROTOCOL
- Visual Inspection: Inspect the component body under 20x-40x microscope magnification. Look for cratering, corner fractures, discolored epoxy, or solder ball bridging around perimeter pins.
- Diode Mode Continuity Check (Red probe to Ground, Black probe to pin):
* For Power IC / LDO: Check input (VIN) and outputs (VOUT1, VOUT2). Expected drop is ~0.400V - 0.550V. A reading of 0.000V indicates an internal silicon punch-through or shorted bypass capacitor.
* For Logic / Level Translator (BQB): Check all I/O pins relative to ground. Consistent diode drops across matched bus lines are required; an "OL" reading confirms a fractured trace or detached pad.
* For Discrete BJT: Test Base-to-Emitter (~0.650V - 0.700V forward drop) and Base-to-Collector (~0.650V - 0.700V forward drop). Reverse polarity must show "OL".
3. REQUIRED TOOLS & REWORK MATERIALS
- Hot Air Rework Station (Quick 861DW, Atten ST-862D, or equivalent) with 4 mm - 5 mm circular nozzle.
- Micro-soldering iron station equipped with a fine chisel or knife tip (JBC C210 / C245 or T12).
- Stereo microscope with LED ring light.
- Consumables: Rosin-based tacky flux (Amtech NC-559-V2-TF), Sn63/Pb37 leaded solder wire (0.2 mm - 0.3 mm), Sn63/Pb37 leaded solder paste (183°C melting point), fine desoldering wick (1.0 mm width), 99.9% Isopropyl Alcohol (IPA), high-temperature Kapton tape.
4. STEP-BY-STEP SOLDERING & REWORK INSTRUCTIONS
Step 1: Board Clamping & Thermal Shielding
- Secure the logic board into a precision PCB fixture.
- Place Kapton tape and aluminum foil shields over plastic connectors (FPC connectors), microphones, and memory ICs within a 2 cm radius to prevent heat damage.
Step 2: Component Removal
- Apply a small drop of tacky flux around the chip perimeter.
- Set hot air station to 330°C - 340°C with 35-40 LPM airflow.
- Hold the nozzle perpendicular at 1.5 cm distance and circle the package smoothly for 15-25 seconds.
- For DFN-8 or WQFN-16 (BQB) packages with center thermal pads, ensure the center solder pad reaches full liquidus before lifting.
- Lift vertically with fine ESD tweezers once solder is completely molten; avoid twisting to prevent lifting fragile board pads.
Step 3: Site Dressing & Pad Preparation
- Apply fresh flux to the logic board footprint.
- Clean the pads using a micro-soldering iron set to 340°C with Sn63/Pb37 leaded solder to dissolve the high-melting-point lead-free alloy.
- Lay desoldering wick flat across the pads and sweep lightly with the iron tip to planarize the site, paying close attention to keep the central ground pad flat without building an excessive solder hump.
- Clean thoroughly with an IPA-soaked foam swab and inspect under the microscope for bridging or torn traces.
Step 4: New Component Installation & Reflow
- Spread a microscopic, translucent film of tacky flux across the board pads (avoid heavy flux coats, which float lightweight leadless chips out of position).
- Place the replacement IC onto the footprint, strictly aligning the Pin 1 index dot with the logic board silkscreen orientation mark.
- Apply vertical hot air at 320°C - 330°C with moderate airflow (30-35 LPM).
- As the solder melts at 183°C, the chip will self-align onto the pads through surface tension.
- Gently tap the top corner of the package with the tip of your tweezers; the chip must exhibit immediate elastic return into alignment.
Step 5: Post-Cooling & Functional Validation
- Allow the board to cool naturally for 2-3 minutes. Avoid compressed air or chemical freeze sprays.
- Clean all flux residue with IPA and a soft antistatic brush.
- Re-measure diode mode values across all active pins to verify zero inter-pin bridging.
- Power the logic board with a DC power supply; verify normal boot current consumption and confirm target voltage rails or signal lines are active.
You may also like