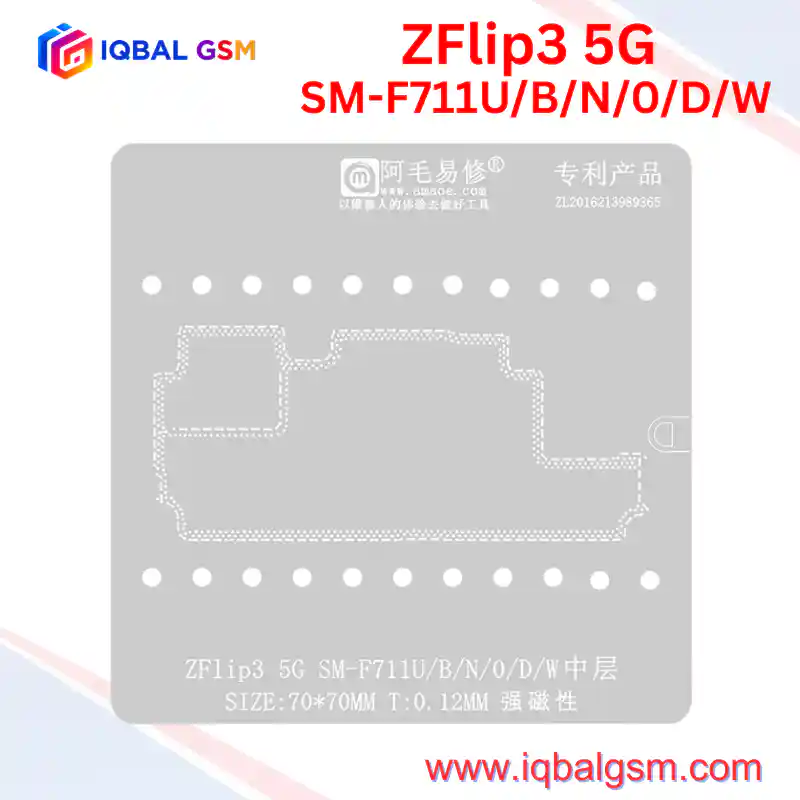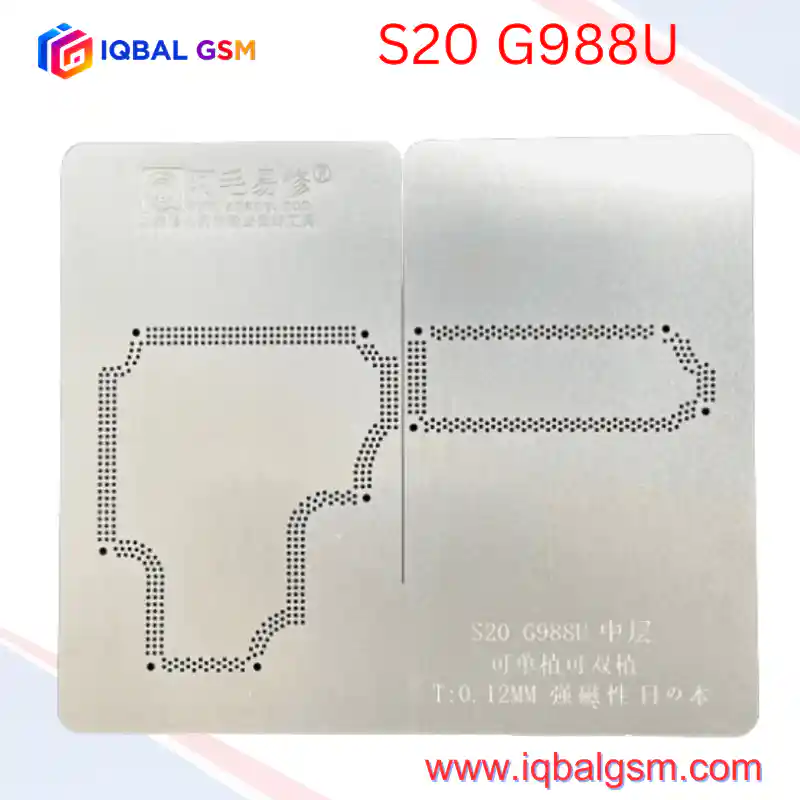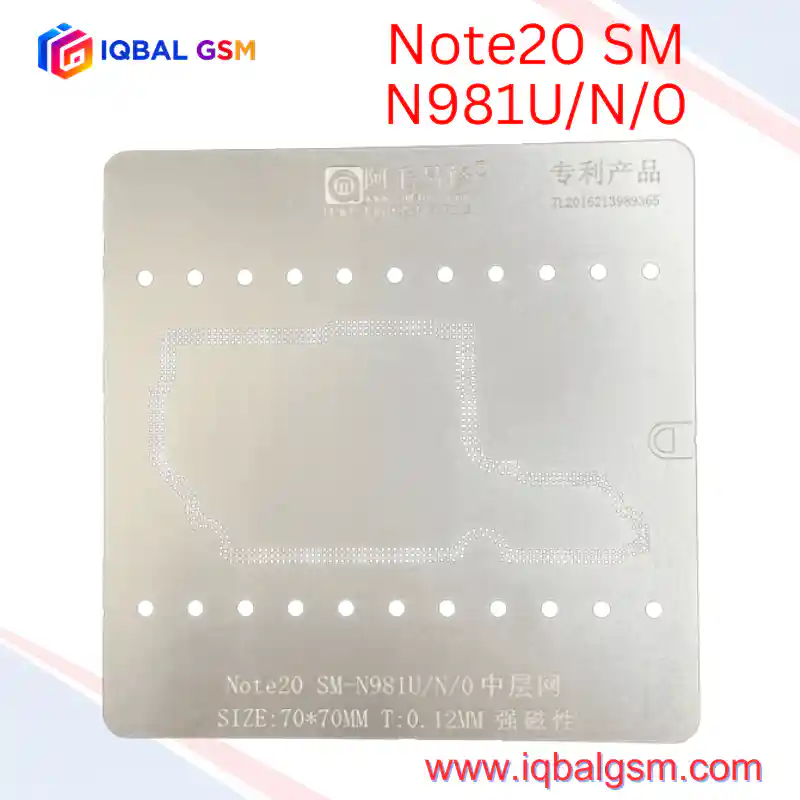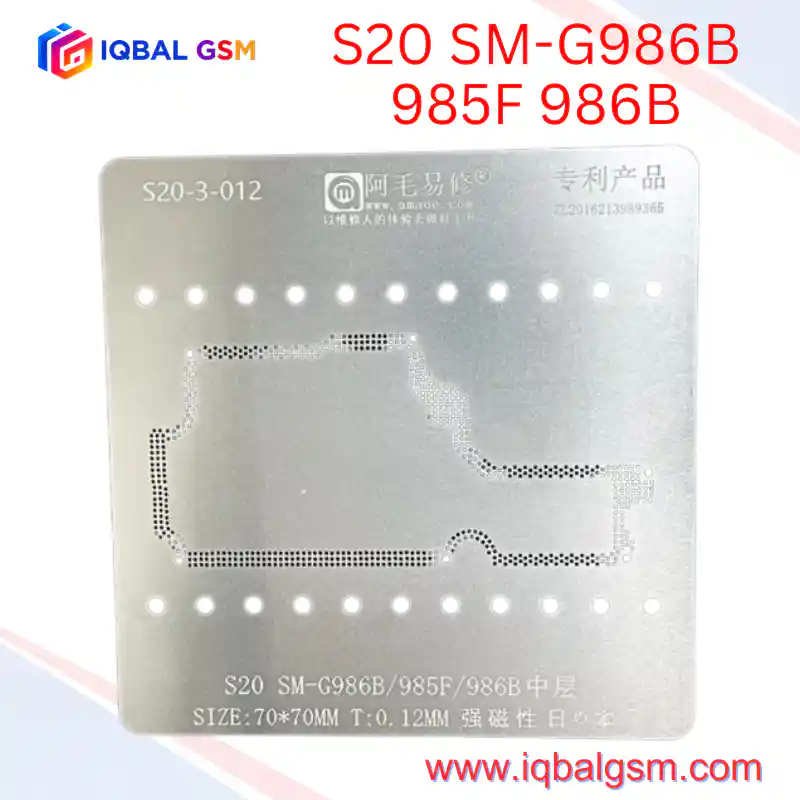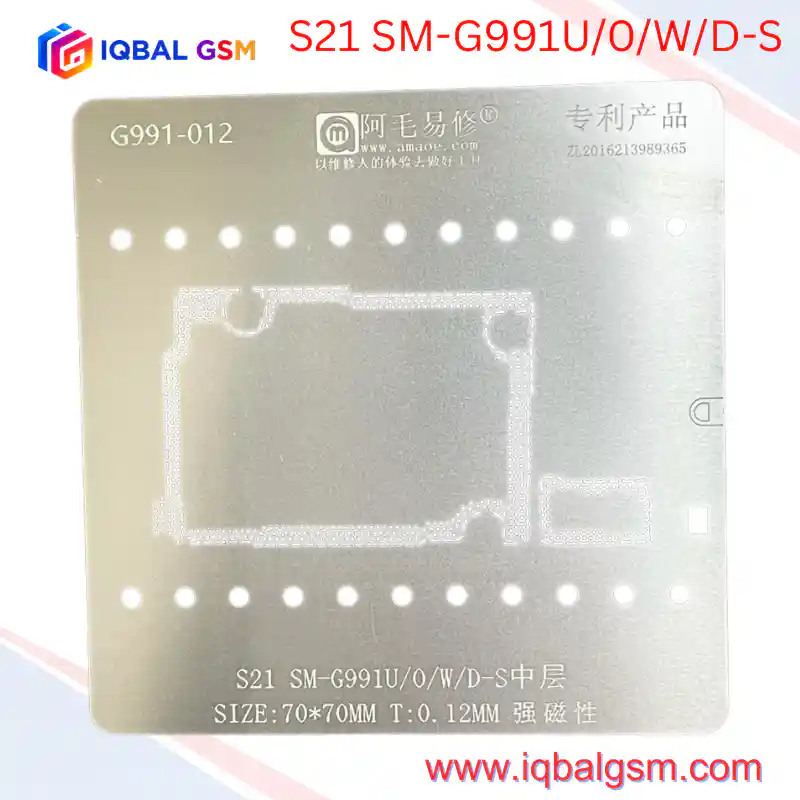

AMAOE S901U-012 V3.0 Middle-Layer BGA Reballing Stencil for Samsung Galaxy S22 & S22+ (SM-S901U / SM-S906U / W / 0 / D / E) – 0.12mm
As low as
Rs 1000.00
Worldwide shipping · Cash on Delivery
Product Details
====================================================================================================
AMAOE S901U-012 V3.0 (S22 / S22+) MIDDLE-LAYER BGA STENCIL TECHNICAL REWORK MANUAL
====================================================================================================
1. ARCHITECTURAL PURPOSE & DUAL-LAYER PCB DESIGN
----------------------------------------------------------------------------------------------------
The Samsung Galaxy S22 5G (SM-S901U) and Galaxy S22+ 5G (SM-S906U) Snapdragon 8 Gen 1 variants share
a compact, vertically stacked dual-layer (sandwich) motherboard architecture:
* Lower Board (AP / Core Logic Layer): Houses the Qualcomm Snapdragon 8 Gen 1 (4nm) SoC, LPDDR5
RAM, UFS 3.1 NAND storage, primary PMICs, and display/charging interfaces.
* Upper Board (RF / Modem / Sub-Layer): Houses the Snapdragon X65 5G modem, cellular transceivers,
power amplifiers, and antenna switching circuitry.
* Middle Interposer Frame (中层): A peripheral PCB wall populated with high-density, multi-row
staggered copper interconnect pads bridging power rails, MIPI lines, PCIe/RF signals, and ground
planes between the two stacked PCB halves.
The AMAOE S901U-012 V3.0 (0.12mm thick) stencil is laser-cut to match the exact perimeter interposer
footprint of the SM-S901U/SM-S906U series, featuring dedicated lower-edge component clearance cutouts
so the stencil sits flush over protruding board-side components during solder paste application.
2. KEY STENCIL ENGINEERING SPECIFICATIONS
----------------------------------------------------------------------------------------------------
* 0.12mm Calibrated Thickness: Controls exact solder paste volume per aperture so re-stacked board
halves settle to factory Z-height without cold joints or inter-pad solder bridges.
* V3.0 Component Clearance Cutouts: Precision-punched rectangular and circular relief windows along
the lower margin accommodate adjacent SMD inductors and connectors without bending the steel.
* Magnetic Fixture Alignment: Designed to lock onto AMAOE magnetic S22/S22+ positioning platforms
via perimeter alignment holes, preventing lateral shift during squeegee passes.
* Snapdragon Platform Specificity: Covers SM-S901U, SM-S906U, and W/0/D/E Snapdragon 8 Gen 1 boards
(not compatible with Exynos 2200 SM-S901B/S906B European boards).
3. CRITICAL SIGNALS ROUTED THROUGH THE MIDDLE LAYER
----------------------------------------------------------------------------------------------------
Cracked, oxidized, or bridged solder joints along the S22/S22+ middle interposer typically cause:
* Baseband Unknown / No Service / 5G Dropout: Open joints on RFFE clock/data, transceiver IQ lines,
or SIM interface lines bridging the AP board to the RF board.
* No Boot / High Standby Current: Squeezed solder balls shorting VPH_PWR / VDD_MAIN rails to adjacent
ground pads during improper board re-stacking.
* Wi-Fi / Bluetooth Grayed Out: Interrupted PCIe/UART control lines or missing 1.8V/3.3V RF power
rails across the interposer perimeter.
* Camera / Display / Charging Faults: Broken MIPI, I2C, or USB differential lines routed between the
AP logic board and upper-board connectors.
4. STEP-BY-STEP MIDDLE-LAYER REBALLING & RE-STACKING WORKFLOW
----------------------------------------------------------------------------------------------------
A. BOARD SEPARATION & PAD PREPARATION:
1. Place the SM-S901U / SM-S906U motherboard onto a dedicated pre-heating platform set to 175°C–190°C.
2. Once the factory middle-layer solder reaches liquidus, lift the upper RF board vertically using
curved ESD tweezers without applying sideways shear force.
3. Sweep both upper and lower interposer rings with a wide knife-edge soldering iron tip (320°C),
low-melt solder (138°C Bi/Sn alloy), and tacky flux to lower residual lead-free solder melting point.
4. Clean all interposer pads thoroughly with 0.8mm/1.0mm desoldering wick and 99.9% Isopropyl
Alcohol (IPA) until every pad is flat and mirror-bright.
B. STENCIL ALIGNMENT & SOLDER PASTE APPLICATION:
1. Seat the lower/middle-layer PCB onto a magnetic S22/S22+ reballing jig (ensuring lower-edge
components align with the V3.0 stencil cutouts).
2. Position the AMAOE S901U-012 stencil over the board, aligning the staggered perimeter aperture
ring precisely with the PCB copper pads under a stereo microscope.
3. Apply 183°C Sn63/Pb37 (or 158°C/138°C medium-temp) solder paste across the stencil using a
stiff stainless scraper at a 45-degree angle in one smooth pass.
4. Hold the stencil flat and heat evenly with a hot air gun at 260°C–280°C (low airflow, nozzle
~2cm away) until all paste converts into uniform silver solder spheres, OR lift the stencil
vertically first and reflow the printed paste directly on the board.
5. Inspect every perimeter solder ball under the microscope for uniform height and zero bridges.
C. BOARD RE-STACKING (REJOINING):
1. Apply a thin film of no-clean tacky flux along the opposing board's clean interposer pads.
2. Align the upper and lower halves accurately on the pre-heating platform.
3. Heat at 185°C–195°C (matching the chosen solder alloy) until the upper board settles naturally
by surface tension (apply a gentle 1mm nudge with tweezers to confirm self-centering).
4. Allow the board to cool naturally to room temperature before testing with a DC bench power
supply for shorts on VPH_PWR / VDD_MAIN.
5. POST-REWORK VERIFICATION & BENCH DIAGNOSTICS
----------------------------------------------------------------------------------------------------
* Diode Mode Check: Probe key connector lines (SIM, Display, Charging, RF) in diode mode before
powering on to verify zero open lines (OL) or dead shorts to ground.
* DC Power Supply Boot Test: Connect to a regulated 4.2V DC bench supply; verify zero pre-boot
leakage current and clean boot current progression.
* Full RF & Connectivity Audit: Confirm 5G/LTE signal registration, Wi-Fi/Bluetooth MAC address
presence, NFC, and 120Hz Dynamic AMOLED 2X display output.
====================================================================================================
You may also like