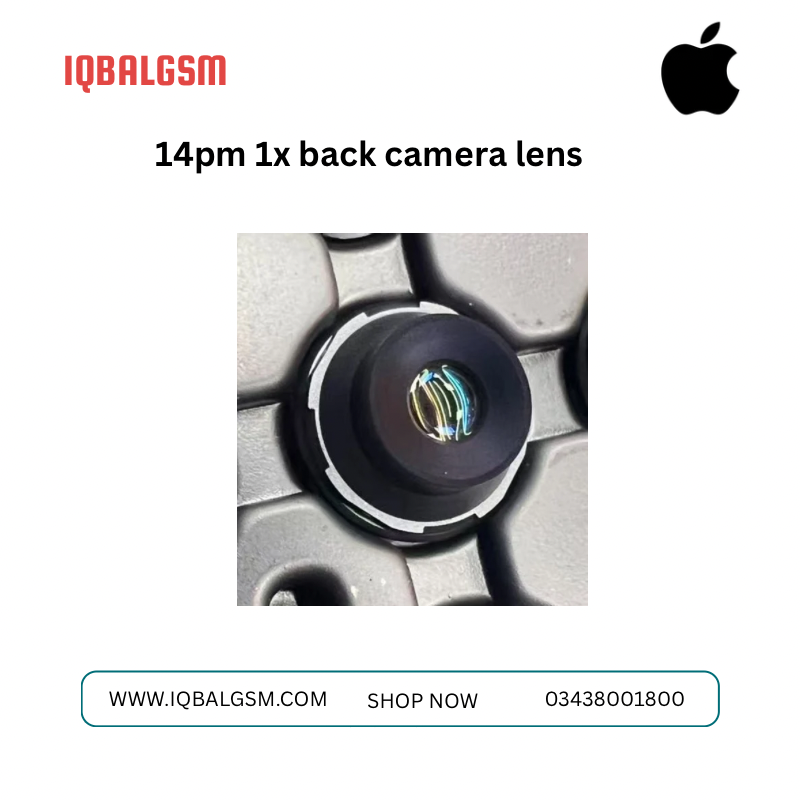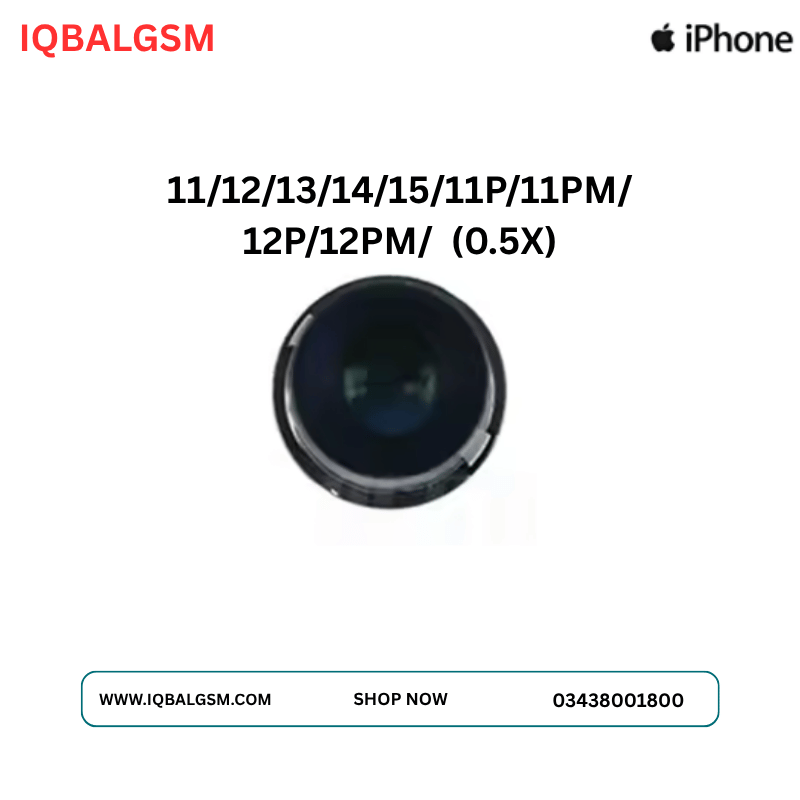

IPHONE 14P/14PM/15P/15PM/16P/16PM Back Camera 1X Blue Lens
As low as
Rs 900.00
Worldwide shipping · Cash on Delivery
Product Details
================================================================================
IPHONE 14P/14PM/15P/15PM/16P/16PM 1X MAIN (48MP 24MM ƒ/1.78) BLUE LENS GUIDE
================================================================================
1. OPTICAL & ELECTROMECHANICAL ARCHITECTURE (48MP 1/1.28" SENSOR-SHIFT SYSTEM):
Across the iPhone 14 Pro/Pro Max, 15 Pro/Pro Max, and 16 Pro/Pro Max, Apple unified the primary 1X camera around a large 1/1.28-inch 48MP Quad-Pixel CMOS sensor (Sony IMX803 / IMX903) paired with a 24mm ƒ/1.78 7-element (7P) optical lens barrel.
A. Hybrid Z-Axis VCM Autofocus + X/Y Sensor-Shift OIS Topology:
- Unlike conventional OIS modules that tilt the lens barrel, the 14P–16PM 1X module splits stabilization and focus into two decoupled mechanical stages:
1. Lower Stage (X/Y Sensor-Shift OIS): The 1/1.28" Sony CMOS sensor is mounted on a dynamic electromagnetic flex suspension carrier driven by 4 corner voice coils and Hall sensors, shifting the silicon die up to 5,000 times per second.
2. Upper Stage (Z-Axis Autofocus VCM): The 7-element 1X Blue Lens barrel sits inside a vertical closed-loop Voice Coil Motor carrier ring that moves strictly up and down along the optical Z-axis to focus light from 20 cm to infinity.
- Because the 1X camera also handles **1.2x (28mm), 1.5x (35mm), and 2x (48mm Telephoto)** via center-sensor 12MP unbinned cropping (1.22 µm pixels), any microscopic dust spec on the Blue Glass IRCF or CMOS center is magnified 200% when the user taps the "2x" zoom button.
B. High-Risk Vulnerability of the 2nd-Gen Sensor-Shift Stage:
- Because the Sony IMX803 / IMX903 CMOS die is suspended on delicate flexible polyimide/copper OIS ribbons rather than glued to a rigid baseplate, applying excessive downward pressure on the CMOS sensor during cleaning will tear or deform the Sensor-Shift suspension flex, causing permanent OIS buzzing or tilted focus.
--------------------------------------------------------------------------------
2. THERMAL, CHEMICAL & MECHANICAL SAFETY CONSTRAINTS:
- STRICT SOLVENT PROHIBITION:
* NEVER apply Isopropyl Alcohol (99% IPA), acetone, contact cleaner, or liquid optics cleaner to the 1X Blue Lens or the exposed 48MP Sony CMOS die. Liquid solvents strip the nano-crystalline AR coating, wick underneath the Blue Glass perimeter seal, and permanently stain the 1.22 µm CMOS microlenses.
- Thermal Ceiling:
* Maximum safe heating temperature for softening the 1X barrel-to-VCM perimeter adhesive is 65°C – 75°C.
* Exceeding 80°C warps the large-diameter 7P polymeric aspherical lens elements and demagnetizes the high-flux Sensor-Shift Neodymium (NdFeB) magnets.
- Non-Magnetic Tool Requirement:
* Always use non-magnetic titanium tweezers (0.1 mm tips). The 1X Sensor-Shift actuator contains four powerful corner magnets that will violently pull steel blades or steel tweezers downward into the bare 48MP CMOS die.
--------------------------------------------------------------------------------
3. STEP-BY-STEP CLEANROOM 1X BLUE LENS REPLACEMENT PROCEDURE:
STEP 1: Module Extraction & Multi-Lens Contamination Shielding
- Power off the device, remove the display / back glass, disconnect the battery B2B connector, and remove the triple-camera module.
- Immediately seal the 0.5x Ultra-Wide and 3x/5x Telephoto lens openings with residue-free anti-static blue protective tape.
- Mount the triple-camera assembly in a heavy CNC aluminum camera clamping jig under a laminar flow cleanbench and stereomicroscope (10x – 45x).
STEP 2: Softening & Scoring the 1X Barrel Perimeter Seal
- Inspect the top ring of the large 1X sub-module where the wide-bore plastic lens barrel meets the upper VCM autofocus carrier ring.
- Set hot air rework station to 70°C (Airflow: 15%) and warm the top rim of the 1X sub-module for 15 – 20 seconds.
- Using a fresh non-magnetic titanium scalpel handle with a micro-blade (or ceramic micro-knife), carefully score the 360-degree black elastic adhesive bead in the groove between the 1X lens barrel shoulder and the VCM ring.
- CRITICAL: Keep blade depth strictly < 0.25 mm to avoid slicing the upper VCM copper leaf spring located immediately beneath the carrier rim.
STEP 3: Damaged 1X Blue Lens Extraction
- Grip the inner top rim of the damaged 1X lens barrel with non-magnetic titanium tweezers.
- Gently twist counter-clockwise while lifting straight upward to unseat the 7P barrel from the VCM housing.
- Clean all residual black adhesive fragments off the VCM inner seating step using a dry micro-probe and a silicone gel sticky swab so the replacement barrel seats 100% level.
STEP 4: 48MP Sony IMX803 / IMX903 CMOS Dry Cleaning
- With the 1X barrel removed, the large 1/1.28" Sony CMOS die is exposed.
- Observe the perimeter rows of dense gold wire bonds along the edges of the silicon die—NEVER touch the wire bonds.
- Remember that the CMOS die floats on the X/Y Sensor-Shift OIS suspension! Use feather-light vertical contact (< 2 grams of force) when cleaning:
* Use a fresh, static-neutralized **Silicone Gel Sensor Cleaning Stick (Dust-Free Sticky Swab)**.
* Vertically touch and lift dust particles off the CMOS surface (pay special attention to the exact center 24MP/12MP region used for 2x zoom).
* NEVER drag or wipe across the sensor. Use a filtered manual air bulb for loose perimeter dust.
STEP 5: New 1X Blue Lens Seating & Optical Coplanarity Verification
- Inspect the replacement 1X Blue Lens under 30x magnification on both the top element and bottom Blue Glass IRCF to confirm zero dust or defects.
- Lower the replacement 1X Blue Lens vertically into the VCM actuator ring until the barrel shoulder sits completely flush against the mechanical stop ledge.
- Because the 1/1.28" sensor has a large image circle and fast ƒ/1.78 aperture, verify under the microscope that the barrel is 100% coplanar (zero tilt) relative to the metal shield housing.
STEP 6: Live 1X / 2X Optical Verification & UV Curing Seal
- Temporarily connect the triple-camera module to a test motherboard and boot into the Camera app:
* Test **1x (24mm)** across all four corners at infinity (> 5 meters) and close range (25 cm) to verify zero decentering blur.
* Switch to **2x (48mm)** optical-quality crop mode and point at a bright white sheet of paper to verify 100% removal of center dark spots and crisp 100% Focus Pixel lock.
* Switch to 48MP ProRAW / HEIF Max mode and capture a test frame to verify edge-to-edge resolving power.
- Once verified, apply four micro-dots of black UV-curable optical adhesive around the barrel-to-VCM seam using a 0.1 mm tungsten needle.
- Cure under a 365 nm UV LED lamp for 25 seconds, followed by a continuous light-blocking black perimeter seal.
--------------------------------------------------------------------------------
4. DIAGNOSTIC MATRIX & BOARD-LEVEL ELECTRICAL REFERENCE VALUES:
A. Post-Rework Optical & Electromechanical Fault Matrix:
┌────────────────────────────────┬────────────────────────────────┬────────────────────────────────────────────────────┐
│ Post-Repair Symptom │ Subsystem Involved │ Root Cause & Corrective Action │
├────────────────────────────────┼────────────────────────────────┼────────────────────────────────────────────────────┤
│ Spot invisible at 1x, but dark │ Center of CMOS / Blue Glass │ Micro-dust spec sitting in the center 12MP crop │
│ spot appears when tapping "2x" │ (48mm 2x Crop Region) │ zone of the 48MP sensor -> Lift barrel, dab center.│
├────────────────────────────────┼────────────────────────────────┼────────────────────────────────────────────────────┤
│ One corner/side of 1x photo is │ Barrel Coplanarity / Tilt │ Glue debris under barrel shoulder or tilted Sensor-│
│ soft while opposite side sharp │ (1/1.28" Large Format) │ Shift stage -> Clean VCM ledge flat and reseat. │
├────────────────────────────────┼────────────────────────────────┼────────────────────────────────────────────────────┤
│ Camera buzzes/vibrates loudly │ 2nd-Gen Sensor-Shift OIS Stage │ Excessive downward pressure during cleaning bent │
│ and image shakes in 1x/2x mode │ │ OIS suspension flex -> Requires full module swap. │
├────────────────────────────────┼────────────────────────────────┼────────────────────────────────────────────────────┤
│ Focus locked at close range; │ Z-Axis Flange Focal Distance │ 1X Blue Lens barrel sitting too high in VCM ring ->│
│ cannot focus on distant scenes │ │ Press barrel flush against VCM mechanical ledge. │
├────────────────────────────────┼────────────────────────────────┼────────────────────────────────────────────────────┤
│ Black screen in 1x & 2x modes │ CMOS Wire Bonds / MIPI C-PHY │ Severed gold wire bond on IMX803/IMX903 die or │
│ (0.5x and 3x/5x still work) │ │ missing power rail on logic board B2B connector. │
└────────────────────────────────┴────────────────────────────────┴────────────────────────────────────────────────────┘
B. Cold Diode-Mode Motherboard B2B Connector Reference (Red Probe on GND, Black on Pin):
- MIPI CSI-2 (C-PHY / D-PHY) High-Speed Differential Data Lanes (48MP Wide 1X Bus):
* Expected Diode Drop: 0.370V – 0.450V (All matched lanes must read within +/- 0.005V).
- Power Supply Rails for 48MP 1X Main Sub-Module:
* PP2V8_CAM_WIDE_AVDD (2.8V – 2.9V Analog CMOS Supply): 0.440V – 0.530V
* PP1V06_CAM_WIDE_DVDD (1.06V – 1.1V High-Speed 48MP Core Logic): 0.280V – 0.360V
* PP1V8_CAM_WIDE_IOVDD (1.8V Digital IO & Encrypted EEPROM): 0.460V – 0.540V
* PP2V8_CAM_WIDE_AF_OIS (2.8V – 3.0V VCM + Sensor-Shift Actuator Supply): 0.430V – 0.510V
- Control, Clock & Synchronization Lines:
* I2C_CAM_WIDE_SCL / SDA (Bi-Directional Control & OIS Telemetry): 0.480V – 0.560V
* AP_TO_CAM_WIDE_CLK (24 MHz Master Reference Clock): 0.405V – 0.475V
* AP_TO_CAM_WIDE_SHUTDOWN_L (Active-Low Reset/Enable): 0.470V – 0.550V
================================================================================
You may also like