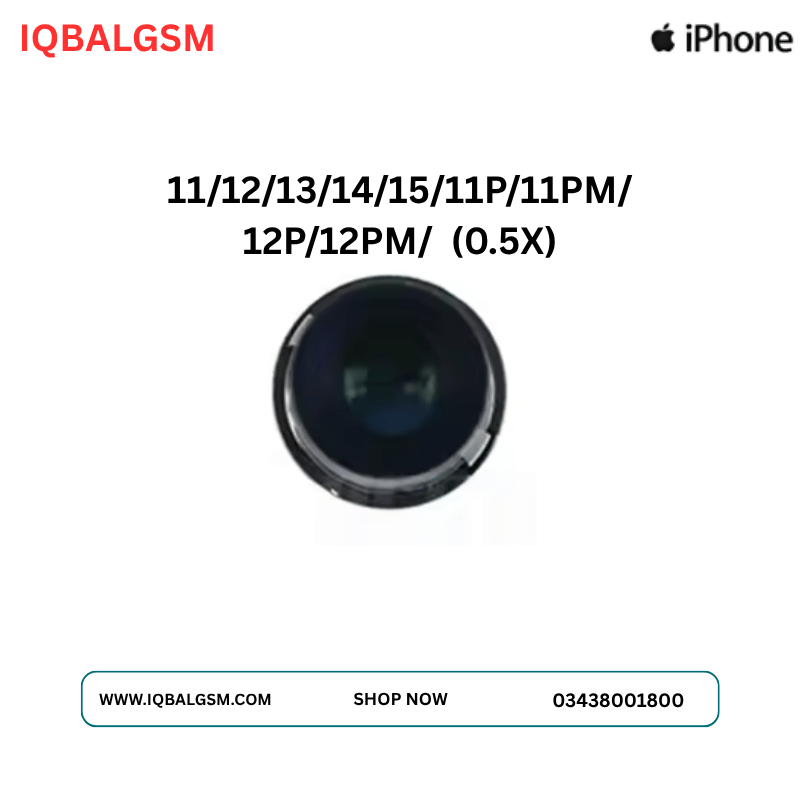
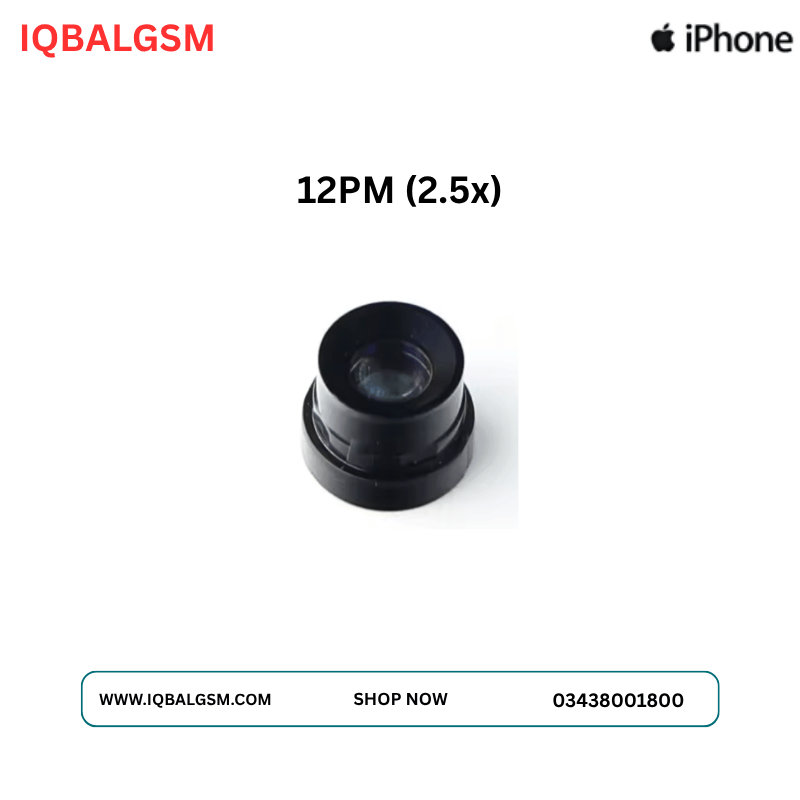
IPHONE 11P/11PM/12P Back Camera 2X Blue Lens
As low as
Rs 600.00
Worldwide shipping · Cash on Delivery
Product Details
1. OPTICAL & HARDWARE OVERVIEW
The "2X Blue Lens" on iPhone 11 Pro, 11 Pro Max, and 12 Pro is a specialized circular optical filter glass element positioned at the base of the telephoto lens barrel. It serves as both an optical bandpass filter (passing visible spectrum 400nm-700nm while rejecting infrared) and a protective barrier directly shielding the 12MP CMOS sensor die. When the external sapphire back cover breaks, glass shards and fine silica particles often penetrate the camera chamber, scratching or fracturing this internal blue lens. Replacing this individual optical disk restores pristine image quality while preserving original Apple factory camera calibration.
2. DAMAGE ASSESSMENT & PRE-WORK DIAGNOSTICS
A. Optical vs. Sensor Silicon Damage Verification:
- Open the Camera app, switch to 2X mode, and point at a uniformly illuminated pure white surface.
- Distinctive Failure Signatures:
* Jagged black lines or cracked halos: Broken internal blue lens glass (100% repairable via lens replacement).
* Permanent purple, magenta, or bright white static dots: Burned CMOS sensor pixels from concert laser exposure (requires full camera module replacement).
* Audible buzzing or image shaking: Glass shards jammed in the VCM magnetic suspension springs (requires cleaning/freeing the coil).
B. Cleanroom Environment Requirements:
- Perform this repair ONLY under a Class 100 dust-free laminar flow workbench or inside an enclosed laminar air box equipped with an ionization fan.
- Utilize a high-intensity green LED dust-detection lamp to illuminate micro-dust particles on optical surfaces.
3. REQUIRED TOOLS & CONSUMABLES
- Replacement 11P/11PM/12P 2X Blue Lens optical disk.
- Optical cleaning solvent (high-purity analytical reagent grade Isopropyl Alcohol or hydrocarbon optical cleaner).
- Lint-free microfiber optical swabs and silicone dust-removal adhesive sticks.
- Optical-grade UV-curable liquid adhesive (LOCA) or black camera-bezel UV sealing resin.
- 365nm high-power UV curing flashlight.
- Non-magnetic curved precision tweezers (#5 or #7) and mini vacuum pickup pen with silicone suction cup.
- Stereo inspection microscope (7X - 45X zoom).
4. STEP-BY-STEP REWORK PROTOCOL
A. Disassembly & Module Extraction:
- Disconnect battery flex before disconnecting the rear camera module flex cables.
- Remove the triple-camera unit from the chassis and place it in the cleanroom workstation under the microscope.
B. Removal of Damaged Blue Lens:
- Position the camera with the 2X telephoto barrel facing upward.
- If the external sapphire cover glass is shattered, completely remove all outer glass fragments and adhesive remnants first.
- Inspect the circular retaining seat of the 2X barrel under 20X magnification. The blue lens is bonded around its outer edge with factory black adhesive.
- Using a fine micro-blade (#11 scalpel), gently score the adhesive rim.
- Carefully pick out the broken glass shards using curved micro-tweezers.
- CRITICAL: Keep the camera module tilted downward or inverted so glass dust falls away from the open CMOS cavity rather than dropping onto the sensor surface.
C. CMOS Cavity & Sensor Surface Cleaning:
- Inspect the bare CMOS sensor surface using the green LED dust detection light.
- Moisten an optical microfiber swab with 1 drop of optical cleaner (swab must be damp, never wet).
- Perform a single, light linear pass across the sensor face to remove dust and oil. Never scrub back and forth to prevent micro-scratches on the sensor's optical passivating layer.
- Use an anti-static manual air bulb blower to clear any residual microscopic fibers.
D. Installation & Seating of New 2X Blue Lens:
- Pick up the replacement 2X Blue Lens using a vacuum pickup pen or edge-clamping tweezers. Never touch optical surfaces directly.
- Verify coating orientation: The face exhibiting the prominent reflective blue sheen must face outward toward the subject.
- Using a 30-gauge dispensing needle, place 3 or 4 microscopic dots of optical UV adhesive around the internal metal mounting shoulder of the lens barrel (do NOT allow adhesive to seep onto the central aperture or sensor).
- Gently lower the blue lens into the barrel until it rests flat, level, and concentric against the metal seat.
- Inspect under green LED light to confirm zero dust particles or air bubbles are trapped between the lens and the sensor.
E. UV Curing & Perimeter Sealing:
- Apply 365nm UV light directly above the lens barrel for 90 to 120 seconds to cure the adhesive completely.
- Verify with micro-tweezers that the lens is firmly anchored and cannot shift during device vibration or drop impact.
5. POST-REWORK VERIFICATION
- Reinstall the camera module into the chassis, reconnect all display and battery cables, and boot the phone.
- Test 2X Telephoto Functionality:
* Open Camera app, select 2X, and test autofocus from 10 cm (macro) out to infinity.
* Photograph a solid white background: Confirm image is completely free of shadows, dust spots, or color fringing.
* Switch to Portrait Mode: Confirm natural background blur (bokeh) rendering and correct subject-depth isolation.
- Navigate to Settings -> General -> About: Verify that no "Important Camera Message" is triggered, maintaining 100% factory original system status.
You may also like