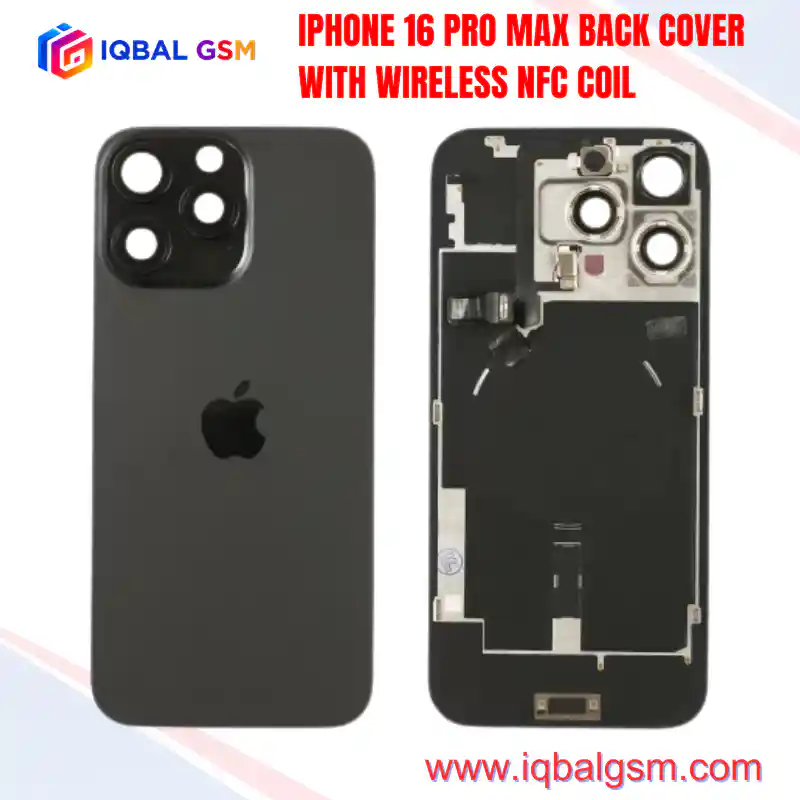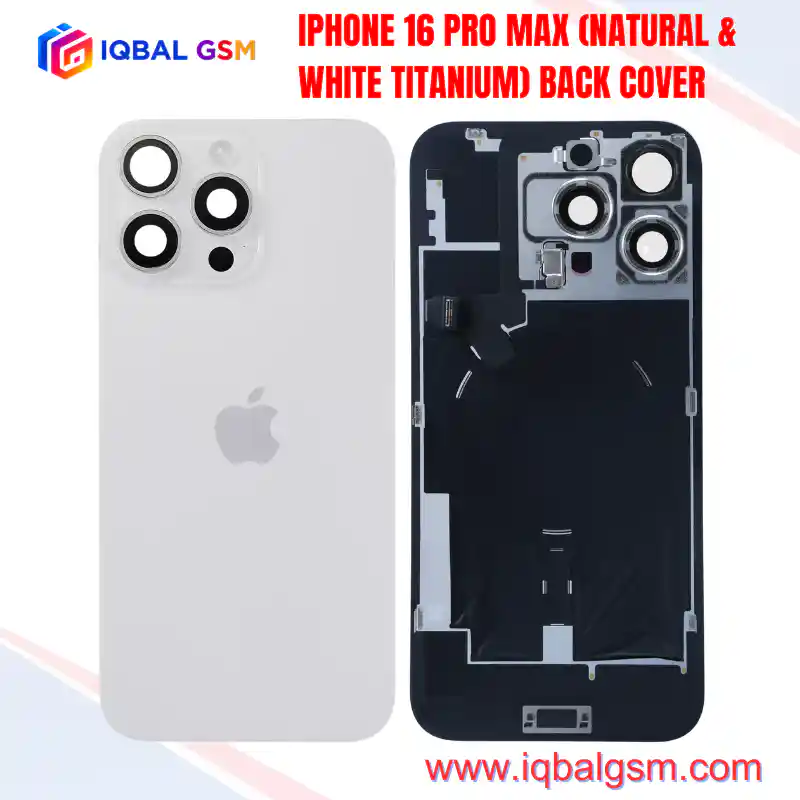

IPHONE 14 PLUS (STARLIGHT & MIDNIGHT) BACK COVER
As low as
Rs 1000.00
Worldwide shipping · Cash on Delivery
Product Details
====================================================================================================
IPHONE 14 PLUS (STARLIGHT & MIDNIGHT) BACK COVER REPAIR & WORKSHOP BENCH MANUAL
====================================================================================================
1. STRUCTURAL ARCHITECTURE & THE PIONEERING REMOVABLE BACK DESIGN
----------------------------------------------------------------------------------------------------
The iPhone 14 and iPhone 14 Plus pioneered Apple's modern internal redesign, becoming the very first
iPhone generation to abandon permanently glued rear housing frames in favor of an independently
removable rear glass sub-assembly.
Invoice Item #5 provides the complete pre-assembled 6.7-inch rear cover in Starlight (W) and Midnight (BL):
* Optical Gloss Glass Panel: Precision-formed dual-ion exchange tempered glass in high-gloss Starlight
(champagne warm-white) and Midnight (dark ink navy-black) factory tones.
* Dual-Camera Optical Frame: Integrated raised glass camera island housing two diagonal lens apertures,
sapphire crystal lens covers, laser microphone port, and True Tone flash aperture.
* Integrated Wireless Charging Module: Wound Litz copper wire induction coil engineered for Qi and MagSafe
wireless charging up to 15W, coupled with a graphite thermal dispersion substrate.
* MagSafe Alignment Ring: Laser-bonded ring array of 16 sintered neodymium (NdFeB) magnets designed to
deliver 10N+ magnetic holding force for MagSafe accessories.
* Electrical Sensor Harness: Multi-layer flexible printed circuit integrating the rear ambient noise-
canceling microphone, high-current quad-LED True Tone flash, and high-frequency 13.56 MHz NFC loop.
2. LOGIC BOARD INTERCONNECT & BUS ARCHITECTURE
----------------------------------------------------------------------------------------------------
The iPhone 14 Plus back glass assembly connects to the logic board via a single board-to-board (B2B)
connector fastened beneath a retaining bracket located at the center-right of the battery cavity:
* WPC_VREC / BAT_VCHG: Rectified DC voltage rail from the wireless power receiver IC to the battery
management charging controller (5V–12V dynamic step-down conversion).
* NFC_ANT_P / NFC_ANT_N: Differential RF signal lines communicating with the NXP secure NFC controller
chip for Apple Pay contactless point-of-sale verification and transit pass emulation.
* FLASH_STROBE_DRV / TORCH_EN: High-current pulsed LED driver line powering the dual-tone rear flash and
torch functionality.
* MIC_REAR_DATA / MIC_REAR_CLK: Digital audio interface feeding the directional rear camera microphone
stream into the A15 Bionic audio signal processor.
* NTC_THERMAL_SNS: Embedded thermistor providing real-time surface temperature feedback to throttle
wireless charging current when surface heat exceeds 38°C.
3. COMMON FAILURE MODES OF DAMAGED OR LOW-GRADE REAR PANELS
----------------------------------------------------------------------------------------------------
* MagSafe Alignment & Charging Dropout:
Inferior aftermarket back glasses often omit the magnetic Halbach array or use low-grade ferrite
rings, resulting in weak magnetic latching, excessive charging heat, or dropped Qi connections.
* Flashlight & Rear Mic Inoperability:
Tearing or micro-fracturing of the delicate right-hand flex neck during careless glass prying disables
the rear camera flash and causes muffled sound or static in video recording.
* NFC / Apple Pay Communication Timeout:
Damaged antenna traces or misaligned coil grounding shields prevent NFC point-of-sale terminal reads
and disable battery pack identification pop-ups.
* Camera Lens Optical Glare / Focus Artifacts:
Low-grade replacement glass lacking anti-reflective (AR) lens coatings results in chromatic aberration,
night-mode lens flaring, or autofocus hunting.
4. STEP-BY-STEP WORKSHOP INSTALLATION & REWORK PROCEDURE
----------------------------------------------------------------------------------------------------
A. DEVICE PREPARATION & OPENING:
1. Power off the iPhone 14 Plus. Remove the two bottom P2 (0.8mm) Pentalobe screws adjacent to the
Lightning connector port.
2. Heat the perimeter edges of the rear glass to 65°C–70°C for 2 minutes using an LCD heating plate
or hot air gun to soften the factory adhesive.
3. Place a heavy-duty suction cup near the bottom edge. Pull upward with steady force to create a
0.5mm opening gap between the glass and the aluminum frame.
4. Insert a thin plastic opening pick no deeper than 3mm. Slide carefully along the bottom, left, and
top seams.
CRITICAL WARNING: The internal FPC connecting the back glass assembly to the motherboard is situated
along the RIGHT edge (when viewed from the back). Never insert prying tools deeper than 2mm along
the right side to avoid severing the flex cable!
5. Gently swing open the back cover from the left toward the right, book-fold style, at an angle not
exceeding 90 degrees.
B. DISCONNECTION & FRAME PREPARATION:
1. Remove the single Y000 tri-point screw securing the battery and wireless charging connector cover.
2. Disconnect the battery connector first using an insulated nylon spudger to eliminate short-circuit risks.
3. Disconnect the rear glass flex connector from the motherboard socket.
4. Carefully inspect the perimeter aluminum frame ledge. Remove all old adhesive strips, glass fragments,
and debris using 99.9% Isopropyl Alcohol (IPA) and a nylon detailing brush.
C. INSTALLATION OF THE PRE-ASSEMBLED BACK COVER:
1. Inspect the new 14+ assembly (Starlight or Midnight) under bench lighting to ensure camera lenses
are completely free of dust and fingerprints.
2. Reconnect the rear glass flex connector to the motherboard socket until it clicks into place.
3. Reconnect the main battery terminal.
4. Reinstall the metal retaining bracket and tighten the Y000 screw firmly.
5. Peel the protective release liner from the pre-applied perimeter adhesive gasket.
6. Carefully align the top camera corner into the chassis rebate, then press the glass down evenly into
the perimeter frame channel.
7. Clamp the unit in a specialized display/back cover press jig at 25–30 psi for 5 minutes to achieve
uniform adhesive wetting and water-resistant sealing.
8. Reinstall and tighten the two bottom Pentalobe screws.
5. POST-REPAIR QUALITY ASSURANCE & VERIFICATION CHECKLIST
----------------------------------------------------------------------------------------------------
* Wireless Charging Check: Place the phone onto a MagSafe or Qi charging pad; confirm the charging chime,
on-screen animation, and steady current draw without excessive thermal rise.
* NFC Verification: Scan a contactless payment card or NFC tag against the upper coil to confirm antenna integrity.
* Flash & Video Audio: Launch Camera app, test rear LED flash in photo mode, and record a 10-second video
while speaking from behind the phone to verify rear microphone clarity.
* Flushness Inspection: Ensure the rear glass sits flush with the perimeter aluminum chassis chamfer
without high spots or light leakage along the perimeter seam.
====================================================================================================
You may also like