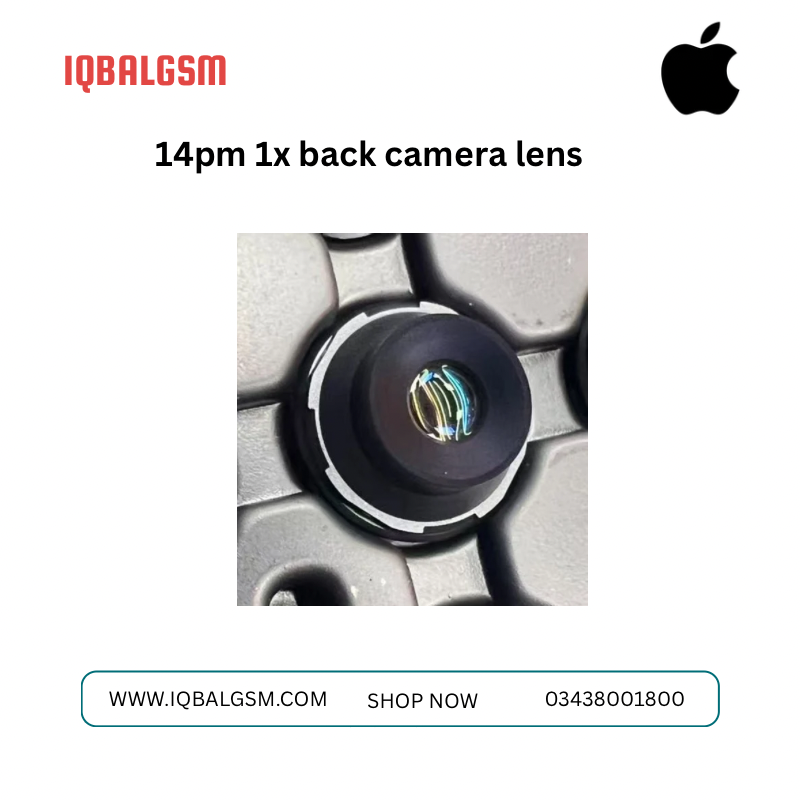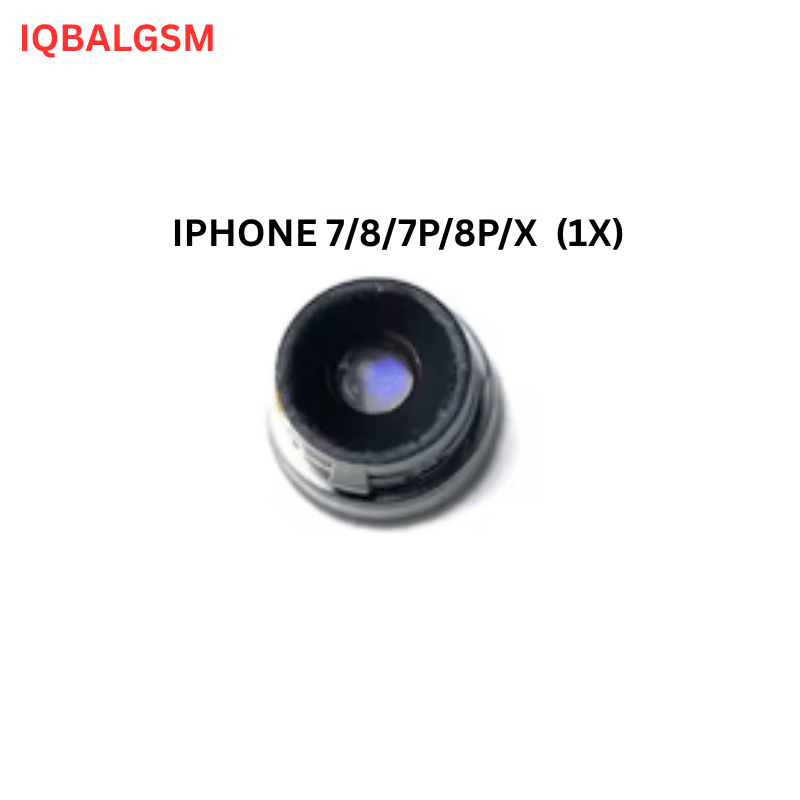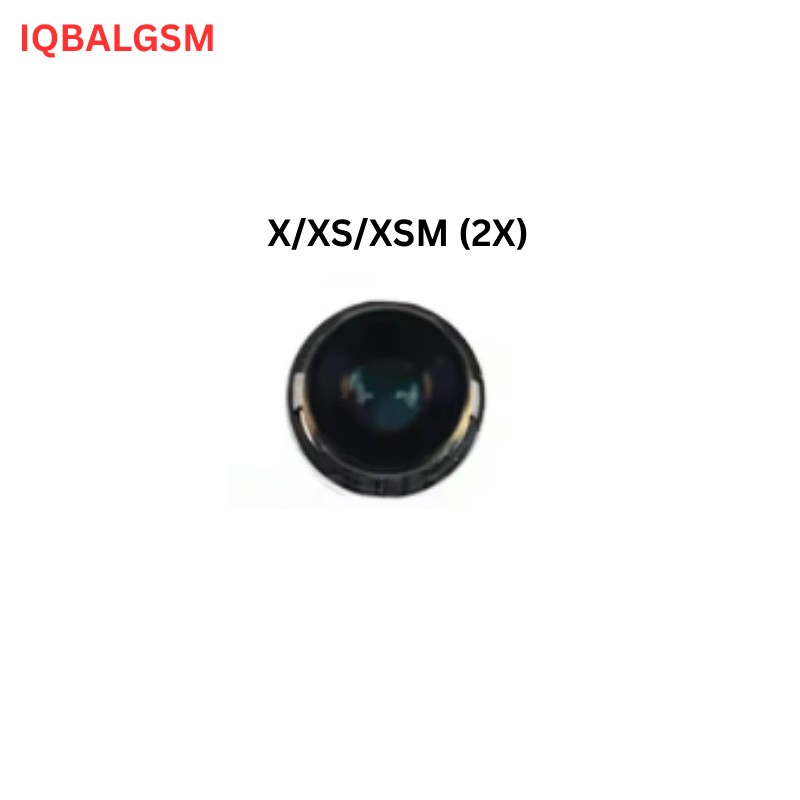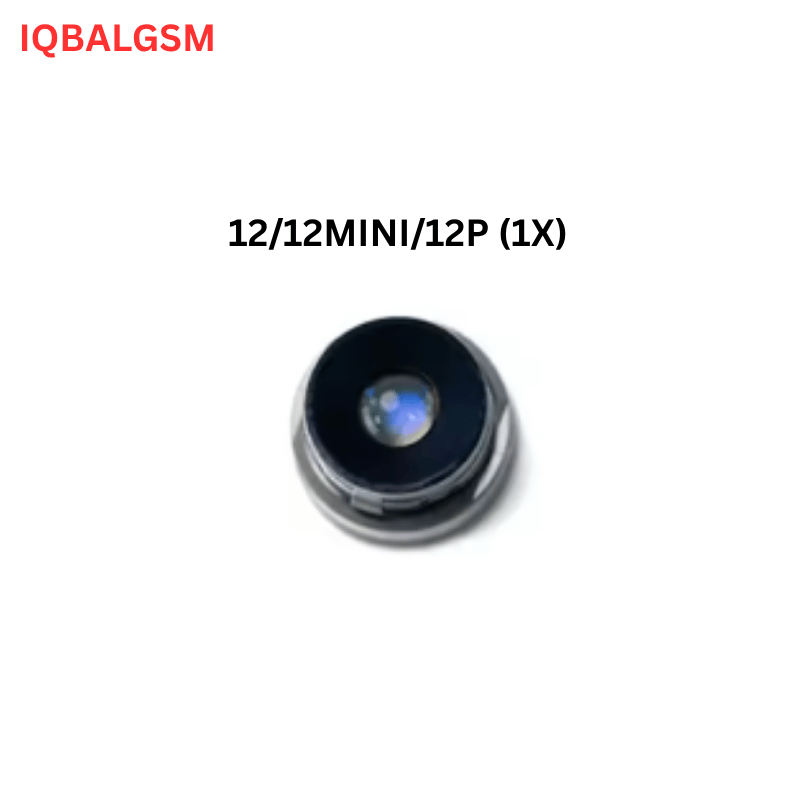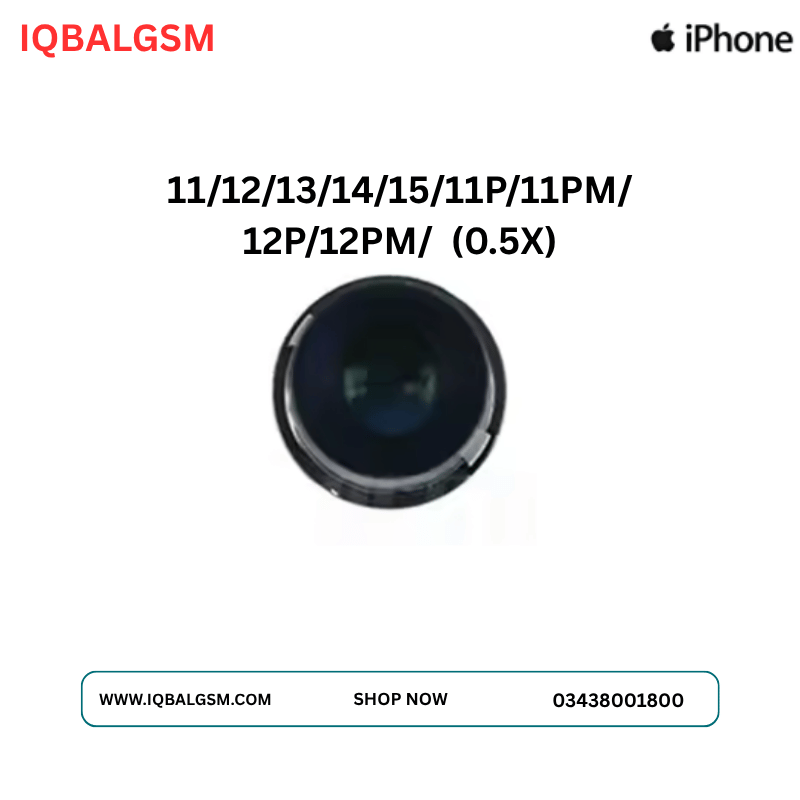

iPHONE 13P/13PM Back Camera 0.5X Blue Lens
As low as
Rs 600.00
Worldwide shipping · Cash on Delivery
Product Details
================================================================================
IPHONE 13 PRO / 13 PRO MAX 0.5X ULTRA-WIDE (ƒ/1.8) BLUE LENS REWORK GUIDE
================================================================================
1. OPTICAL & ELECTROMECHANICAL ARCHITECTURE (13MM ƒ/1.8 MACRO AF SYSTEM):
The iPhone 13 Pro and 13 Pro Max share an identical triple-camera module, marking Apple's first integration of a closed-loop Voice Coil Motor (VCM) Autofocus system on the 0.5x Ultra-Wide camera for 2 cm Macro photography.
A. Unique ƒ/1.8 Optical Barrel Geometry:
- To achieve a 92% improvement in low-light gathering over the iPhone 12 Pro, the 13 Pro / 13 Pro Max 0.5x camera utilizes an ultra-fast ƒ/1.8 aperture across a 6-element (6P) aspherical stack paired with the 12MP Sony IMX772 CMOS sensor.
- Because of the ƒ/1.8 aperture, the front optical element and bottom Blue Glass IRCF have a wider clear aperture diameter and a shallower depth of field at close distances compared to fixed-focus ƒ/2.4 lenses.
- Consequently, flange focal distance (the vertical Z-axis spacing between the bottom Blue Glass IRCF and the Sony IMX772 CMOS die, ~0.32 mm at infinity rest) requires strict seating precision; even a 0.05 mm vertical offset prevents the VCM from reaching infinity focus.
B. Contamination & Optical Defect Mechanics:
- When the outer rear housing sapphire lens cover shatters on an iPhone 13 Pro / 13 Pro Max, micro-glass dust settles on the top convex element of the 0.5x barrel or penetrates the VCM seam onto the bottom Blue Glass IRCF and Sony IMX772 sensor.
- Because the 0.5x camera automatically engages whenever the user brings the phone within 10 cm of an object (Auto-Macro switching), damage or dust on the 0.5x Blue Lens ruins both 0.5x wide shots and close-up 1x Macro photos/scans.
--------------------------------------------------------------------------------
2. THERMAL, CHEMICAL & MECHANICAL SAFETY CONSTRAINTS:
- STRICT LIQUID SOLVENT BAN:
* NEVER use Isopropyl Alcohol (99% IPA), acetone, flux cleaner, or liquid lens cleaners inside the camera module or on the Blue Glass IRCF. Solvents strip the dielectric anti-reflective coating, dissolve internal optical cement, and leave permanent rainbow stains across the Sony IMX772 micro-lens array.
- Thermal Ceiling:
* Maximum safe heating temperature for softening the factory barrel-to-VCM perimeter adhesive is 65°C – 75°C.
* Exceeding 85°C warps the 6P polymeric aspherical lens elements and permanently degrades the magnetic flux of the VCM permanent magnets.
- Magnetic Tool Precautions:
* Strictly use non-magnetic titanium tweezers (0.1 mm tips). Standard stainless steel tweezers will be pulled into the VCM magnets, crushing the delicate copper suspension spring or severing the perimeter CMOS gold wire bonds.
--------------------------------------------------------------------------------
3. STEP-BY-STEP CLEANROOM 0.5X BLUE LENS REPLACEMENT PROCEDURE:
STEP 1: Module Extraction & Cross-Contamination Shielding
- Power off the iPhone 13 Pro / 13 Pro Max, lift the display screen, disconnect the battery B2B connector, and remove the rear triple-camera assembly.
- Immediately seal the 1x Wide (ƒ/1.5) and 3x Telephoto (77mm) lenses plus the LiDAR scanner window using residue-free anti-static blue protective tape.
- Clamp the triple-camera module into a heavy CNC aluminum camera repair fixture under a dust-free laminar flow hood and stereomicroscope (10x – 45x).
STEP 2: Softening & Cutting the Barrel-to-VCM Perimeter Seal
- Locate the top perimeter seam of the 0.5x sub-module where the stepped plastic lens barrel sits inside the VCM actuator carrier ring.
- Set hot air rework station to 70°C (Airflow: 15%) and warm the top rim of the 0.5x sub-module for 15 seconds.
- Using a fresh No. 11 surgical scalpel blade, carefully score the black elastic adhesive bead around the 360-degree seam between the barrel shoulder and the VCM ring.
- CRITICAL: Limit blade penetration to < 0.25 mm. Directly beneath the VCM carrier ledge lies the ultra-thin copper spider-spring that suspends the autofocus barrel.
STEP 3: Damaged 0.5X Blue Lens Barrel Removal
- Grip the outer rim of the damaged 0.5x lens barrel using non-magnetic titanium tweezers.
- Gently twist counter-clockwise while lifting straight up to separate the barrel from the VCM actuator housing.
- Clean all residual black adhesive fragments from the VCM seating ledge using a dry micro-probe and a silicone gel sticky swab so the replacement barrel sits 100% flat.
STEP 4: Sony IMX772 CMOS Sensor Inspection & Dry Cleaning
- With the optical barrel removed, inspect the bare Sony IMX772 CMOS die under oblique green/white LED illumination at 30x – 40x magnification.
- Avoid any contact with the perimeter rows of microscopic gold wire bonds connecting the CMOS edge to the substrate.
- Remove dust particles from the active pixel area strictly using a **Silicone Gel Sensor Cleaning Stick (Dust-Free Sticky Swab)**:
* Touch the gel tip to clean backing paper first to equalize static charge.
* Vertically dab (never drag, rub, or wipe) dust specs off the CMOS glass surface.
* Use a filtered manual air bulb to blow loose debris out of the cavity prior to seating the new lens.
STEP 5: New 0.5X Blue Lens Installation & Coplanarity Check
- Inspect both the top aspherical element and bottom Blue Glass IRCF of the replacement 13P/13PM 0.5x Blue Lens under the microscope to ensure zero dust or smudges.
- Lower the replacement barrel vertically into the VCM carrier ring until its mechanical stop shoulder sits flush against the VCM ledge.
- Verify under 20x magnification that the barrel top sits completely parallel to the metal camera shield housing. On an ƒ/1.8 wide-aperture lens, even a 1.5-degree tilt causes severe edge softness on one side of the image.
STEP 6: Live Optical Calibration & UV Adhesive Curing
- Connect the triple-camera module to a test iPhone 13 Pro / 13 Pro Max motherboard and launch the Camera app:
* Switch to 0.5x mode and verify edge-to-edge sharpness at infinity (> 5 meters).
* Move a fine-print target within 2 cm of the lens to verify seamless Auto-Macro switching and sharp close-up VCM autofocus lock.
* Aim at a uniform bright white backdrop to verify 100% elimination of dark gray/purple dust spots.
- Apply four microscopic dots of black UV-curable optical adhesive at 90-degree intervals around the barrel-to-VCM seam using a 0.1 mm acupuncture needle.
- Cure with a 365 nm UV LED lamp for 25 seconds, followed by a thin continuous perimeter bead of black light-blocking sealant.
--------------------------------------------------------------------------------
4. DIAGNOSTIC MATRIX & BOARD-LEVEL ELECTRICAL REFERENCE VALUES:
A. Post-Rework Optical & Hardware Fault Matrix:
┌────────────────────────────────┬────────────────────────────────┬────────────────────────────────────────────────────┐
│ Observed Camera Symptom │ Subsystem Involved │ Root Cause & Corrective Action │
├────────────────────────────────┼────────────────────────────────┼────────────────────────────────────────────────────┤
│ Left or right half of 0.5x │ Optical Barrel Coplanarity │ Uncleaned glue remnant under barrel shoulder │
│ image is blurry (Tilt Blur) │ (ƒ/1.8 Shallow Depth of Field) │ tilting optical axis -> Lift barrel, clean ledge. │
├────────────────────────────────┼────────────────────────────────┼────────────────────────────────────────────────────┤
│ Macro (2 cm) is sharp, but │ Flange Focal Distance (Z-Axis) │ Barrel not seated flush against VCM mechanical │
│ distant objects are out of focus│ │ stop -> Reseat barrel firmly onto VCM carrier ring.│
├────────────────────────────────┼────────────────────────────────┼────────────────────────────────────────────────────┤
│ Macro focus hunts back & forth │ VCM Coil / Spider Spring │ Deformed VCM copper suspension spring or open VCM │
│ or clicks audibly │ │ drive trace -> Inspect spring tension / 2.8V AF. │
├────────────────────────────────┼────────────────────────────────┼────────────────────────────────────────────────────┤
│ 0.5x button disappears; camera │ I2C Bus / CMOS Wire Bonds │ Damaged gold wire bond on Sony IMX772 die or open │
│ freezes when switching to 0.5x │ │ power rail on logic board B2B connector. │
├────────────────────────────────┼────────────────────────────────┼────────────────────────────────────────────────────┤
│ Fixed bright magenta/green dot │ Sony IMX772 Silicon Die │ Permanent laser burn on CMOS photodiode array -> │
│ independent of focus distance │ │ Optical Blue Lens cannot fix silicon damage. │
└────────────────────────────────┴────────────────────────────────┴────────────────────────────────────────────────────┘
B. Cold Diode-Mode Motherboard B2B Connector Reference (Red Probe on GND, Black on Pin):
- MIPI CSI-2 High-Speed Differential Data & Clock Lanes (0.5x Ultra-Wide 4-Lane Bus):
* Expected Diode Reading: 0.375V – 0.450V (Positive/negative differential pairs must match within +/- 0.005V).
- Power Supply Rails for 13 Pro / 13 Pro Max 0.5x Sub-Module:
* PP2V8_CAM_MP_AVDD (2.8V Analog CMOS Supply): 0.450V – 0.530V
* PP1V2_CAM_ULTRA_DVDD (1.2V Digital Core Logic): 0.310V – 0.385V
* PP1V8_CAM_IOVDD (1.8V I2C & EEPROM Interface): 0.460V – 0.540V
* PP2V8_CAM_ULTRA_AF (2.8V Macro VCM Actuator Supply): 0.440V – 0.520V
- Control & Synchronization Signals:
* I2C_CAM_ULTRA_SCL / SDA (Bi-Directional Control Bus): 0.480V – 0.560V
* AP_TO_CAM_ULTRA_CLK (24 MHz Reference Clock from A15 Bionic): 0.405V – 0.475V
* AP_TO_CAM_ULTRA_SHUTDOWN_L (Active-Low Reset/Enable): 0.470V – 0.550V
================================================================================
You may also like