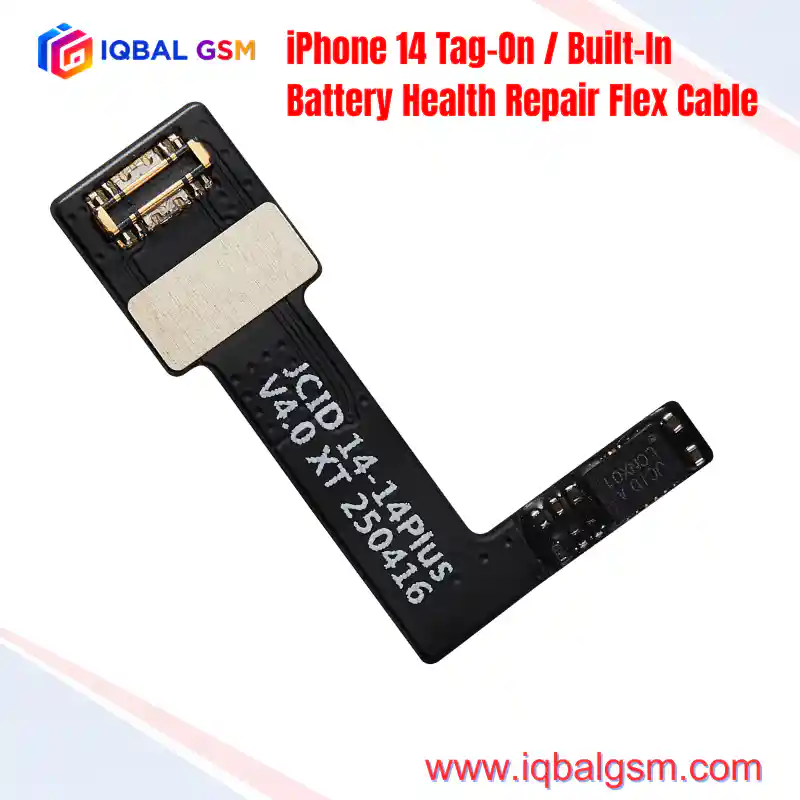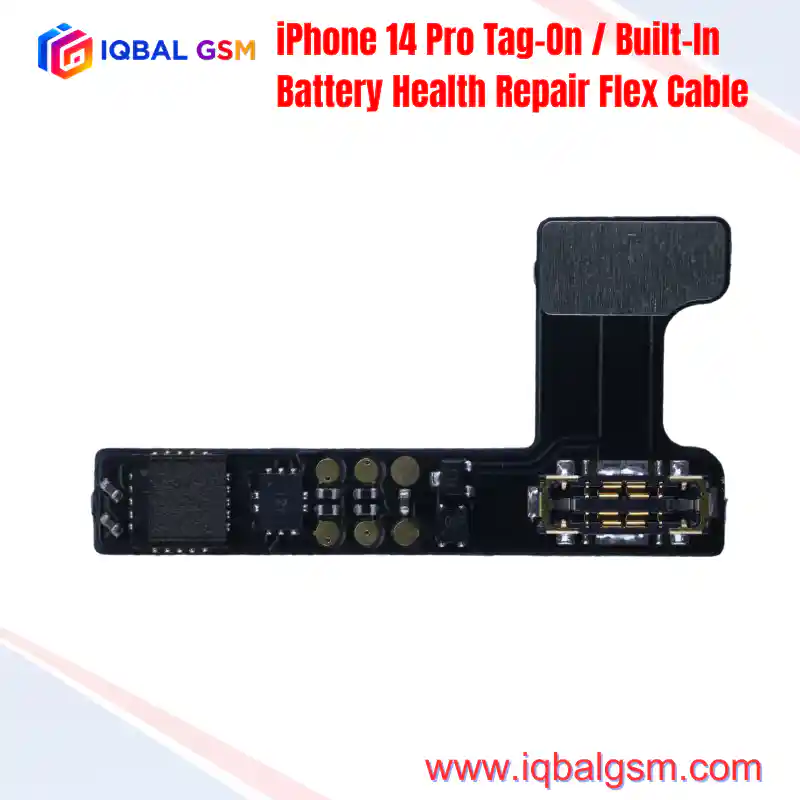

iPhone 14 Plus Tag-On / Built-In Battery Health Repair Flex Cable
As low as
Rs 0.00
Worldwide shipping · Cash on Delivery
Product Details
================================================================================
IPHONE 14 PLUS BATTERY TAG-ON FLEX CALIBRATION & REWORK GUIDE
================================================================================
1. SILICON BMS CRYPTOGRAPHY & RECOVERY MECHANICS:
On the iPhone 14 Plus, Apple pairs the large 4325 mAh battery protection circuit module (PCM) to the A15 Bionic Application Processor using hardware-encrypted cryptographic tokens:
A. Cryptographic Handshake & Serial Pairing:
- The OEM battery PCM integrates a Texas Instruments gas gauge IC (customized BQ27546 / Apple 343S variant) running encrypted firmware with hardcoded SHA-256 pairing keys.
- During boot, iOS queries the battery serial number, cycle history, and cryptographically signed calibration certificates via the Single-Wire Interface (BATT_SWI) line.
- If an aftermarket battery is installed without transferring the original BMS, or if the cell is replaced bare, iOS detects an unauthorized signature, blocks the health percentage ("--%"), and displays an "Important Battery Message (Unknown Part)".
B. The Role of the 14Plus Tag-On Flex:
- The Tag-On Flex contains an ultra-low-power micro-controller (MCU) that operates inline between the original BMS and the iPhone 14 Plus motherboard.
- The MCU intercepts the raw fuel gauge registers and on-the-fly rewrites the State of Health (SOH) register to 100% and Cycle Count register to 0, satisfying the A15 Bionic's battery telemetry queries while preserving genuine Apple serial cryptography.
--------------------------------------------------------------------------------
2. STEP-BY-STEP REWORK PROCEDURE: CELL TRANSPLANT & TAG-ON FLEX MOUNTING:
STEP 1: Original Battery Extraction & PCM Isolation
- Open the iPhone 14 Plus via its removable rear glass enclosure.
- Remove the original degraded 4325 mAh battery from the chassis using isopropyl alcohol (IPA) under the stretch-release adhesive tabs.
- Using a ceramic or plastic pry tool, peel back the black thermal insulating tape wrapping the top of the battery to expose the metal nickel welding tabs.
- Cut the positive (+) and negative (-) nickel tabs of the old battery cell using micro-cutters, keeping the cut as close to the cell as possible to leave maximum tab length on the original BMS board.
- CAUTION: Never short the metal cutters across positive and negative tabs simultaneously.
STEP 2: Spot-Welding the New Battery Cell to the Original BMS
- Take a fresh replacement iPhone 14 Plus core cell (bare 4325 mAh battery cell without BMS).
- Align the positive and negative nickel tabs of the new cell with the original BMS nickel leads.
- Use a precision battery spot-welder (e.g., QianLi Macaron, Wylie, or 2UUL Spot Welder) set to Pulse 4–6:
* Make 4–6 clean spot-weld nuggets per tab to ensure low contact resistance (< 10 mΩ).
* Fold the nickel tabs flat and insulate with high-temperature polyimide (Kapton) tape.
STEP 3: Tag-On Flex Attachment & Folding Geometry
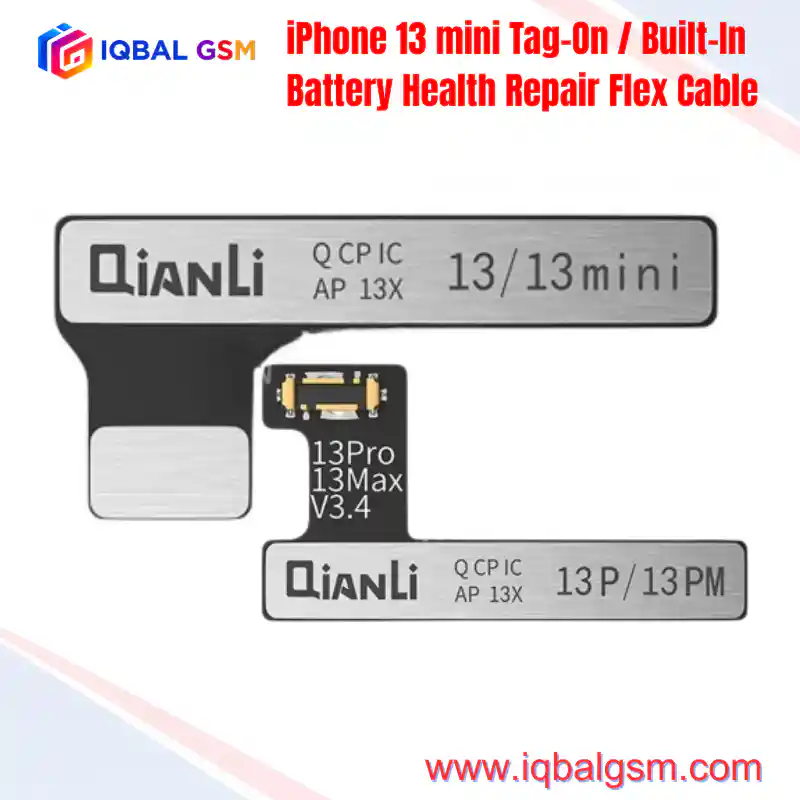
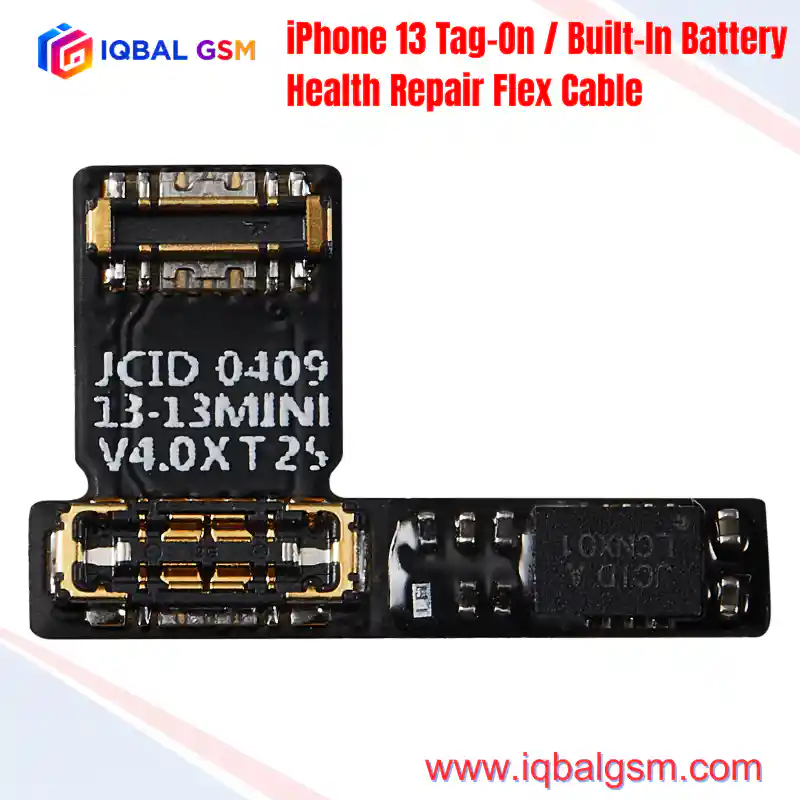
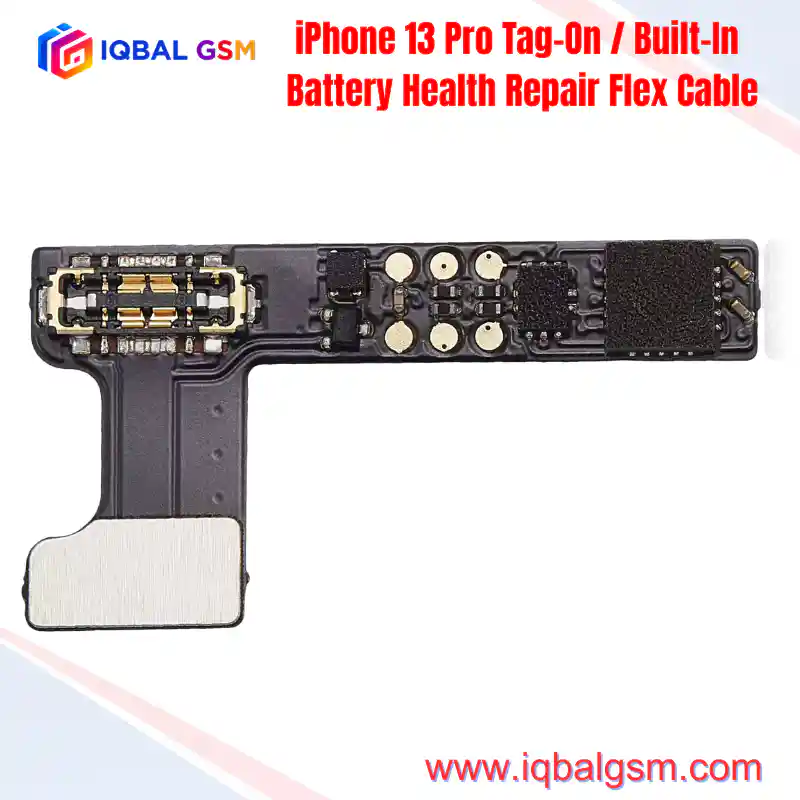
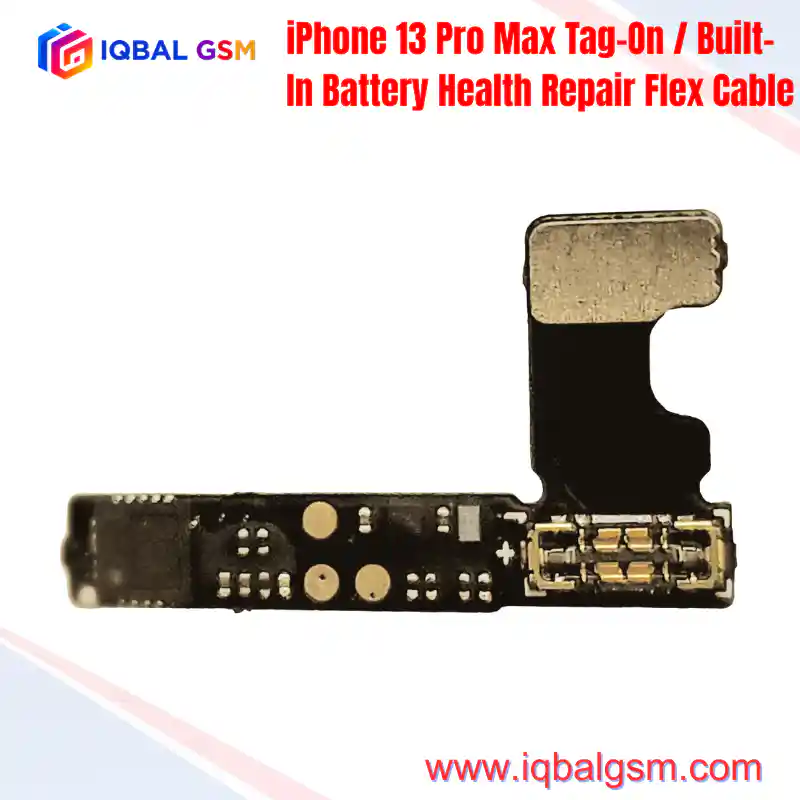
- Inspect the 14Plus Tag-On Flex: the male connector plugs directly into the iPhone 14 Plus motherboard, while the socket buckle on the flex mates with the original BMS connector.
- Click the original BMS connector into the female socket on the 14Plus Tag-On Flex until fully locked.
- Fold the flex ribbon according to the iPhone 14 Plus battery compartment profile:
* The flex must curve cleanly along the top battery shoulder without creasing or pinching the micro-traces.
* Secure the folded flex against the battery cell casing using OEM-grade double-sided battery adhesive tape.
STEP 4: Programmer Connection & Parameter Modification
- Method A (Hardware Programmer - JCID V1SE / QianLi Apollo / LuBan H7):
* Connect the battery assembly via the 14Plus Tag-On flex male connector to the programmer's battery board.
* Click "Read" -> verify the original serial number is detected.
* Manually edit: Set "Battery Health" = 100%, "Cycle Count" = 0.
* Click "Write" -> confirm the progress indicator reaches 100%.
- Method B (Auto-Programmed / Pre-Programmed Plug-and-Play Flex):
* If using pre-programmed tag-on flexes (e.g., REFOX RP30, AmpSentrix, or Etech Prime No-Programming edition), the flex auto-calibrates upon receiving the first external charging pulse without requiring a separate programmer box.
STEP 5: iOS Battery Health Calibration (Simulated Disconnect Cycle)
- To force iOS to clear the old cached battery health metrics from internal NAND memory:
1. Connect the phone to a DC bench power supply or a temporary dummy test battery and boot into iOS once without the new battery connected.
2. Power off the phone completely.
3. Install the rebuilt 14Plus battery with the Tag-On flex connected to the motherboard battery socket.
4. Plug in an official 20W/30W USB-C fast charger to trigger automatic power-on.
5. Navigate to Settings -> Battery -> Battery Health & Charging:
- Confirm Maximum Capacity displays **100%**.
- Confirm "Important Battery Message" is completely gone.
--------------------------------------------------------------------------------
3. FAULT DETECTION MATRIX & BOARD-LEVEL TELEMETRY VERIFICATION:
┌────────────────────────────────┬────────────────────────────────┬────────────────────────────────────────────────────┐
│ Symptom / Error Code │ Underlying Hardware Cause │ Corrective Action & Best Practice │
├────────────────────────────────┼────────────────────────────────┼────────────────────────────────────────────────────┤
│ Battery displays "--%" or │ Tag-on flex B2B connector not │ Reseat connector firmly; verify 1.8V pull-up │
│ "Important Battery Message" │ fully mated to original BMS │ on BATT_SWI data line with oscilloscope. │
├────────────────────────────────┼────────────────────────────────┼────────────────────────────────────────────────────┤
│ Phone boots, but restarts │ Missing NTC thermistor reading;│ Inspect Pin 4 (NTC) on BMS board; verify spot weld │
│ after exactly 180 seconds │ broken nickel ground tab │ has low resistance (< 15 mΩ); check thermal line. │
├────────────────────────────────┼────────────────────────────────┼────────────────────────────────────────────────────┤
│ Battery percentage stuck at │ Fuel gauge capacity table not │ Perform a full discharge to 5% followed by an │
│ fixed value (e.g. 1% or 100%) │ synchronized with new cell │ uninterrupted charge cycle to 100% on AC power. │
├────────────────────────────────┼────────────────────────────────┼────────────────────────────────────────────────────┤
│ Overheating warning on screen │ Spot-welding heat damaged the │ Replace NTC thermistor sensor on BMS board; │
│ upon plugging in charger │ on-board NTC resistor │ keep spot-welder current pulses under 15 ms. │
├────────────────────────────────┼────────────────────────────────┼────────────────────────────────────────────────────┤
│ Device fails to turn on; │ Tag-on flex pinched against │ Remove battery, inspect flex for micro-shorts; │
│ 0.000A draw on DC supply │ metal chassis bracket │ re-wrap perimeter with Kapton insulating tape. │
└────────────────────────────────┴────────────────────────────────┴────────────────────────────────────────────────────┘
================================================================================
You may also like