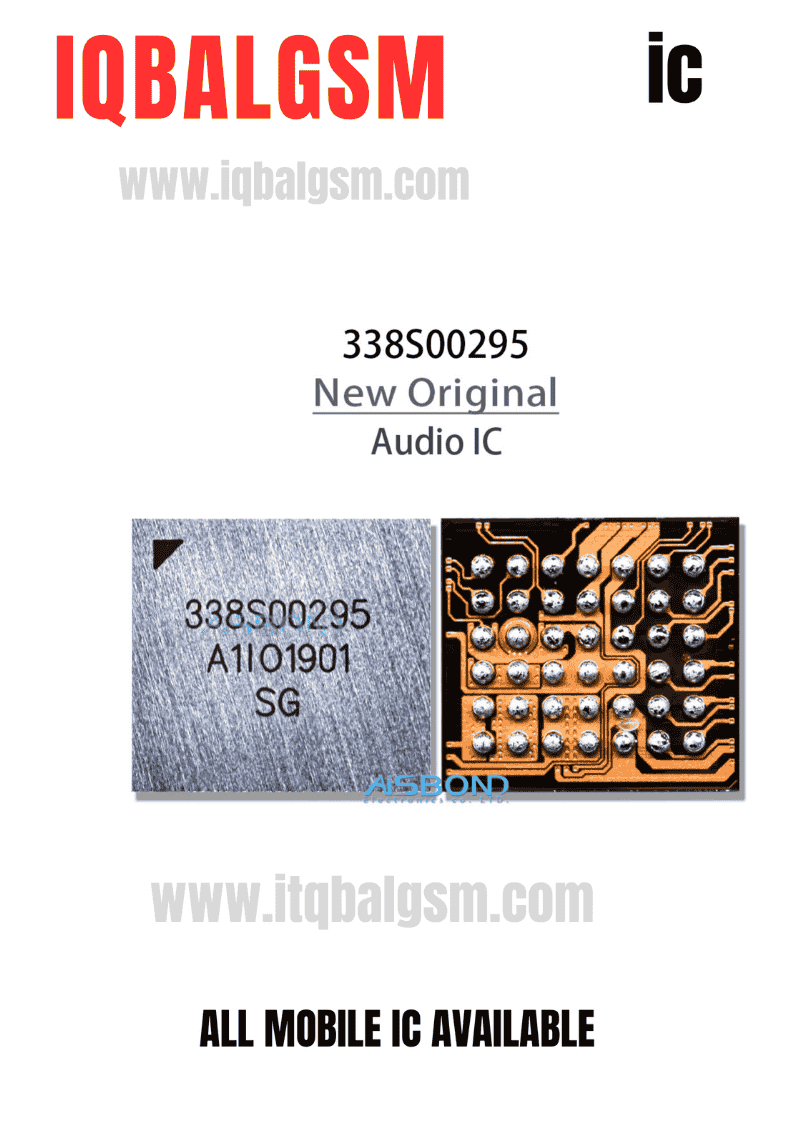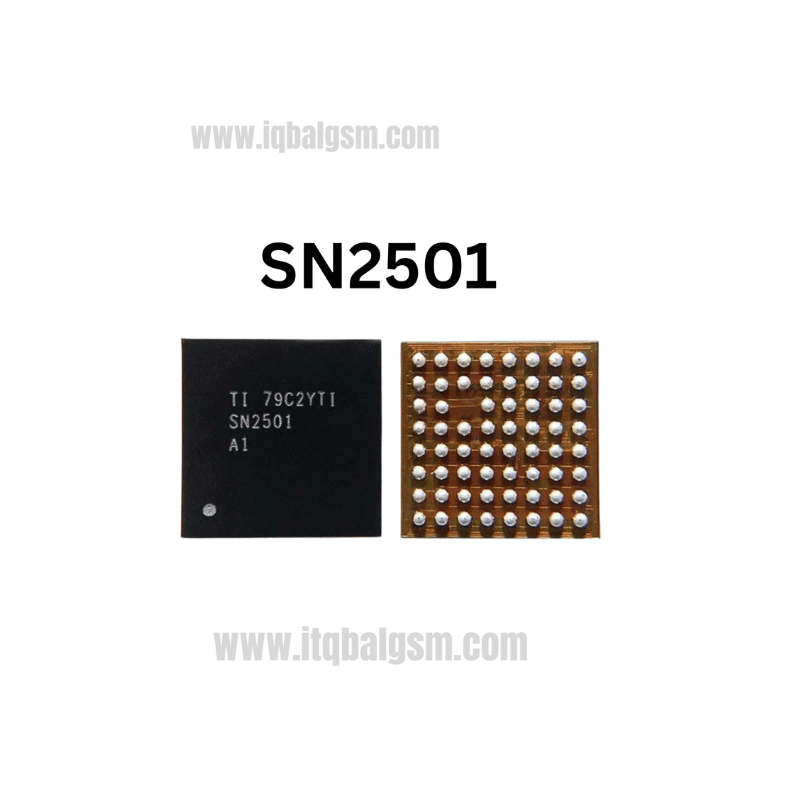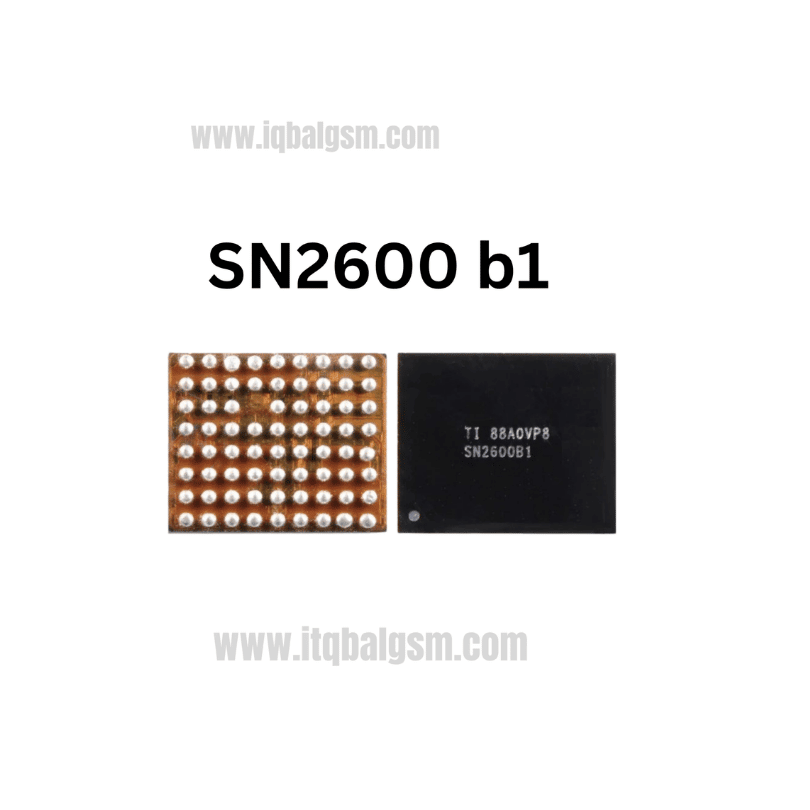

894B IC
As low as
Rs 250.00
Worldwide shipping · Cash on Delivery
Product Details
--------------------------------------------------------------------------------
SECTION 1: INTERNAL ARCHITECTURE & CIRCUIT TOPOLOGY (48-BUMP WLCSP)
--------------------------------------------------------------------------------
1. Digital Signal Processor & Host Communication Core:
- Digital Audio Engine: Receives multi-format digital PCM streams over SoundWire v1.1 or I2S / PDM lines directly from the SoC audio subsystem.
- Host Control Bus (I2C): Controls digital volume ramps, EQ profiles, sample rate synchronization (16kHz to 96kHz), and thermal/excursion protection settings.
- Real-Time Feedback Sensing: Embedded current (I-sense) and voltage (V-sense) monitors measure voice-coil impedance and temperature dynamically during active music playback.
2. Adaptive Boost Converter & Class-D Output Stage:
- External Saturation Power Inductor (typically 1.0µH to 2.2µH): Connects between VBAT/VPH_PWR and the switching node (BST/LX pins) of the 894B.
- High-Voltage Internal Rail (VBST): Dynamically elevates from battery voltage (~3.8V) up to 10V–12V during demanding low-frequency acoustic peaks to avoid clipping distortion.
- Filterless Class-D Differential Bridge (OUTP / OUTN): Drives the loudspeaker coil directly through small EMI filtering ferrite beads and high-frequency bypass caps.
--------------------------------------------------------------------------------
SECTION 2: BOARD-LEVEL TROUBLESHOOTING & COMMON FAULT PATTERNS
--------------------------------------------------------------------------------
1. Complete Ringer / Loudspeaker Silence:
- Phone displays active ringers, media timers increment normally, and headphone audio works, but zero sound emanates from the loudspeaker.
- Cause: Missing VBAT input voltage, blown boost inductor, open-circuit OUTP/OUTN ferrite beads, or an internally fractured 894B silicon die.
2. Heavy Sound Distortion / Scratchy Clipping:
- Sound plays clearly at low volumes (10–30%), but clips aggressively, crackles, or shuts off abruptly at high volume.
- Cause: Failure of the internal adaptive boost switching FETs, causing the internal voltage rail to collapse under heavy acoustic load.
3. System Freeze / Kernel Panic on Sound Trigger:
- Smartphone freezes completely or reboots to recovery as soon as an incoming call or media notification plays.
- Cause: SoundWire / I2C bus hanging caused by cold/cracked solder balls under the 894B IC, stalling the kernel audio driver.
4. Direct Logic Board Short Circuit (Dead Phone):
- Bench DC power supply immediately draws 2A–4A before pressing the power button (0.000V in diode mode on VPH_PWR).
- Cause: Internal breakdown of the high-side power MOSFET bridging VBAT directly to GND inside the 894B chip.
--------------------------------------------------------------------------------
SECTION 3: STEP-BY-STEP MULTIMETER TESTING & DIAGNOSTICS
--------------------------------------------------------------------------------
1. Cold Testing (Diode Mode Drop Readings in mV):
- Set Multimeter to Diode Mode; place RED probe on logic board Ground (GND shield), probe peripheral test pads/caps with BLACK probe:
* VBAT / VPH_PWR Input Capacitor: Normal reading is ~350 mV to 450 mV (0.000V indicates blown 894B or shorted decoupling cap).
* Boost Inductor Terminals: Normal reading is ~350 mV to 450 mV on both input and LX sides.
* Speaker Output Lines (OUTP / OUTN): Measure across output decoupling filter caps; both lines must show balanced diode readings (~500 mV to 630 mV, variance <15 mV).
* I2C Bus Pins (SDA / SCL): Normal reading is ~450 mV to 550 mV with pull-up behavior.
2. Hot Testing (Phone Powered On & Audio Ringtone Playing):
- Measure DC Voltages with BLACK probe on Ground:
* VBAT Line: Steady 3.8V – 4.2V DC.
* Boost Output Filter Capacitor: Should dynamically rise from ~4V up to 8.5V–11V DC when a loud ringtone or music track is played. If it stays frozen at battery voltage (~3.8V), the internal boost stage is dead.
* OUTP / OUTN Lines: Balanced DC bias with active AC RMS voltage during active sound playback.
--------------------------------------------------------------------------------
SECTION 4: SOLDERING, REBALLING & REWORK SPECIFICATIONS
--------------------------------------------------------------------------------
1. Safe Removal Procedure:
- Shield neighboring heat-sensitive components (CPU, UFS/eMMC storage chips, and plastic battery/FPC connectors) with multi-layer polyimide (Kapton) tape and thick aluminum heatsink foil.
- Dispense a moderate bead of high-grade tacky rosin flux (e.g., Amtech NC-559-V2-TF) around the perimeter of the 894B IC.
- Hot Air Rework Station Settings: 330°C - 340°C, 25% airflow with a 3.0mm circular nozzle.
- Heat in a smooth, continuous circular motion for 10–14 seconds. Once all 48 micro-balls melt, lift the IC vertically using straight micro-tweezers.
2. Motherboard Pad Dressing:
- Apply a small dab of 183°C leaded solder (Sn63/Pb37) across the footprint to lower the alloy's melting temperature.
- Gently sweep 0.8mm desoldering braid at 320°C across the pads without applying downward mechanical force to ensure zero pad peeling.
- Scrub thoroughly with 99.9% pure Isopropyl Alcohol (IPA) and inspect under microscope for pad flatness and absence of solder bridges.
3. Reballing & Installation of New 894B IC:
- Use a dedicated 48-bump BGA stencil (0.12mm thickness, 0.4mm pitch) with 183°C medium-temperature solder paste; heat evenly at 260°C until uniform spherical balls form.
- Apply a micro-thin, transparent layer of tacky flux to the cleaned motherboard footprint.
- Carefully align Pin 1 indicator dot on the chip surface with the motherboard silkscreen white dot.
- Solder at 320°C with 20% airflow; the surface tension of the molten solder will automatically pull the chip into exact centered alignment. Confirm with a microscopic tweezer touch.
- Allow the PCB to cool naturally for 2 minutes, clean flux residue with IPA, reinstall the board into the phone frame, and verify pristine, high-volume loudspeaker output.
You may also like